Creating a welcoming and stylish back patio doesn’t have to break the bank. With a little creativity and strategic planning, you can transform your outdoor space into a cozy retreat without overspending. Whether you’re looking to entertain guests, create a serene place to relax, or simply enhance your home’s appeal, there are plenty of budget-friendly ideas to help you achieve your vision. This article will explore innovative ways to revamp your patio using cost-effective materials, clever DIY projects, and smart design tips that offer both charm and functionality.
DIY Pallet Furniture for a Cozy Retreat
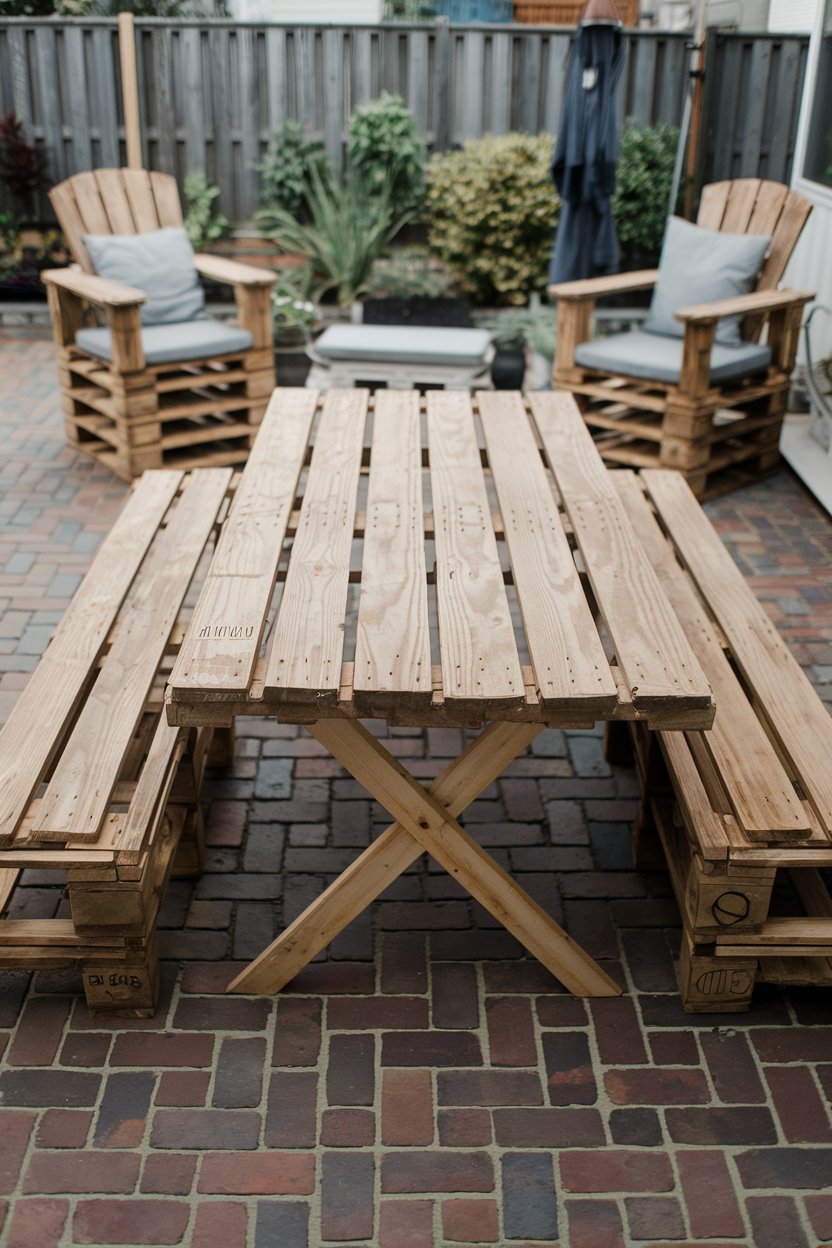
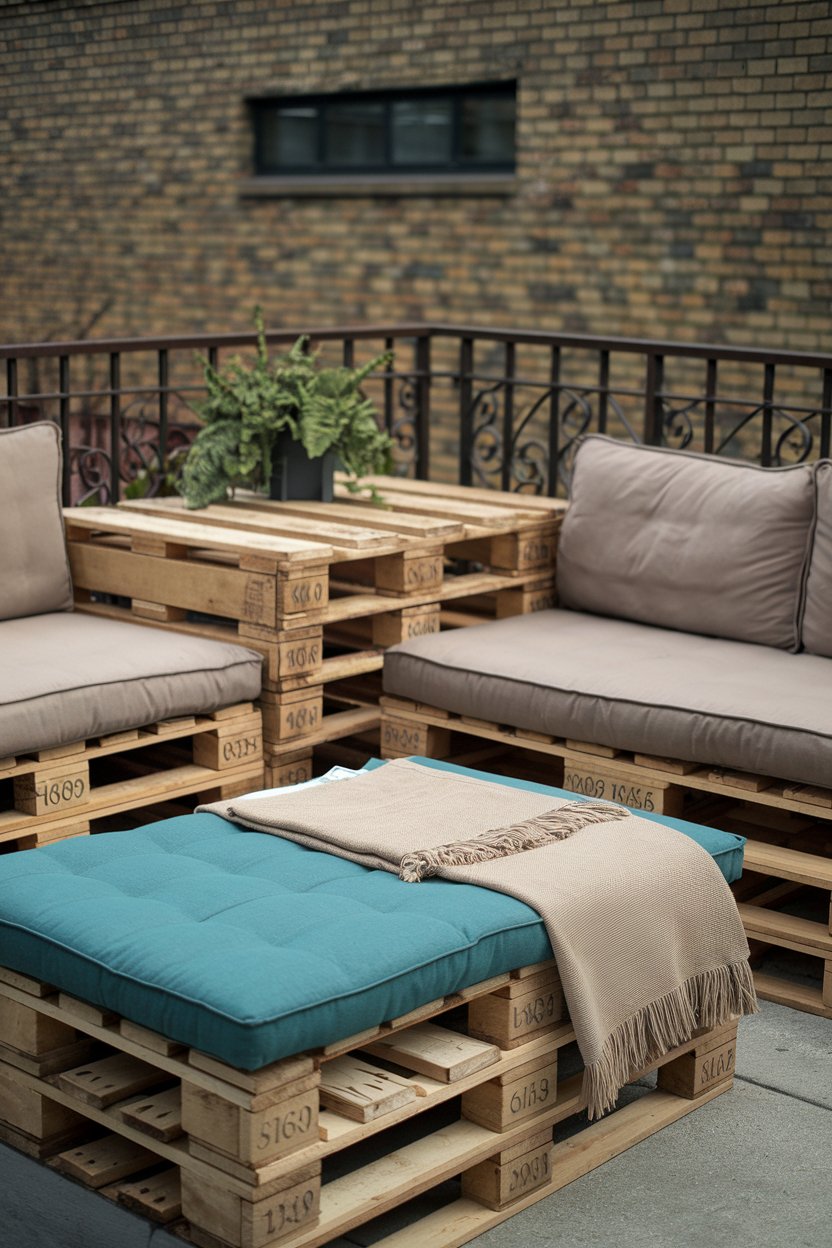
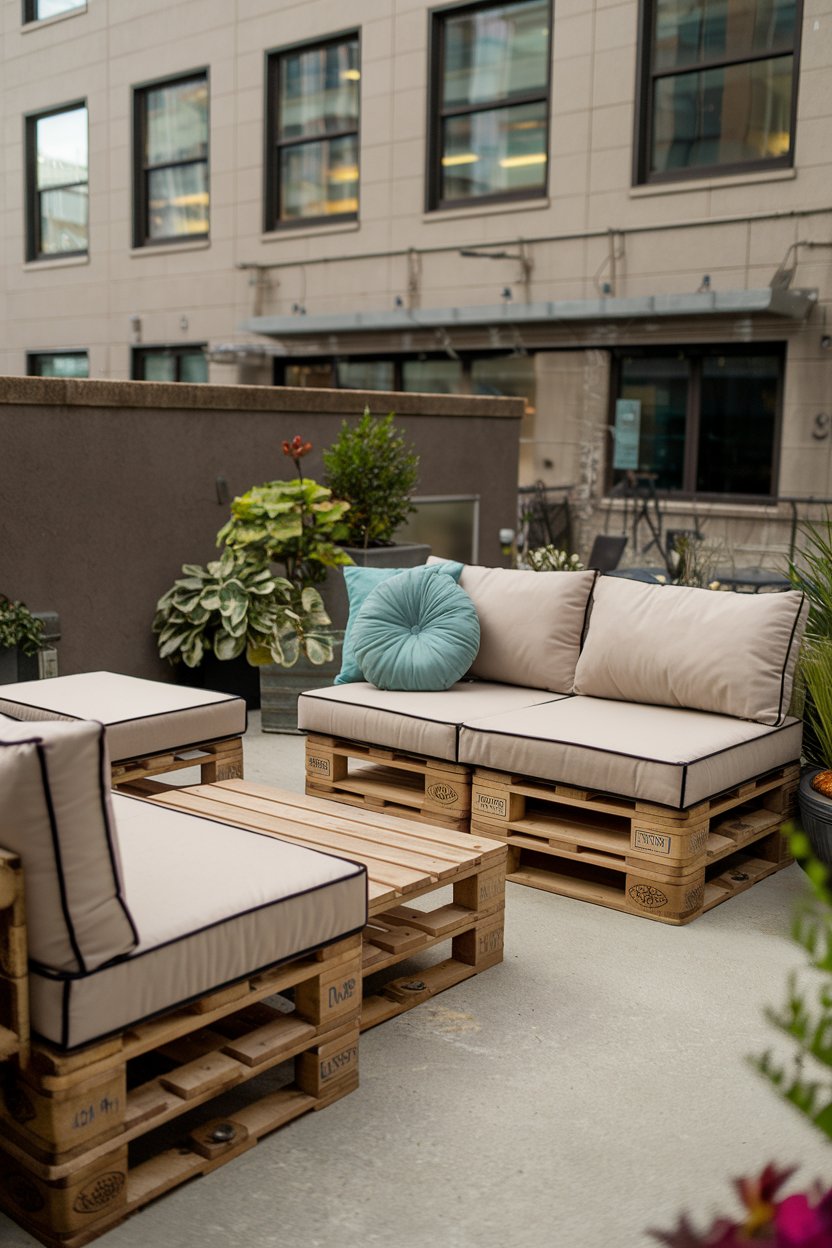
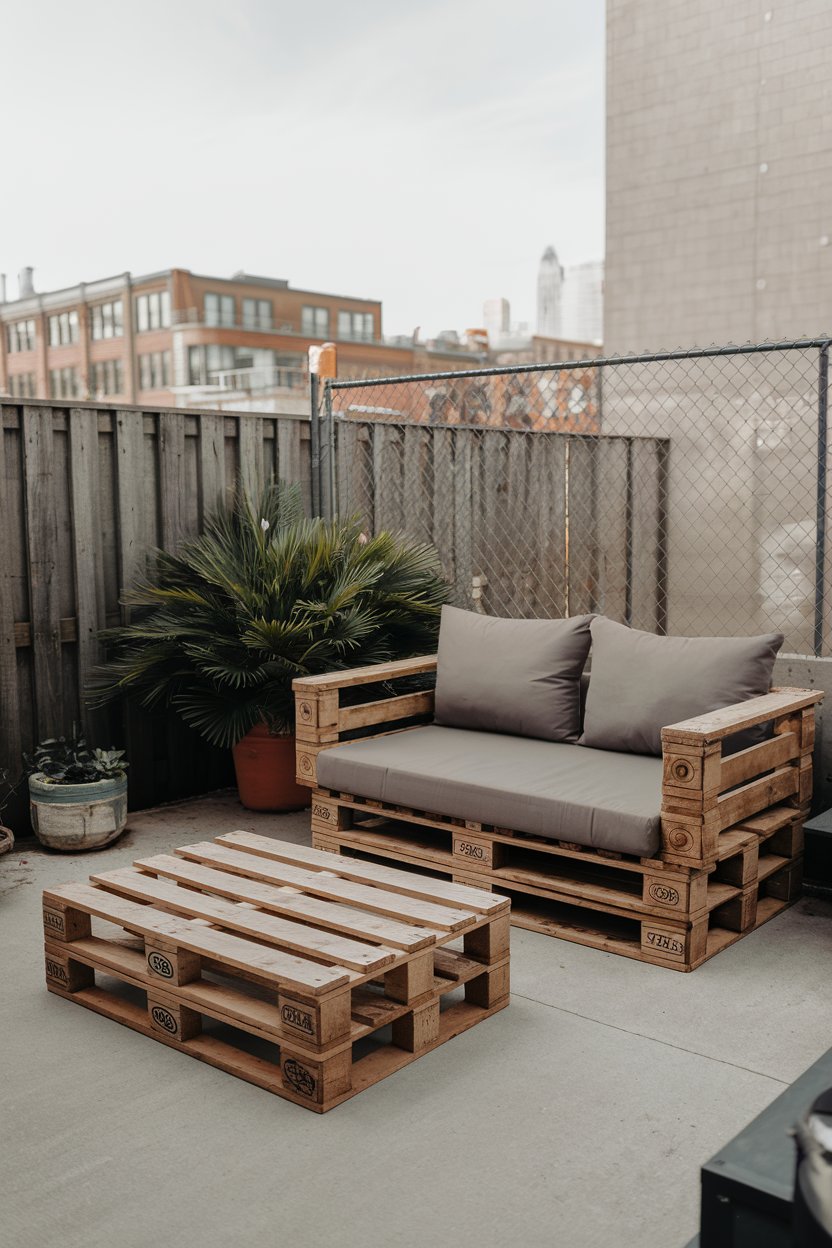
Transform your back patio into a cozy retreat with DIY pallet furniture. This budget-friendly idea not only saves money but also allows for creative customization to match your personal style. Repurpose wooden pallets to create comfortable seating and tables, offering a rustic and inviting atmosphere perfect for relaxation or entertaining guests.
How to Achieve It
Sourcing Materials:
– Look for free or cheap pallets at local hardware stores, warehouses, or online marketplaces.
– Ensure pallets are heat-treated and safe for outdoor use by checking for the “HT” stamp.
Building the Furniture:
– Disassemble pallets and sand rough edges to prevent splinters.
– Use wood screws and braces to secure sections together for stability.
– Consider building a simple sofa, loveseat, or coffee table based on your space needs.
Adding Comfort:
– Obtain outdoor cushions in durable, weather-resistant fabric for added comfort.
– Choose cushions in neutral tones like beige or gray, and add pops of color with decorative pillows in shades like teal or mustard.
– Consider adding a throw blanket for cooler evenings.
Finish and Maintenance:
– Apply a weatherproof sealant or outdoor wood stain to protect the wood from the elements.
– Regularly check and tighten screws to maintain furniture integrity over time.
– Store cushions indoors during extreme weather to extend their life.
By following these steps, you can create a stylish and affordable outdoor seating area, enhancing your back patio without breaking the bank.
Upcycled Outdoor Rug with Painted Patterns
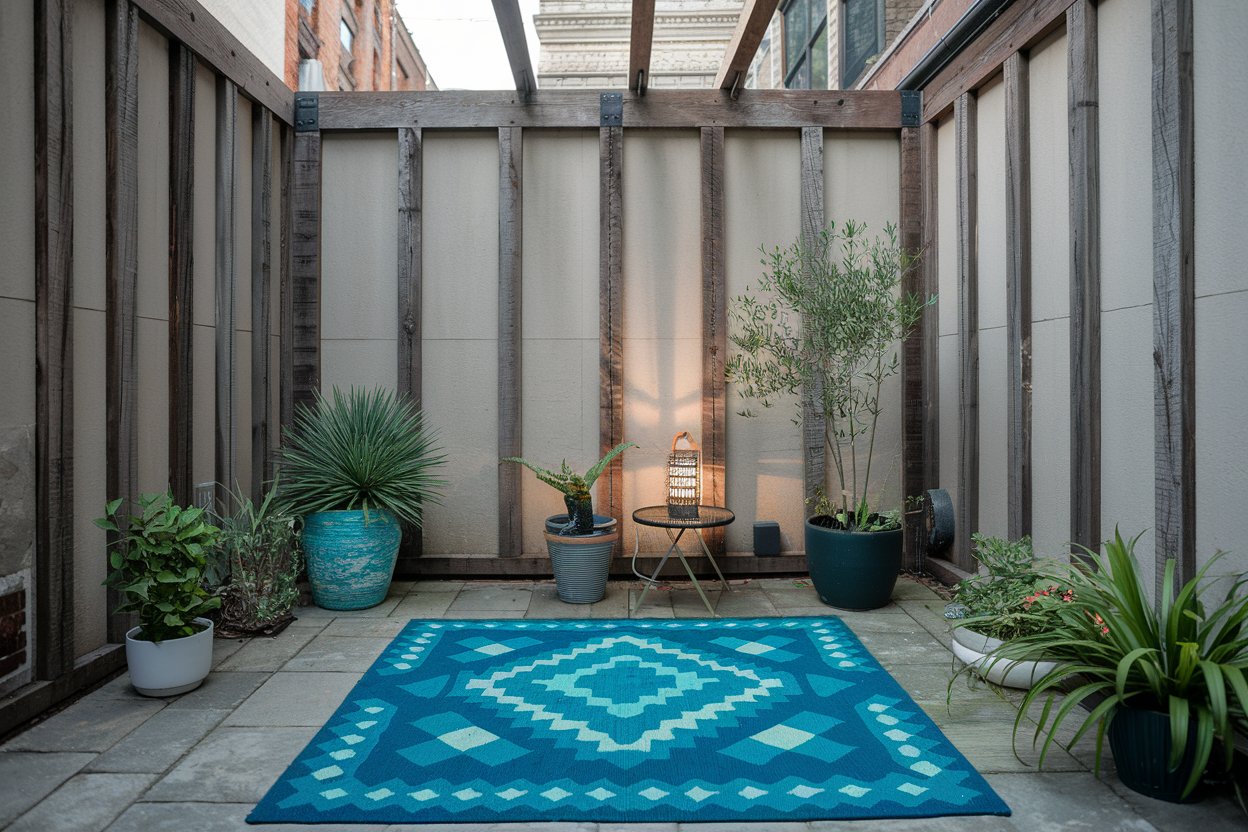
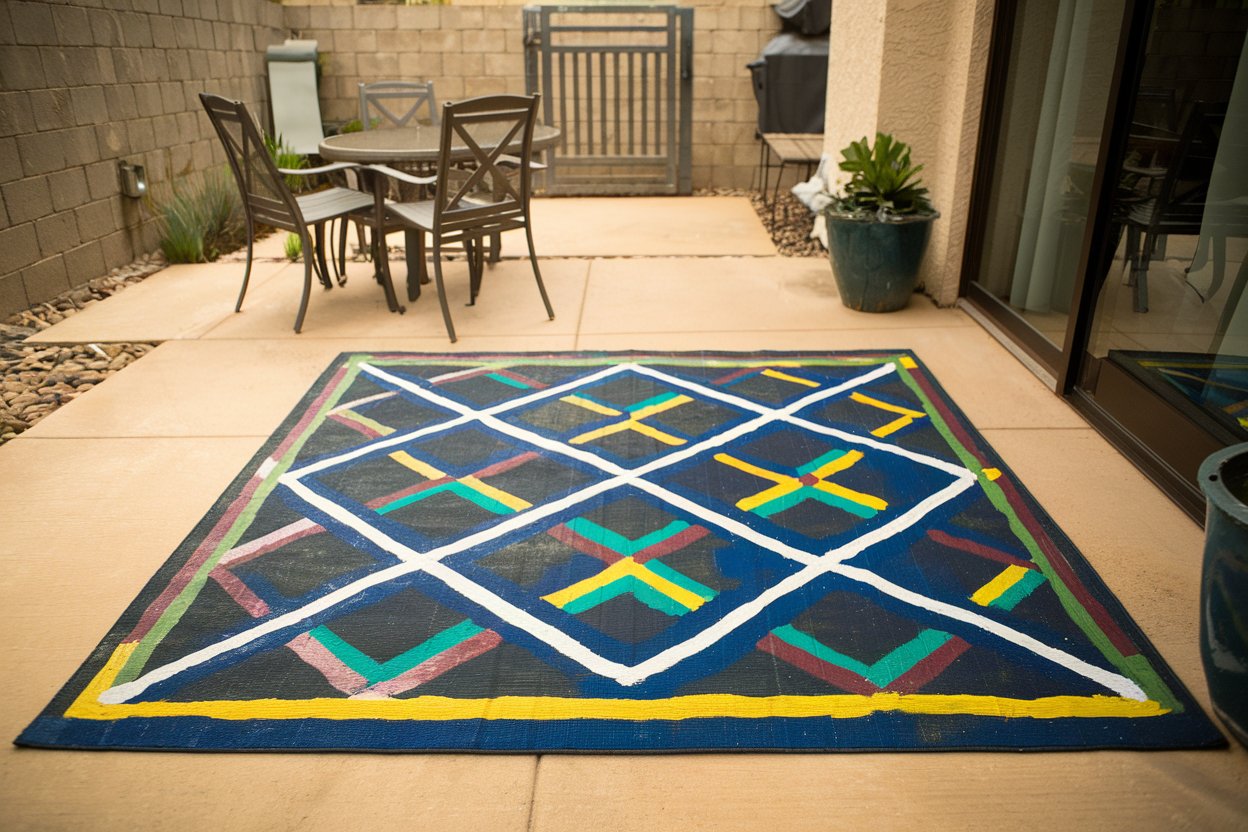
Revitalize your back patio with a touch of creativity by crafting an upcycled outdoor rug with painted patterns. This budget-friendly idea allows you to breathe new life into an old rug or create one from inexpensive materials while infusing vibrant colors and unique designs into your outdoor space. Perfect for adding warmth and style, a personalized rug can tie your patio’s look together effortlessly.
How to Achieve It
Sourcing Materials:
– Search for old or affordable rugs at thrift stores, garage sales, or online marketplaces.
– Alternatively, purchase plain, inexpensive outdoor rugs from discount home stores.
– Gather outdoor-grade paint suitable for fabric or canvas, available in various colors.
Design Planning:
– Choose a design that complements your patio’s existing color scheme; geometric patterns or floral motifs are popular choices.
– Sketch your design on paper first to visualize the layout and color placement.
– Consider using stencils to create uniform patterns or freehand for a more personalized touch.
Painting the Rug:
– Clean the rug thoroughly and allow it to dry completely before starting.
– Use painter’s tape to outline sections of the design for clean edges.
– Apply the paint with a brush or roller, adding additional coats as needed for vibrant color.
– Allow each coat to dry fully before applying the next or removing any stencils or tape.
Finishing Touches and Maintenance:
– Once the paint is completely dry, apply a spray-on fabric sealant to protect your design from weather and foot traffic.
– Place the rug in a sheltered area of your patio to prolong its life.
– Spot clean with mild soap and water as needed to maintain its appearance over time.
By creating a custom-painted outdoor rug, you can enhance your back patio with a pop of personality and charm, all while keeping within a budget. Select colors that reflect your personal style to ensure your patio is both inviting and stylish.
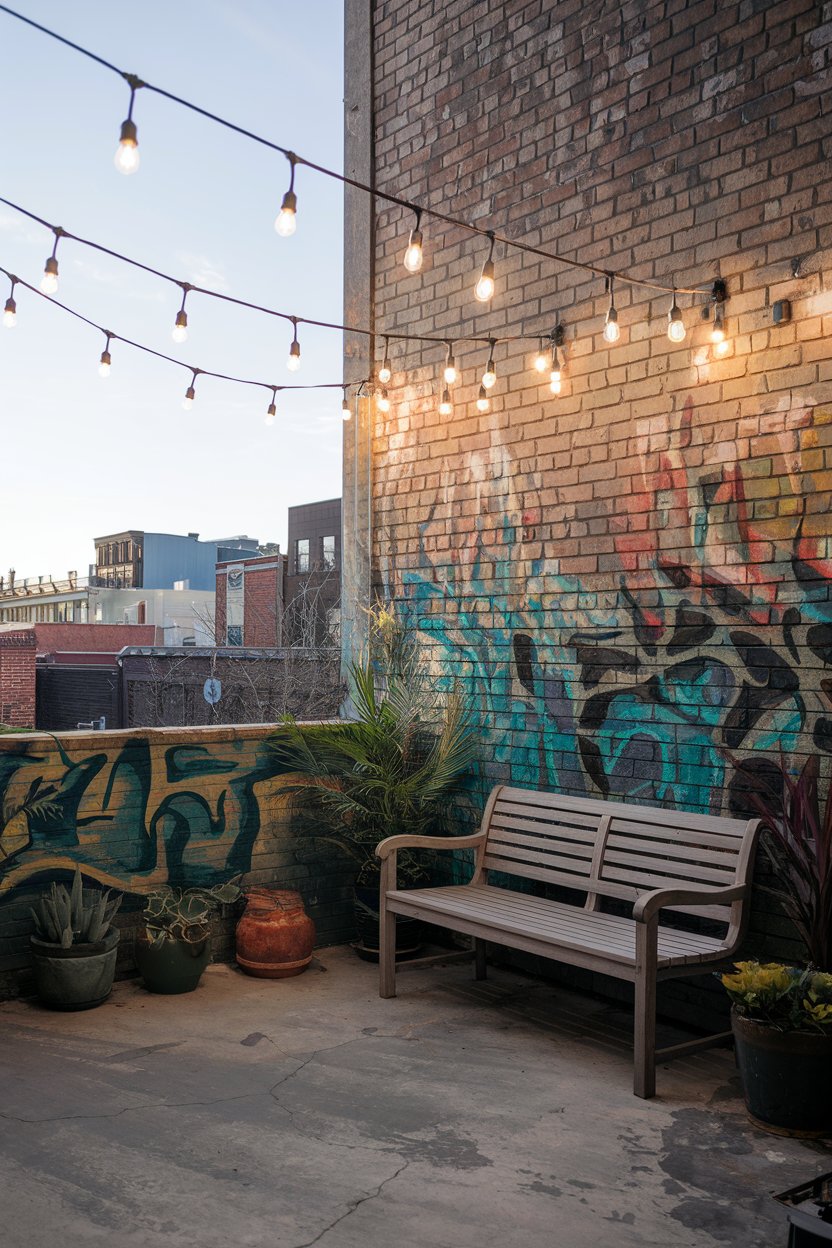
Hanging String Lights for Ambient Illumination
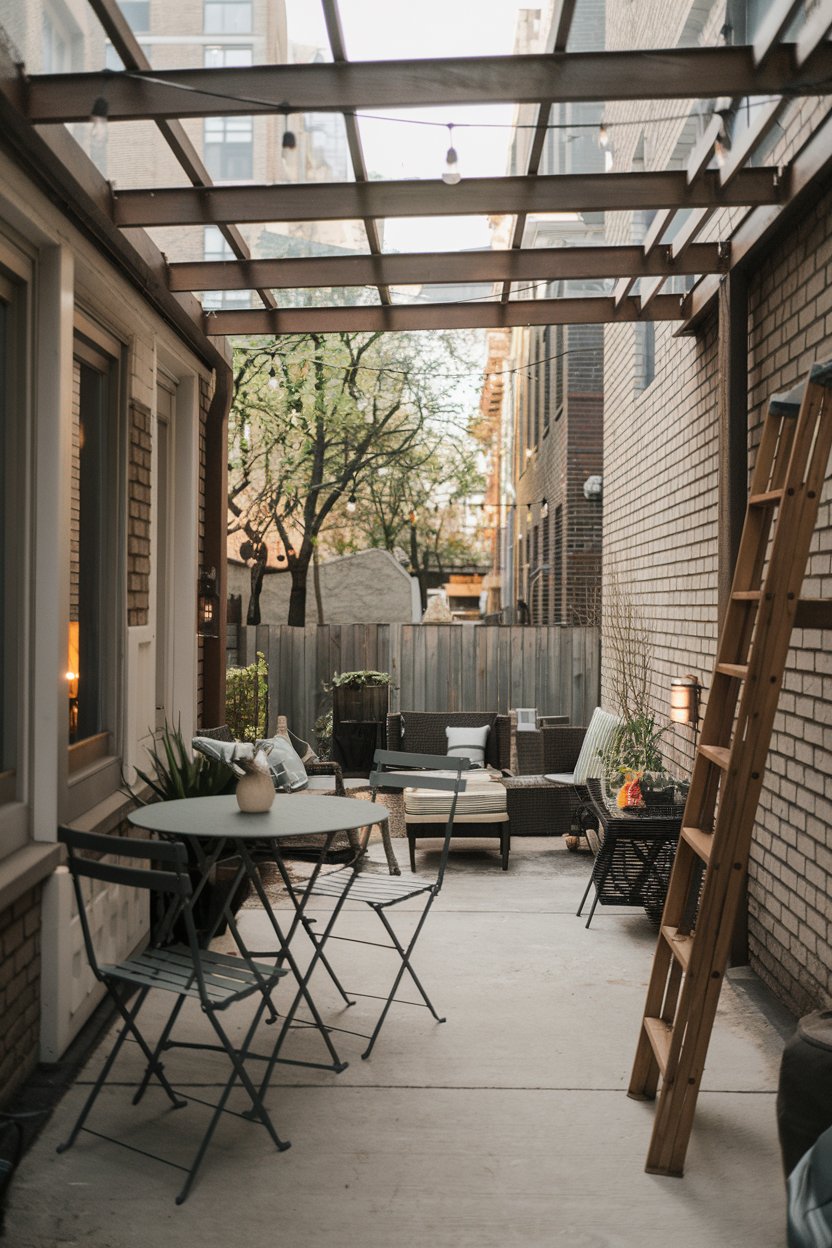
Elevate the ambiance of your back patio with hanging string lights, a simple yet transformative idea that brightens your outdoor space without breaking the bank. String lights not only provide gentle illumination but also create a warm and inviting atmosphere, perfect for cozy evenings and gatherings. With various designs and colors available, you can customize the look to fit your patio’s theme effortlessly.
How to Achieve It
Choosing the Right Lights:
– Opt for LED string lights for energy efficiency and longevity.
– Select waterproof or outdoor-rated lights to withstand the elements.
– Consider warm white lights for a classic look, or add a splash of color with multi-colored or themed lights for special occasions.
Sourcing Materials:
– Check local hardware stores, online retailers, or discount shops for budget-friendly deals on string lights.
– Obtain additional hanging supplies like outdoor-rated hooks or cable ties if needed.
Planning the Layout:
– Assess your patio to determine the best spots for hanging lights, such as overhead, along railings, or wrapped around trees.
– Decide on a pattern, such as a draped canopy, zigzag, or parallel lines, based on your space and style preference.
– Ensure access to electrical outlets or consider solar-powered options for areas without power supply.
Installation:
– Use hooks or brackets to securely fasten the lights, spacing them evenly to prevent sagging.
– For a more structured look, use guide wires to support the weight of the lights, especially over larger areas.
– Keep the lights taut to provide a clean and polished appearance.
Finishing Touches and Maintenance:
– Test the lights after installation to ensure they work properly.
– Regularly check for burnt-out bulbs and replace them promptly to maintain continuous lighting.
– Store lights properly when not in use to extend their lifespan.
By installing string lights, you can effortlessly add a touch of enchantment to your back patio, crafting a delightful setting for all occasions while adhering to a modest budget. Choose lighting that complements your patio’s design for an aesthetically pleasing result.
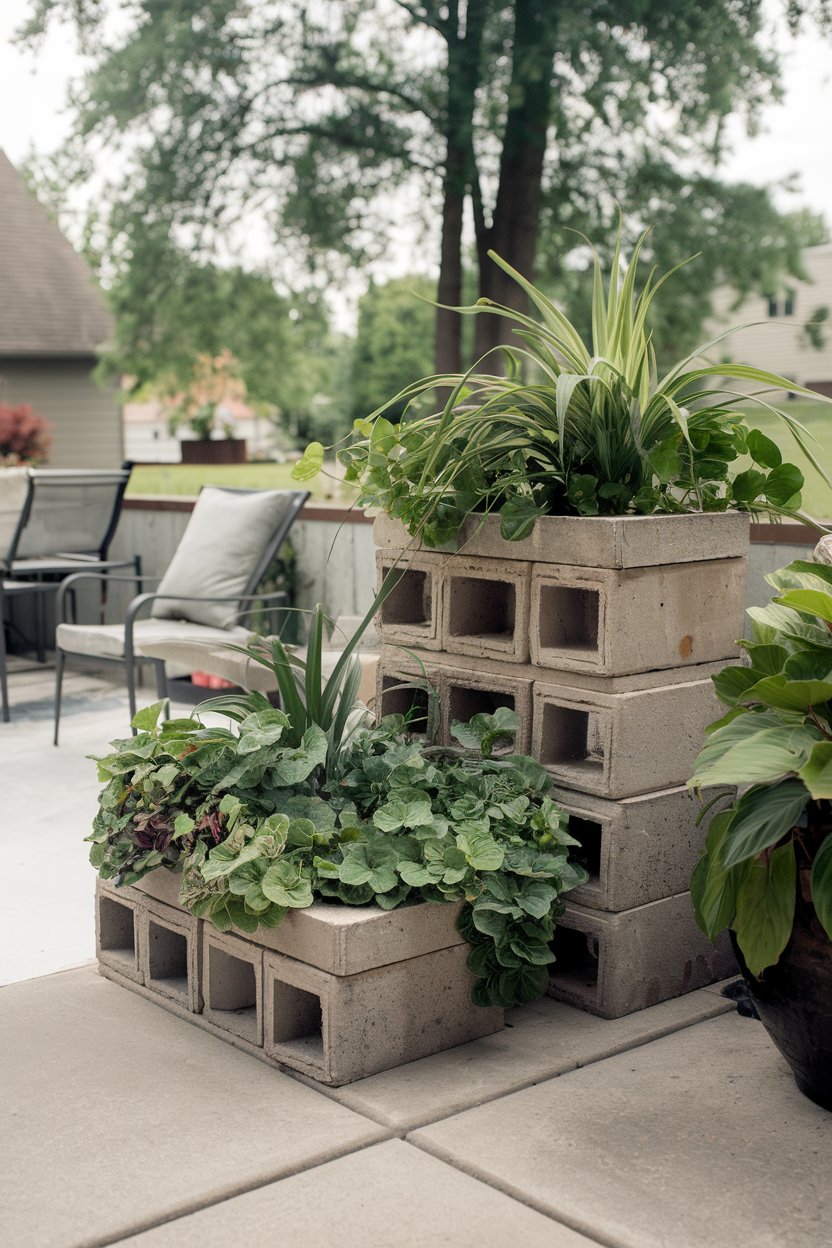
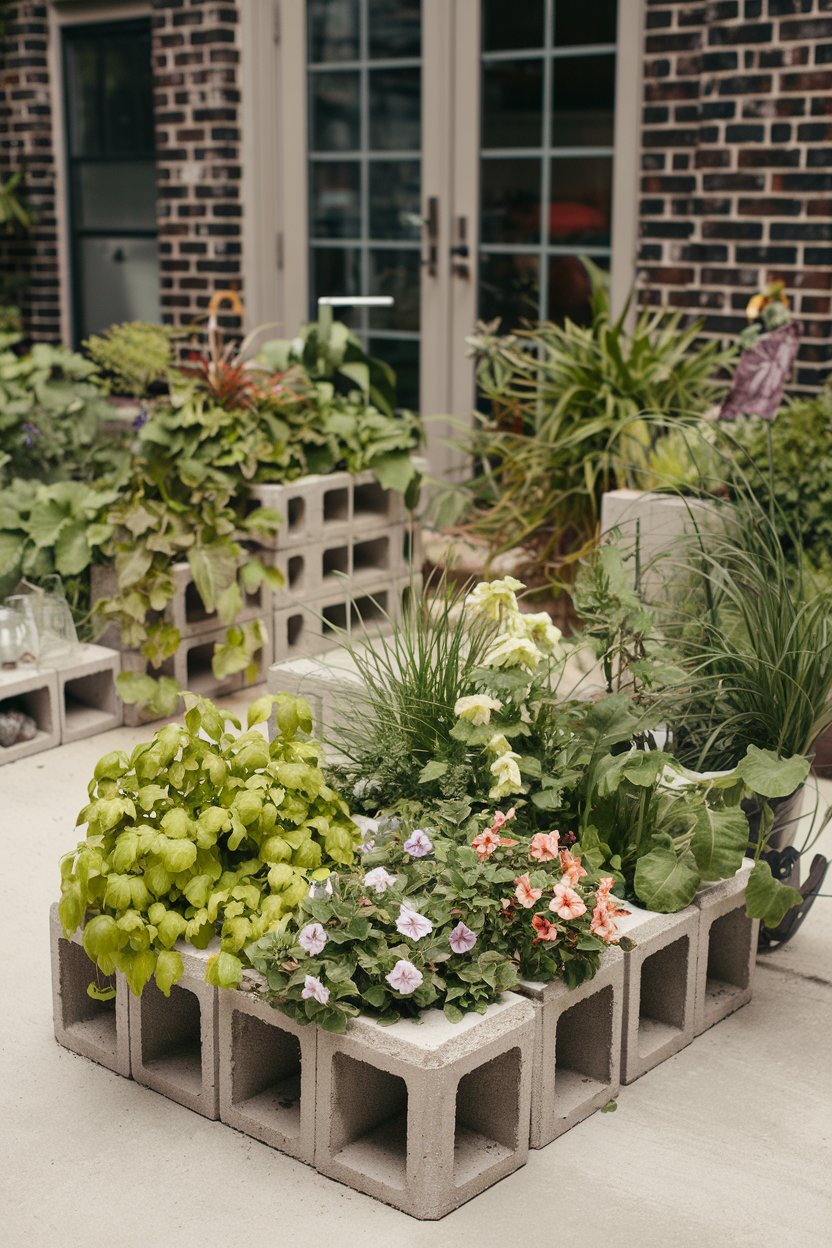
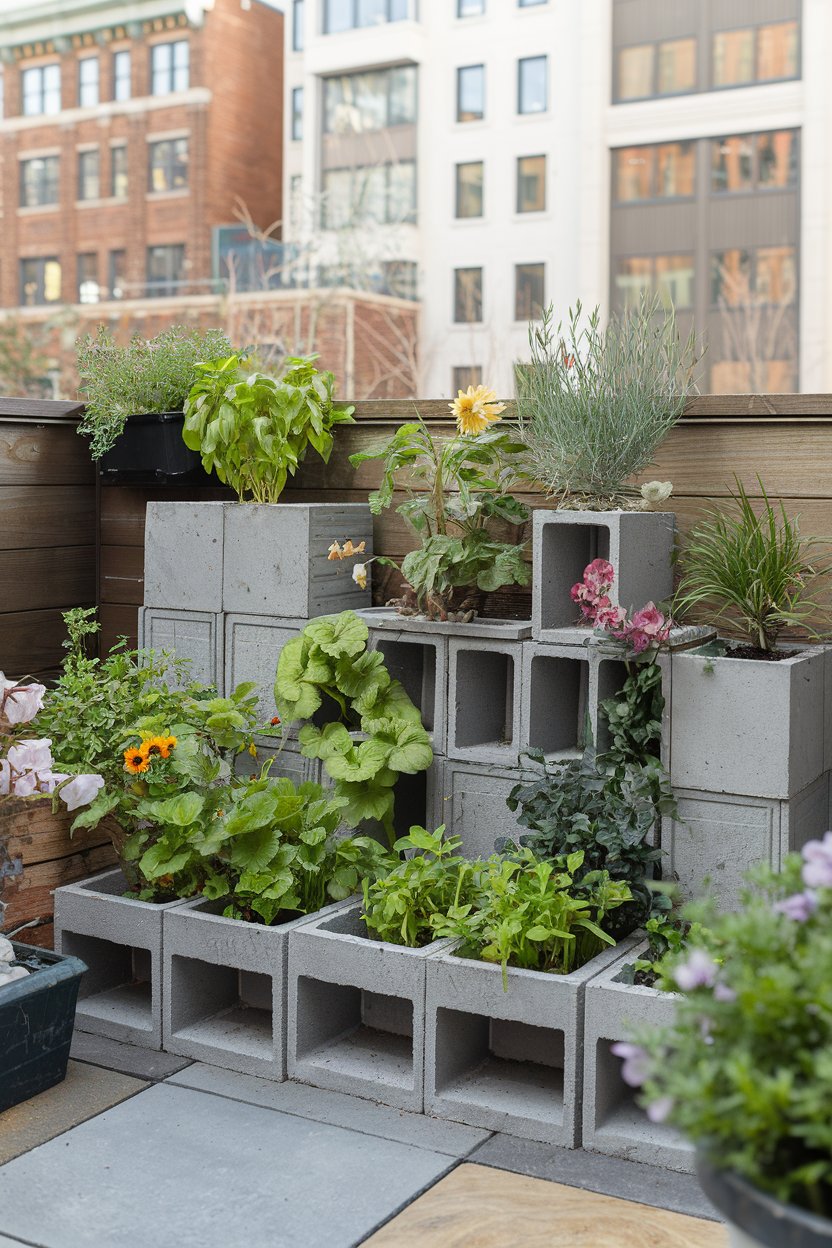
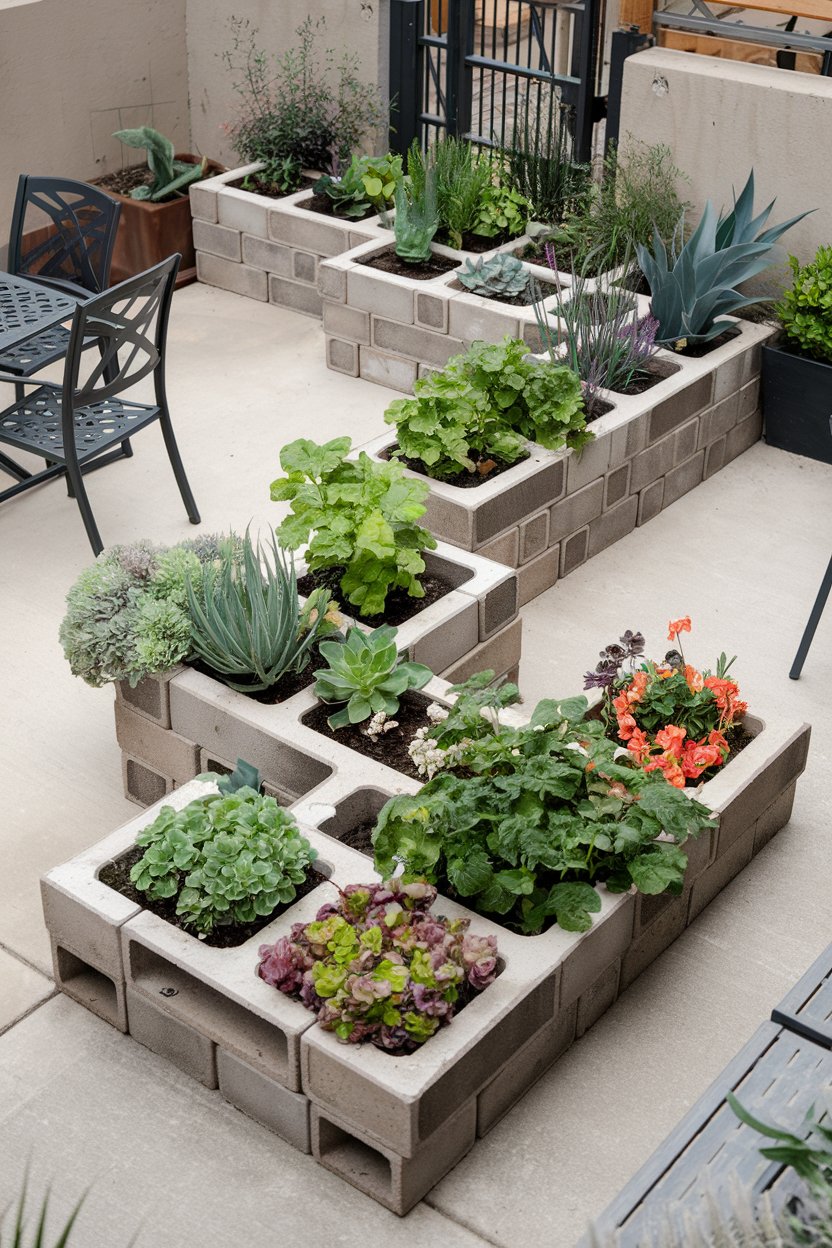
Repurposed Cinder Block Planters for Lush Greenery
Transform your back patio into a verdant oasis with repurposed cinder block planters. This budget-friendly idea allows you to create a dynamic, multi-level display of plants that adds a touch of nature to your outdoor area. Whether you’re looking to grow herbs, succulents, or vibrant flowers, these modular planters provide versatility and visual interest without a hefty price tag.
How to Achieve It
Sourcing Materials:
– Acquire used or discounted cinder blocks from local hardware stores, construction sites, or online marketplaces.
– Choose blocks that are clean and free of significant damage to ensure stability and aesthetics.
Design Planning:
– Decide on the arrangement and pattern of the cinder blocks to fit your patio space (e.g., stacked, staggered, L-shaped).
– Consider incorporating different block heights and angles for visual variety and to accommodate plants of various sizes.
Assembling the Planters:
– Arrange the blocks in your desired layout, stacking them securely to prevent toppling.
– Use outdoor adhesive to bond blocks together for added stability, if necessary.
– Fill the hollow sections of each block with potting soil, leaving space at the top for planting.
Plant Selection and Maintenance:
– Choose plants that thrive in your climate and suit your patio’s sun exposure; succulents, herbs, and small flowering plants are excellent choices.
– Arrange plants in color-complementary groups or themes, such as cool greens or vivid blooms, for added visual impact.
– Water plants according to their individual needs, ensuring the soil has proper drainage to avoid waterlogging.
By following these steps, you can create an appealing and sustainable green space on your patio with minimal investment. Experiment with different plant types and block arrangements to keep your outdoor area looking fresh and vibrant throughout the seasons.
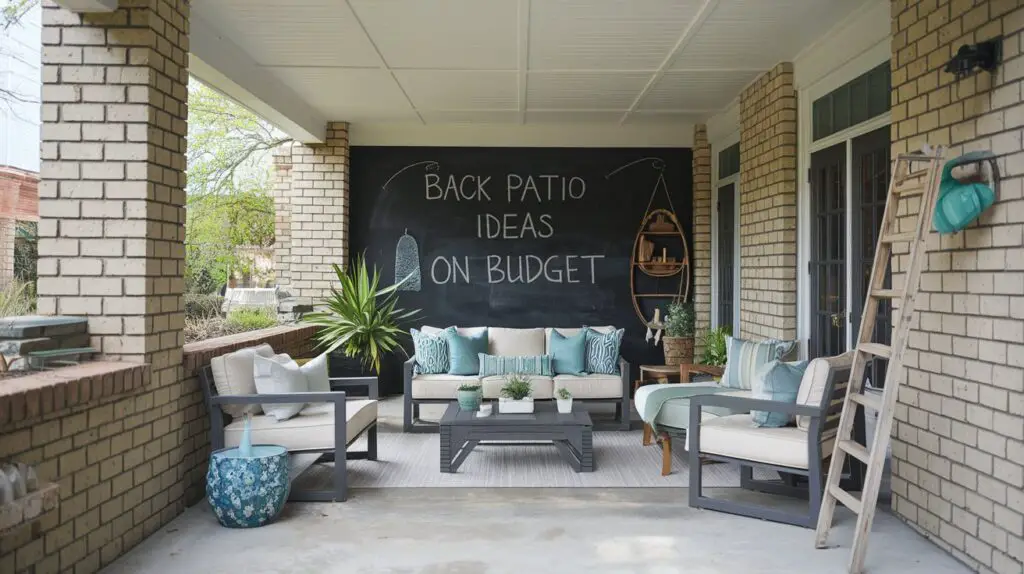
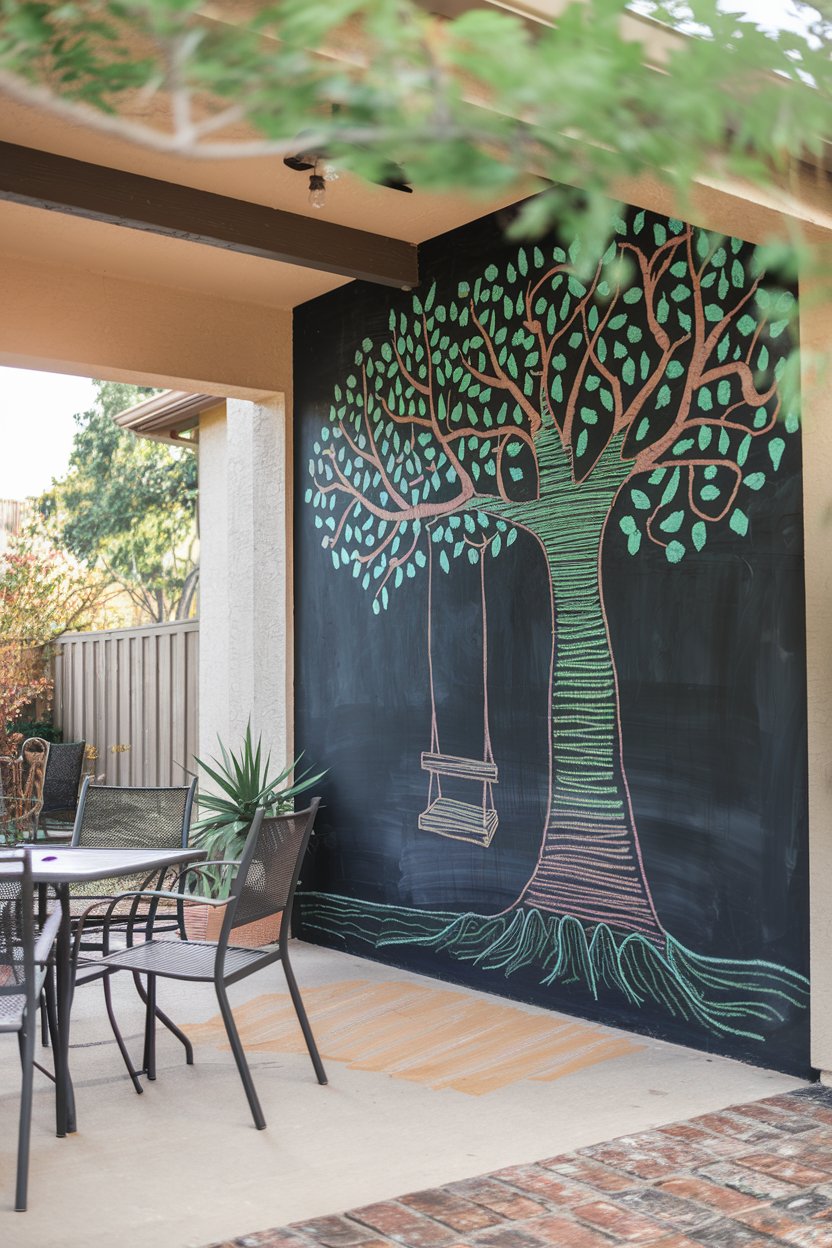
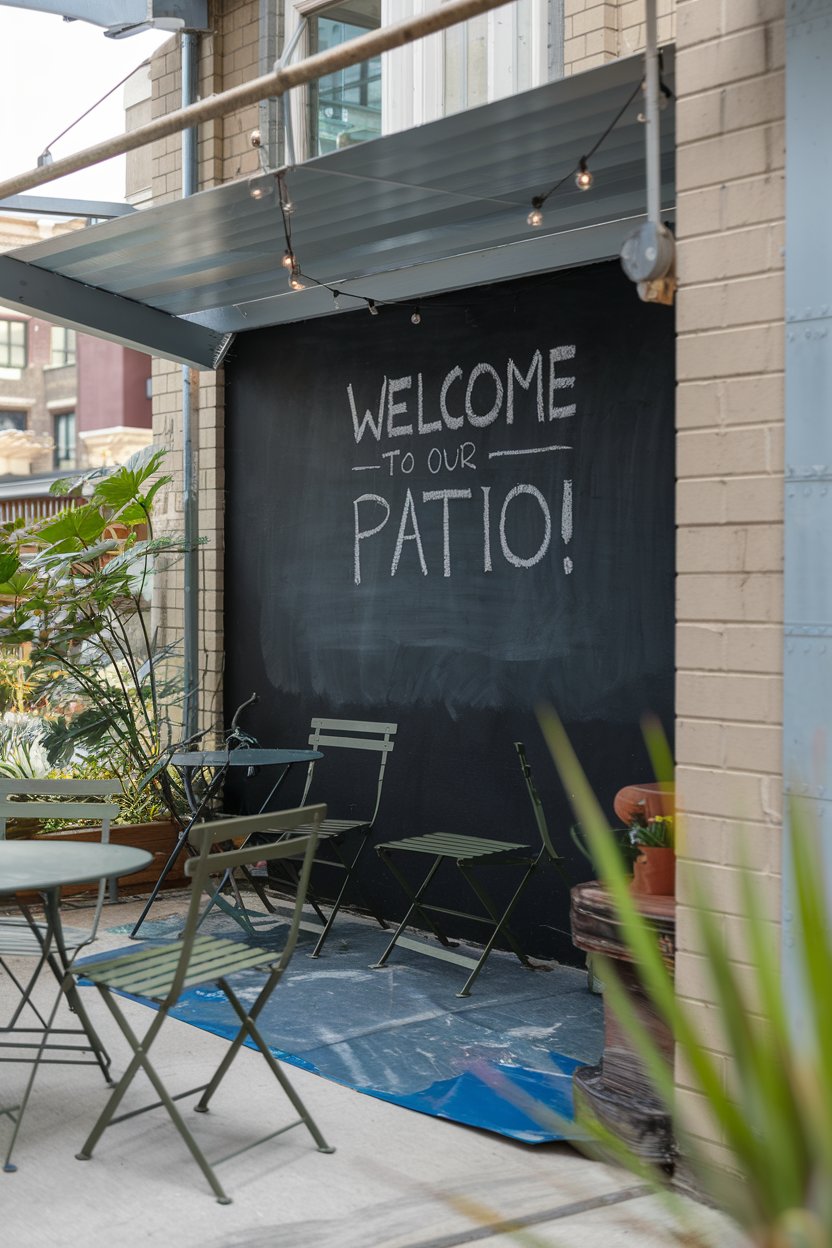
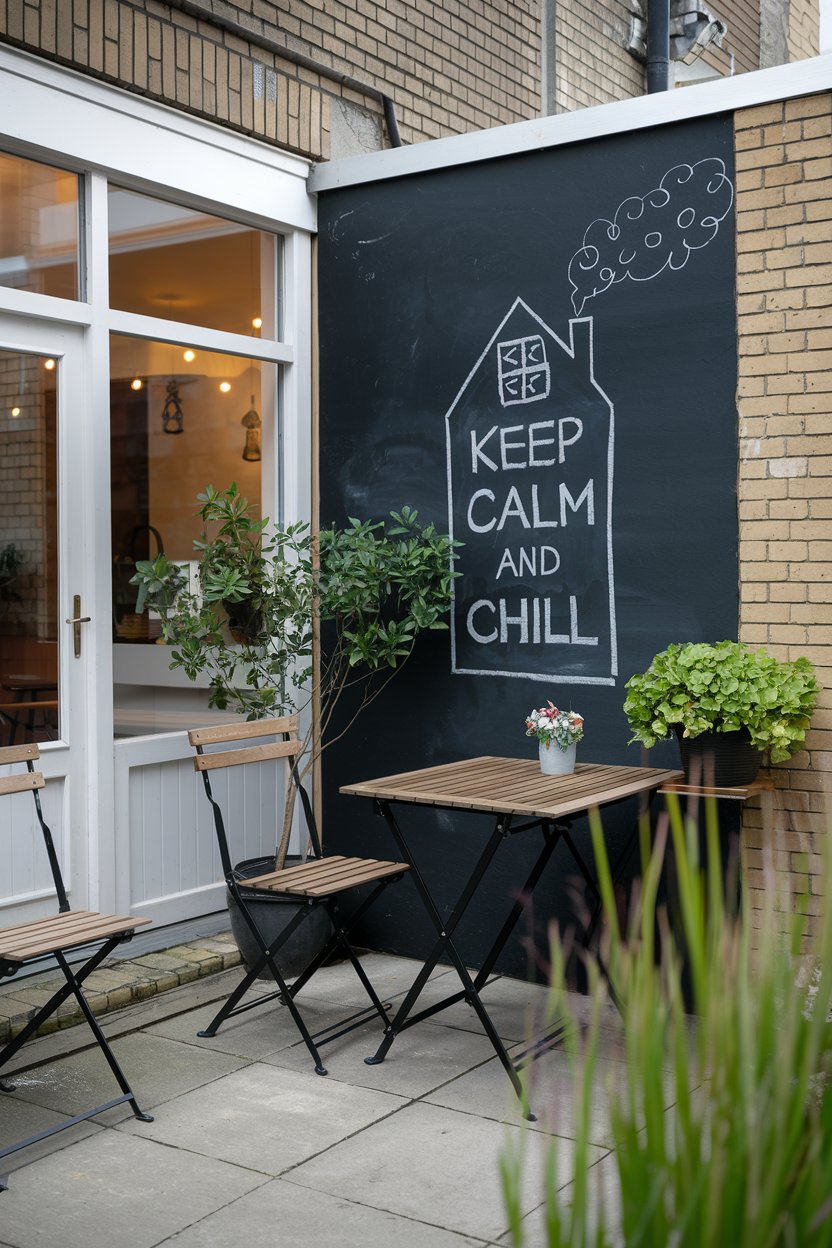
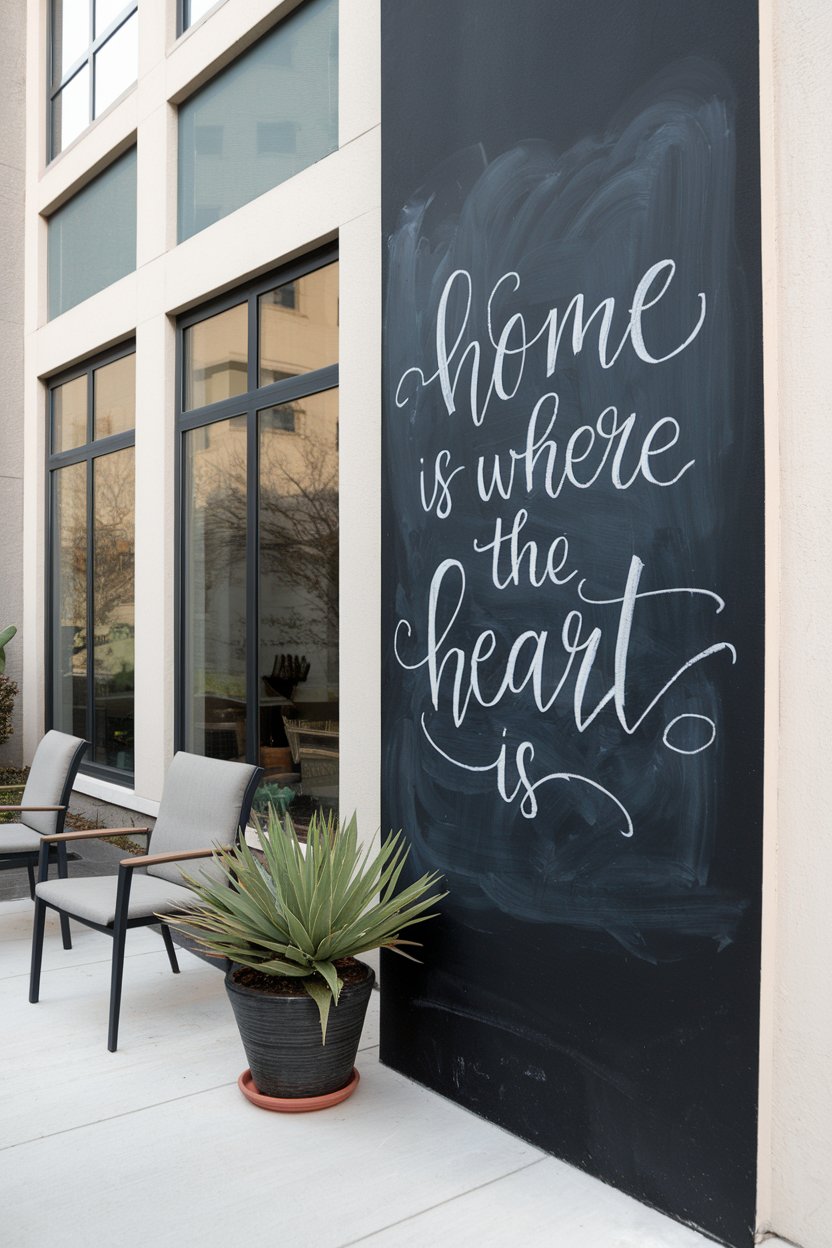
Creating a Chalkboard Patio Wall for Interactive Fun
Turn your back patio into an interactive and ever-changing space by adding a chalkboard wall. This simple yet innovative idea is budget-friendly and perfect for families with kids or anyone who loves to express creativity. A chalkboard wall allows you to unleash your artistic side, write quotes, draw seasonal decorations, or even plan weekly schedules right on your patio. It’s a playful and functional addition that enhances any outdoor area without requiring significant investment.
How to Achieve It
Selecting a Location:
– Identify a suitable wall or flat surface in your patio area that you can transform into a chalkboard.
– Ensure the chosen area is sheltered or has some protection from direct rain to preserve your artwork longer.
Gathering Materials:
– Purchase chalkboard paint and primer from a local hardware or craft store.
– Obtain brushes or rollers for smooth application, and a drop cloth to protect surrounding areas.
– Stock up on colorful chalk for creating vibrant designs and messages.
Preparing the Surface:
– Clean the wall thoroughly with soap and water to remove dirt and grime.
– Sand any rough patches and fill in holes or cracks to ensure a smooth painting surface.
– Apply primer if necessary, especially on surfaces that don’t naturally hold paint well, such as concrete or unfinished wood.
Painting the Chalkboard:
– Stir the chalkboard paint thoroughly before application.
– Apply the paint evenly over the entire surface using a roller for a smooth finish.
– Allow the first coat to dry as per the manufacturer’s instructions and apply a second coat for durability.
Choosing a Color Scheme:
– Opt for traditional black or experiment with chalkboard paint available in other colors like deep green or navy for a custom look.
– Use white chalk for classic while adding pops of color with various colored chalk pieces.
Using and Maintaining the Chalkboard Wall:
– Allow the paint to cure completely before starting to draw on the wall.
– Use a damp cloth or sponge to clean the chalkboard surface regularly.
– Season the chalkboard by rubbing a piece of chalk over the entire surface and wiping it off for easier erasing in the future.
Adding a chalkboard wall transforms your back patio into an ever-evolving space for creativity and fun, offering an inexpensive way to engage guests and family members alike. Customize designs regularly to reflect seasons, holidays, or simply your current mood.
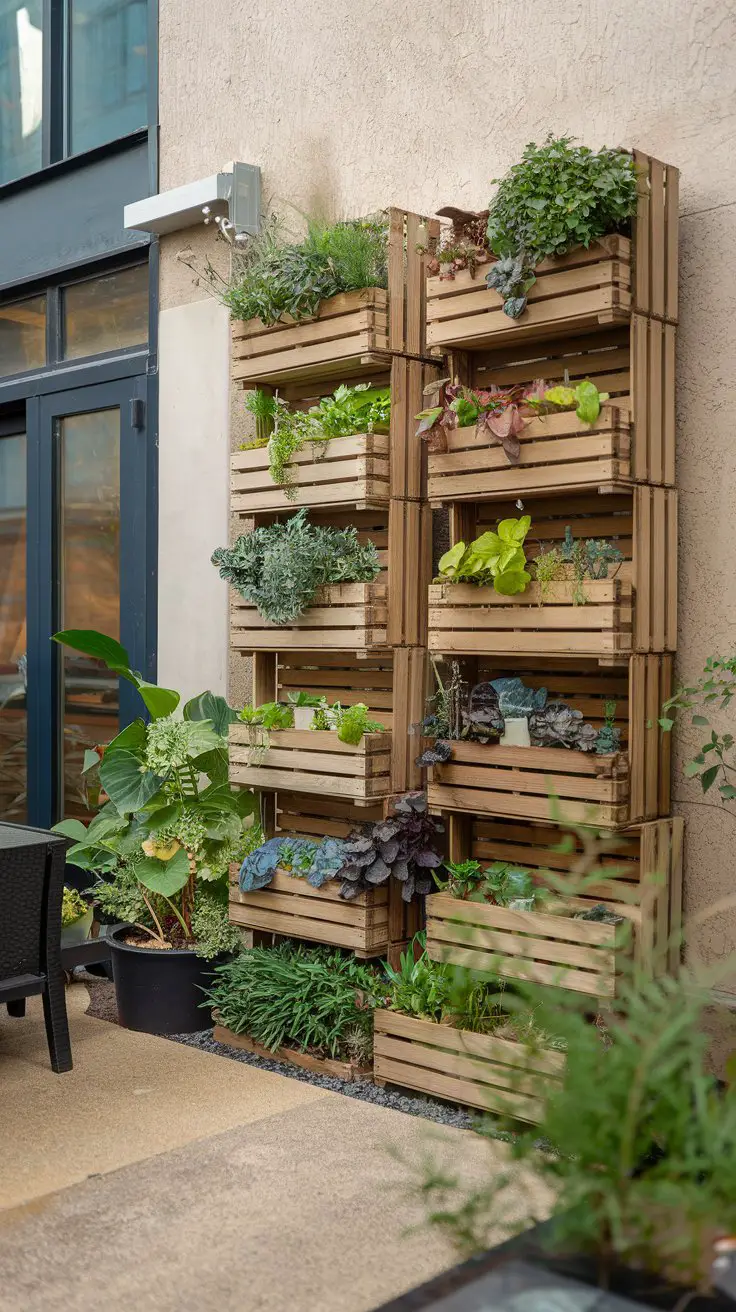
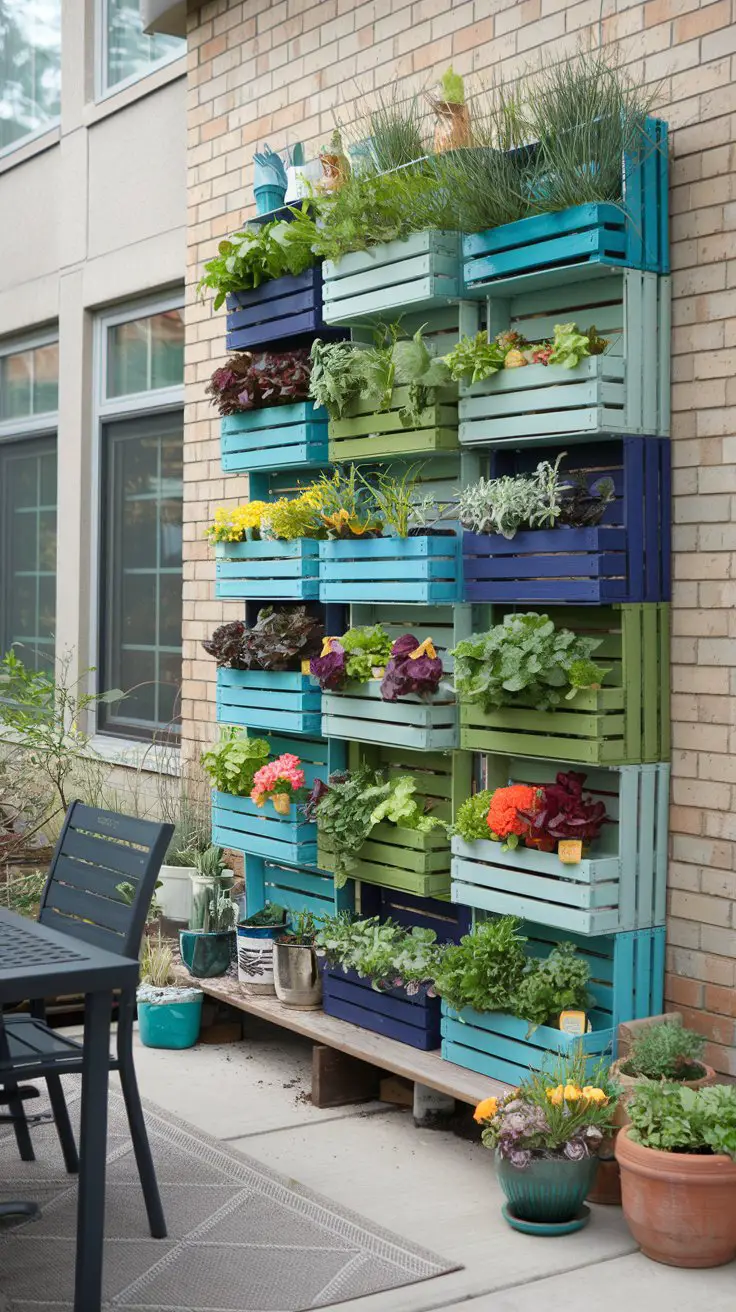
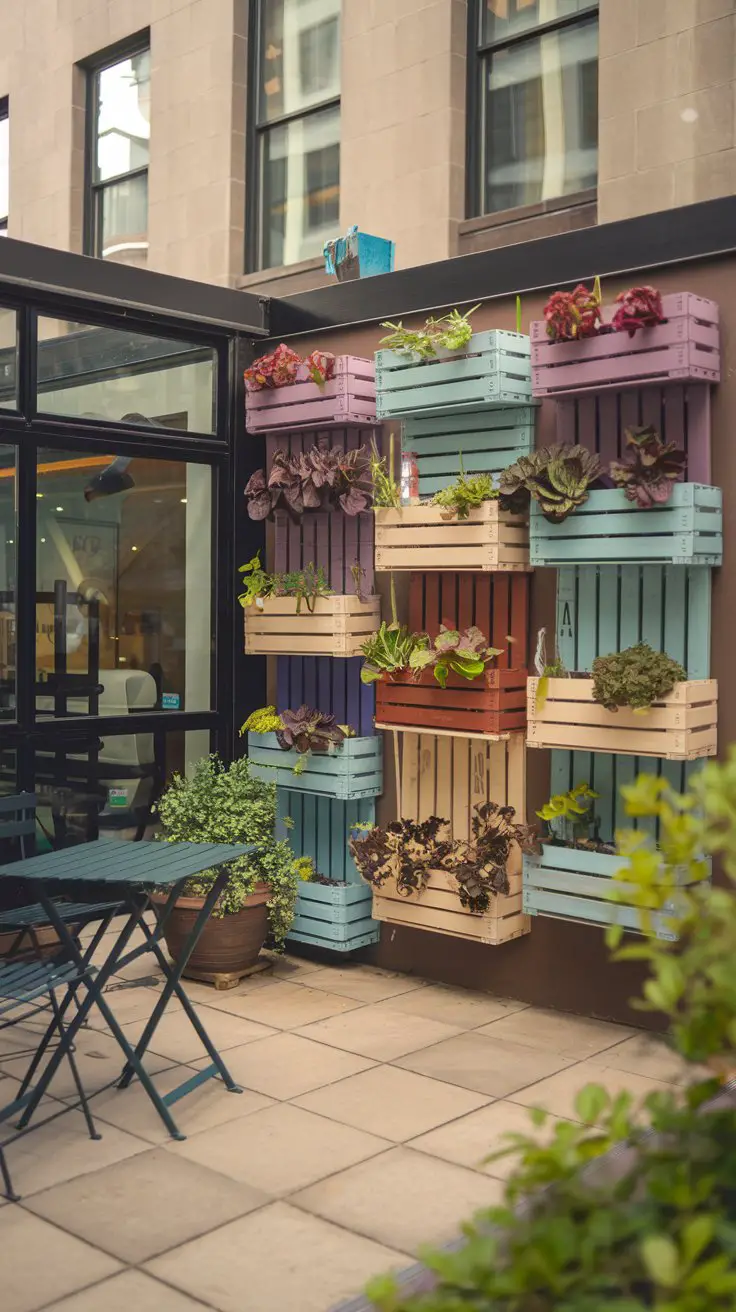
Repurposed Wooden Crate Planters for Vertical Gardens
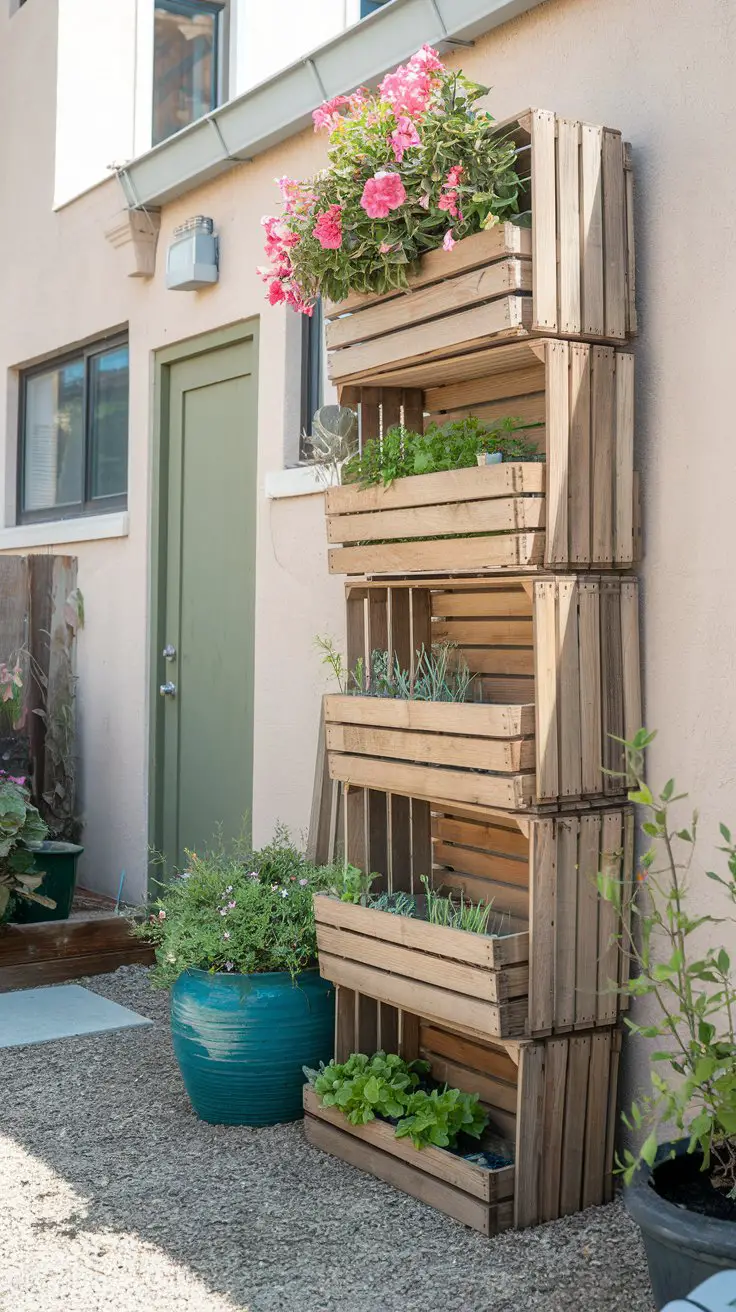
Create a dynamic vertical garden on your back patio by repurposing wooden crates into planters. This affordable and eco-friendly idea maximizes vertical space while adding texture and color to your outdoor area. Wooden crate planters are perfect for growing herbs, flowers, or small vegetables, making them ideal for garden enthusiasts with limited patio space.
How to Achieve It
Sourcing Materials:
– Look for old wooden crates at thrift stores, farmers markets, or online marketplaces.
– Choose crates that are sturdy and free from significant damage.
Preparing the Crates:
– Sand rough edges to prevent splinters and ensure a smooth finish.
– Optionally, apply a coat of wood preservative to protect them from weather exposure.
Design and Arrangement:
– Decide on the configuration of your vertical garden, such as stacking crates, leaning them against a wall, or arranging them on shelves.
– Ensure a stable setup to prevent tipping over, especially if arranging crates vertically.
Planting the Garden:
– Line the inside of each crate with landscape fabric to hold soil while allowing for drainage.
– Fill each crate with potting soil, leaving space for planting.
– Select plants suitable for your climate and sunlight exposure, such as herbs for a kitchen garden or bright flowers for added color.
Color Scheme and Accents:
– Paint crates in complementary colors to match your patio decor or leave them natural for a rustic look.
– Add personal touches with stencils or labels to identify plant types.
Maintenance:
– Water plants as needed, accounting for different requirements based on plant type and weather conditions.
– Fertilize periodically to promote healthy growth.
– Regularly prune and deadhead plants to maintain a tidy appearance.
A vertical garden made from repurposed wooden crates adds an element of greenery and creativity to your back patio without requiring a significant investment. Customize the plant selection and arrangement to reflect your personal style and gardening goals.
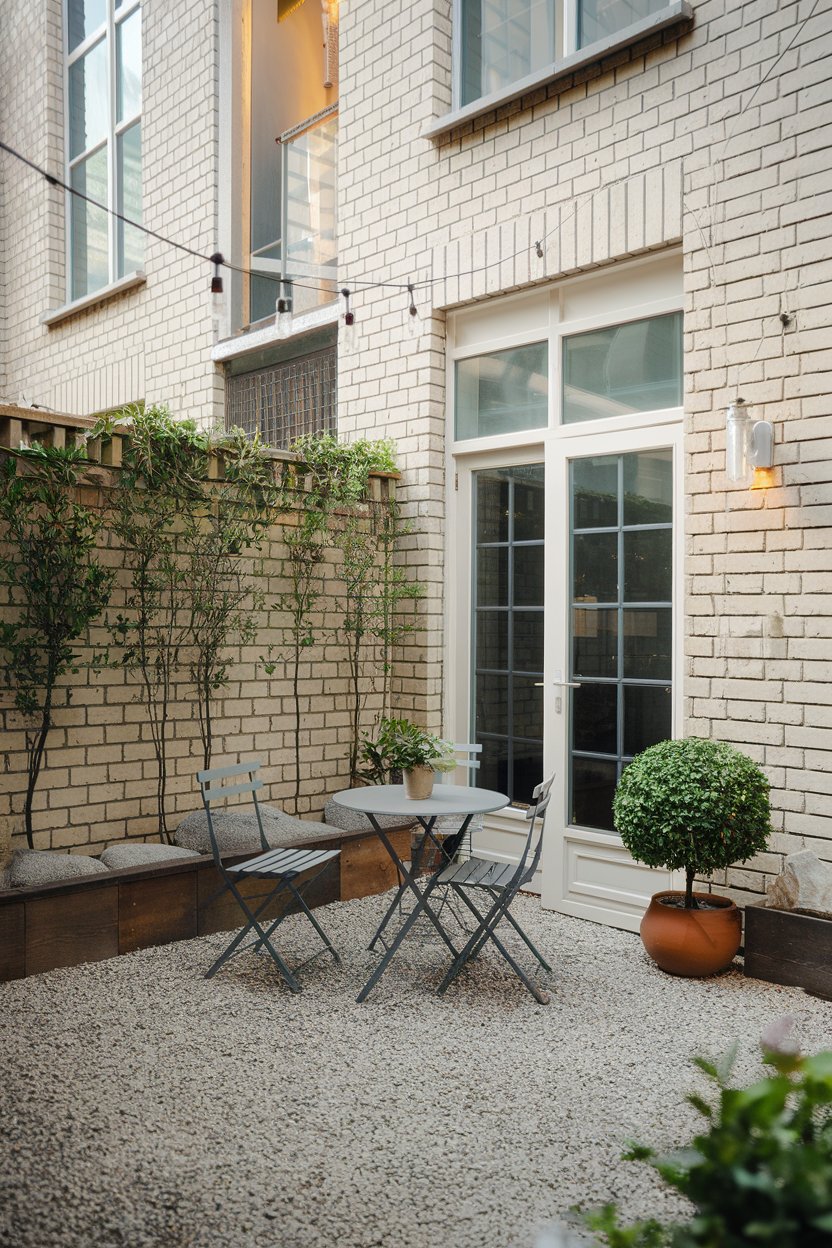
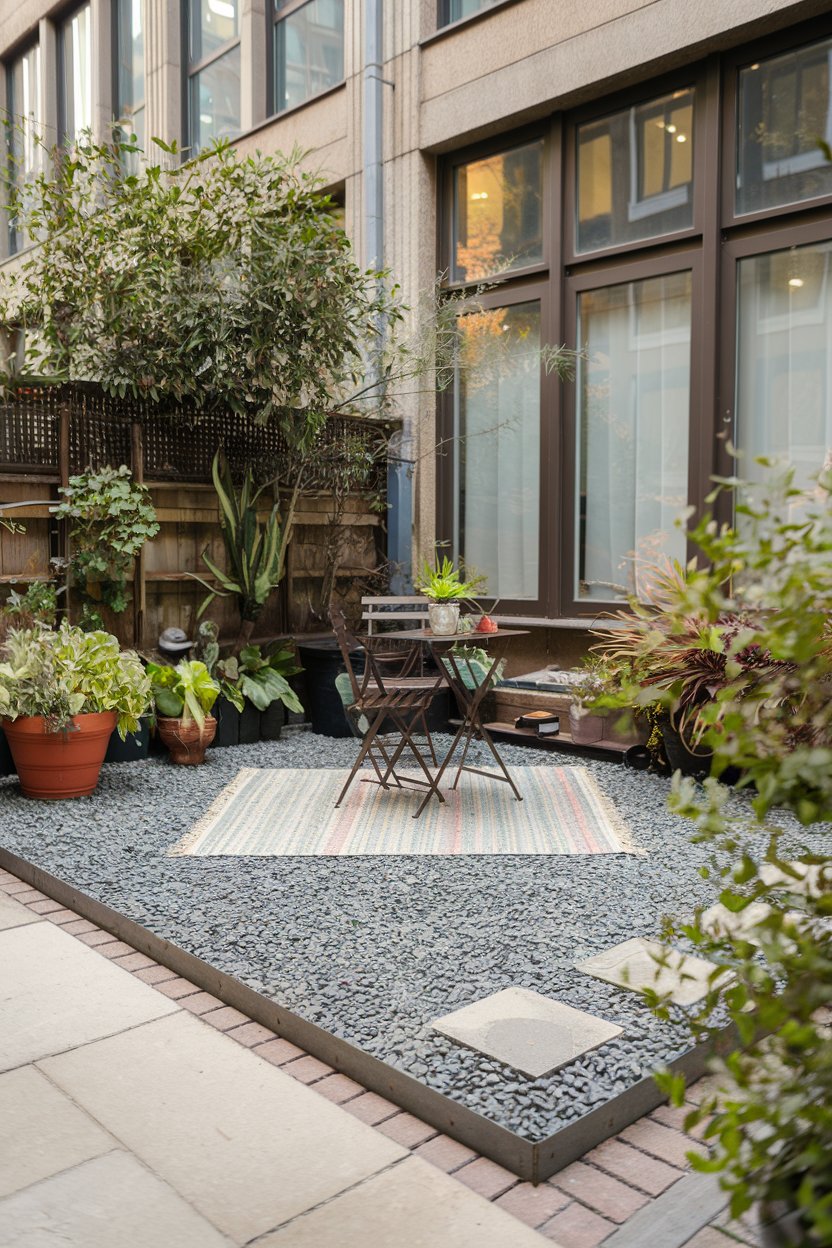
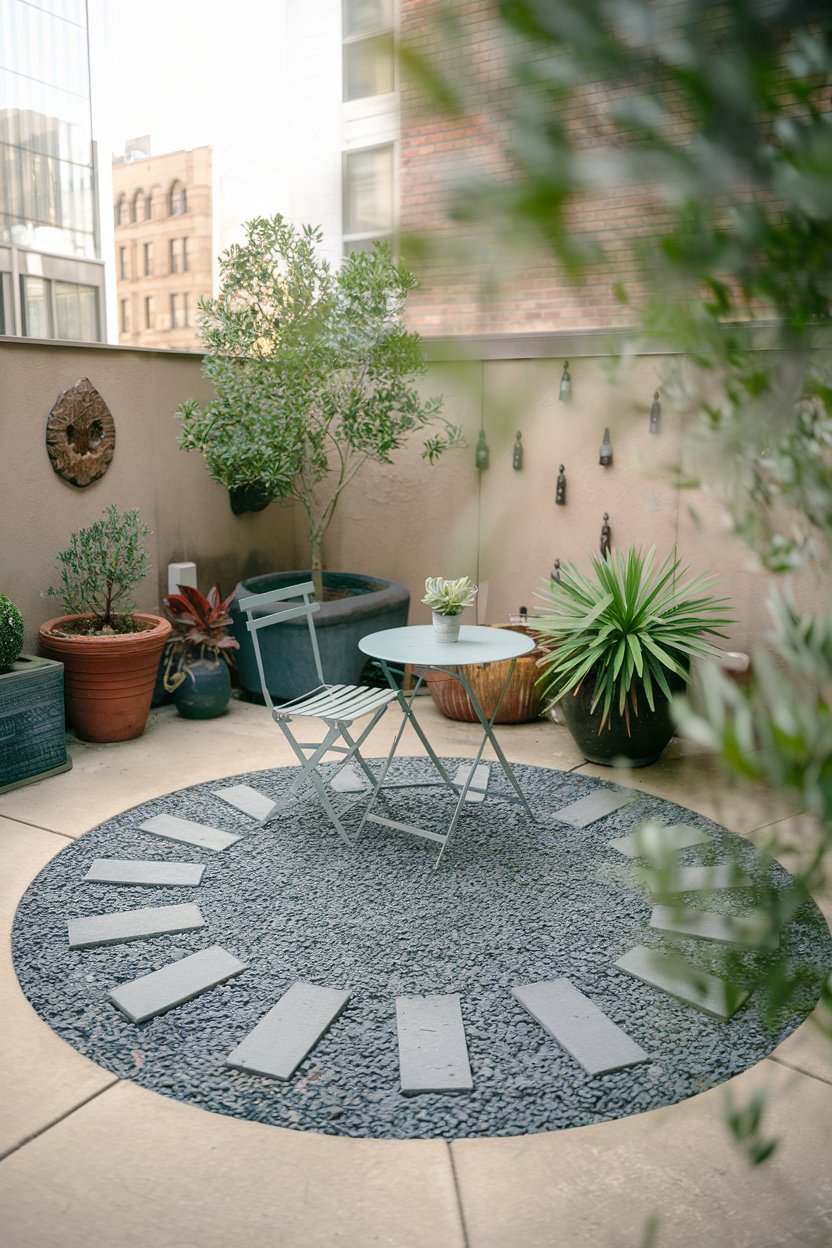
DIY Gravel Seating Area for a Chic Look
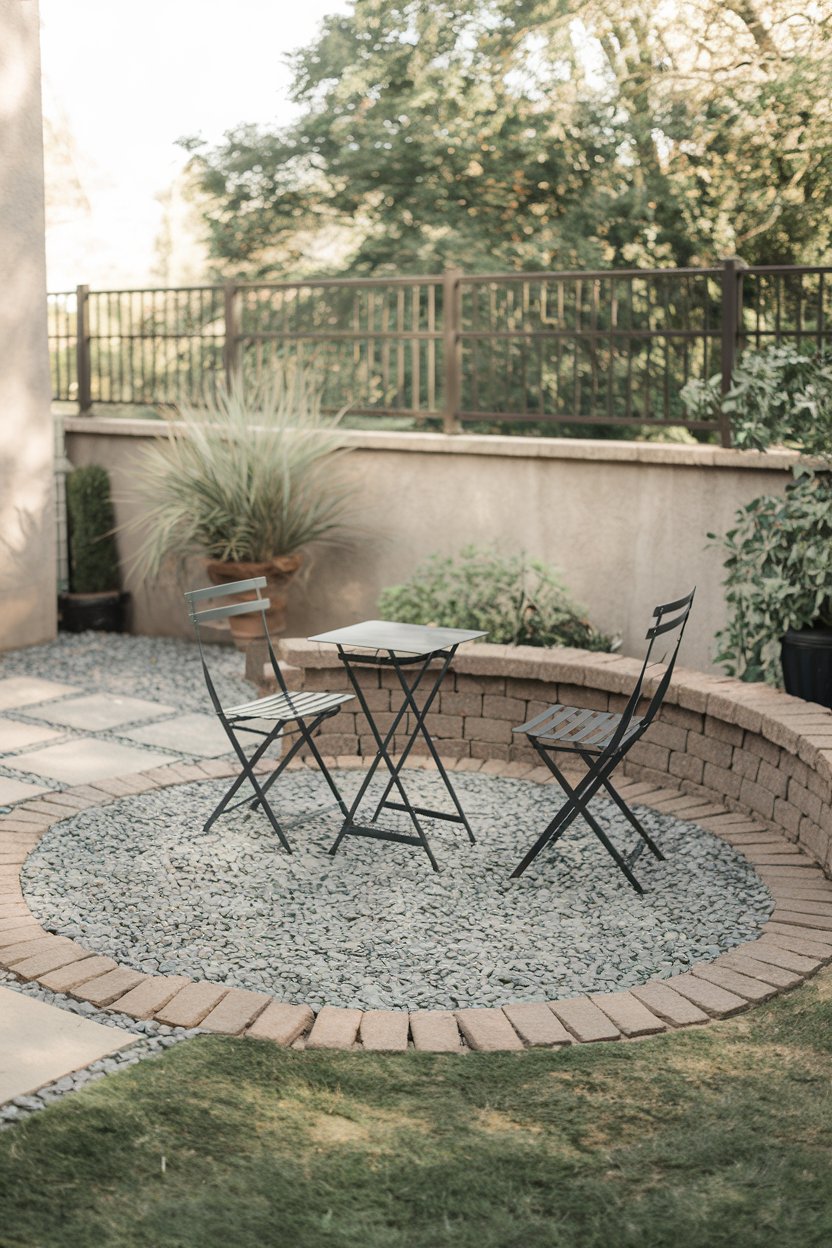
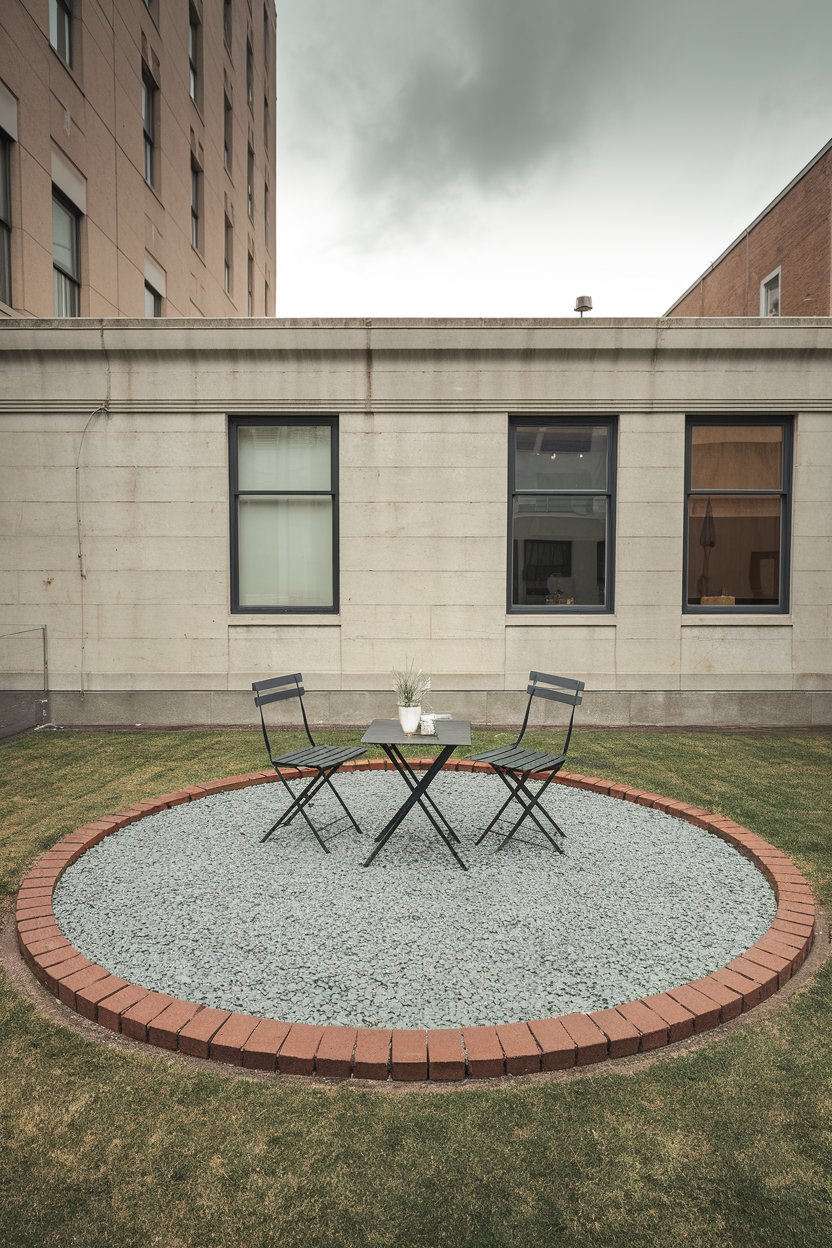
Create an inviting and affordable seating area on your back patio by using gravel. This easy-to-assemble outdoor floor offers a chic and low-maintenance solution for defining a cozy space that is perfect for relaxation and entertaining. Gravel adds texture and sophistication while blending harmoniously with natural surroundings, making it an excellent choice for budget-conscious outdoor designers.
How to Achieve It
Sourcing Materials:
– Purchase garden gravel from local landscaping suppliers or home improvement stores, choosing a color and size that complements your patio’s aesthetic.
– Gather landscaping fabric, stakes, and edging materials like bricks or pavers to define the seating area.
Design Planning:
– Measure the area where you want to create the seating space, considering the size of your furniture and the desired layout.
– Opt for a geometric shape, such as a circular or rectangular area, to achieve a clean and organized look.
Preparing and Laying the Foundation:
– Clear the designated area of any grass, weeds, or debris.
– Level the ground using a rake, ensuring a flat surface for uniform gravel distribution.
– Lay the landscaping fabric over the entire area to prevent weed growth and secure it with stakes.
Edging and Gravel Application:
– Install edging along the perimeter of the seating area using bricks, pavers, or metal edging strips for a neat boundary.
– Spread the gravel evenly across the fabric, aiming for a depth of 2-3 inches to provide a stable ground cover.
– Use a compactor or simply walk over the area to settle the gravel in place.
Adding Furniture and Accents:
– Arrange outdoor furniture such as a small bistro table, chairs, or a bench on the gravel for practical seating.
– Incorporate colorful outdoor cushions and throws to introduce comfort and style.
– Consider adding potted plants or small lanterns around the perimeter to enhance ambiance.
Color Scheme and Finishing Touches:
– Choose neutral gravel tones like gray or beige for a classic look, or consider more colorful options to add vibrancy.
– Coordinate furniture and accessory colors with the gravel, selecting complementary or contrasting shades to highlight the area.
By establishing a gravel seating area, you can enjoy a stylish and functional outdoor space while staying within your budget. This approach allows you to personalize your patio with minimal effort and cost, achieving an elegant and inviting atmosphere for both everyday enjoyment and social gatherings.
Budget-Friendly Mosaic Stepping Stones
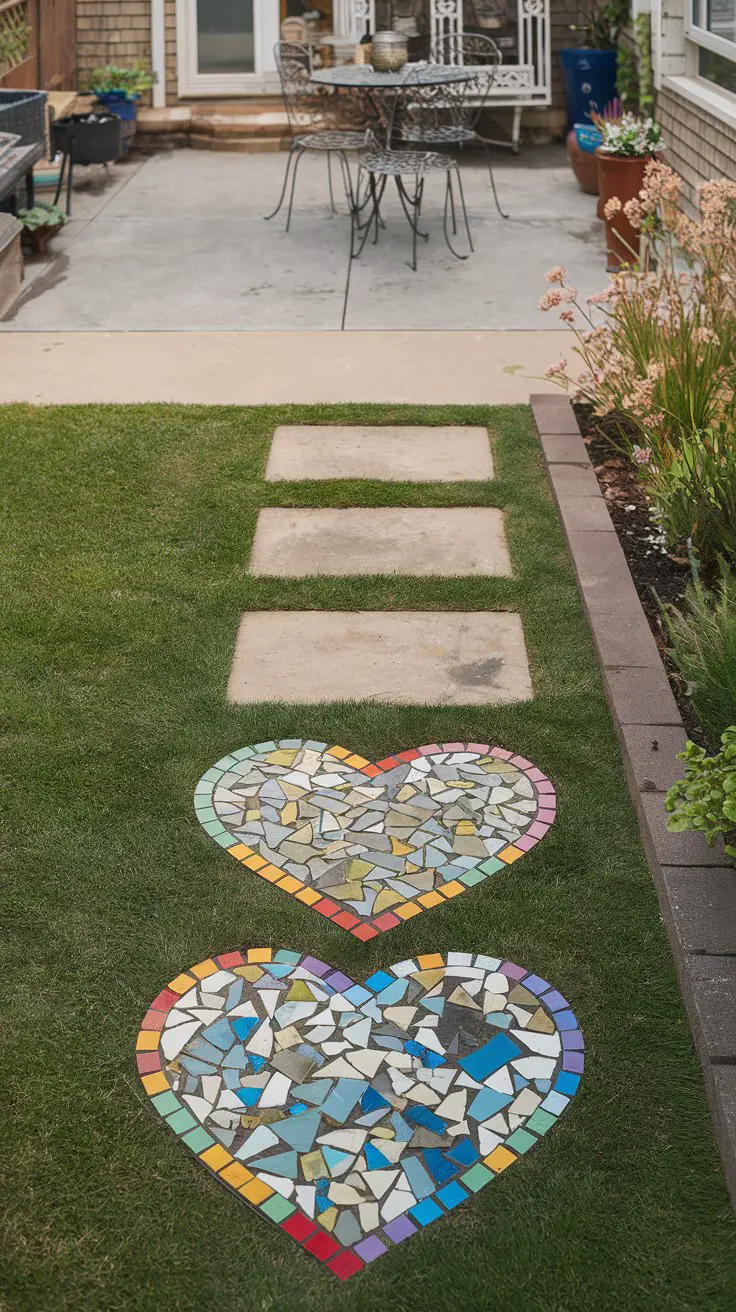
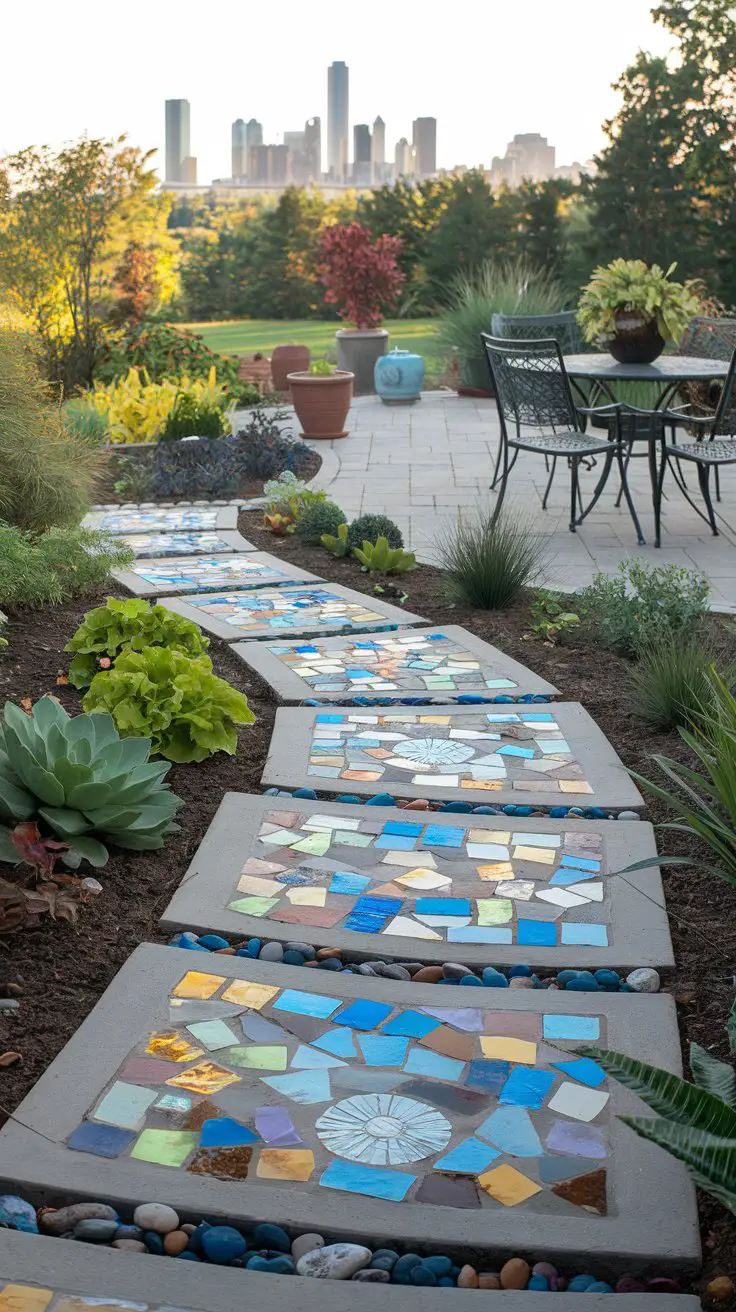
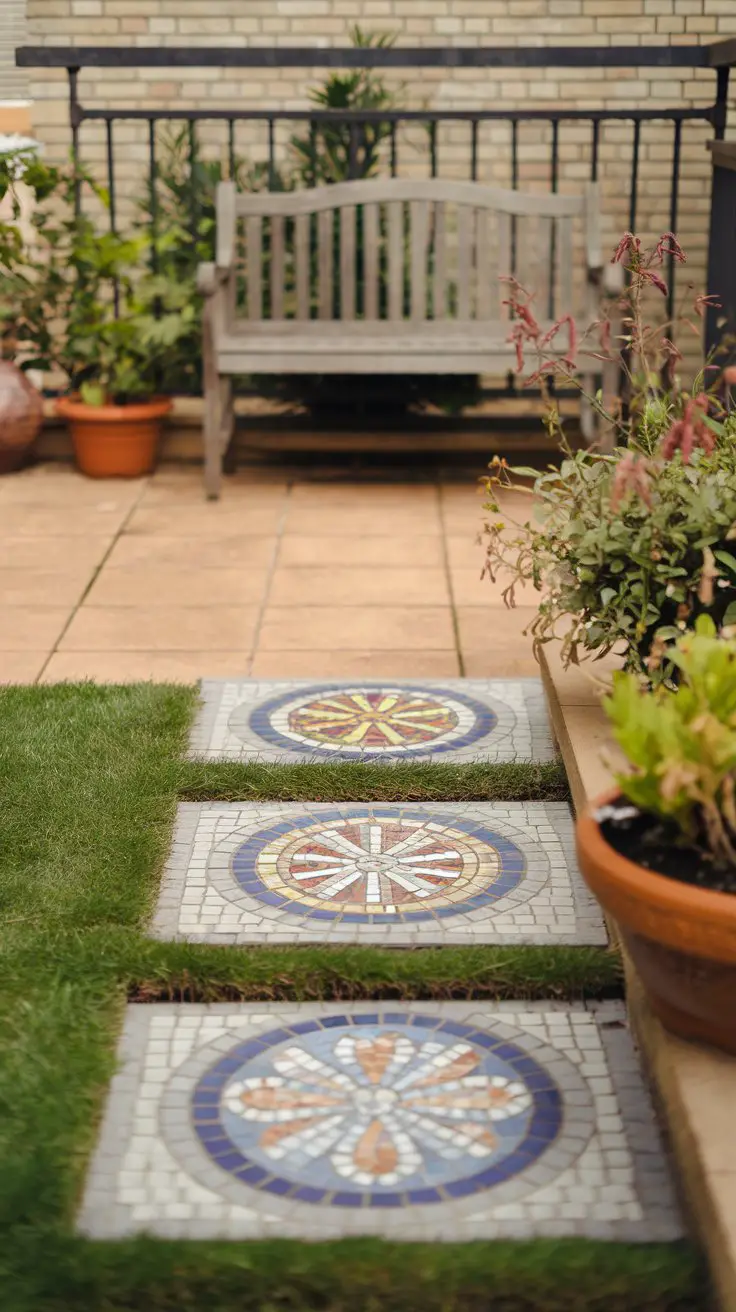
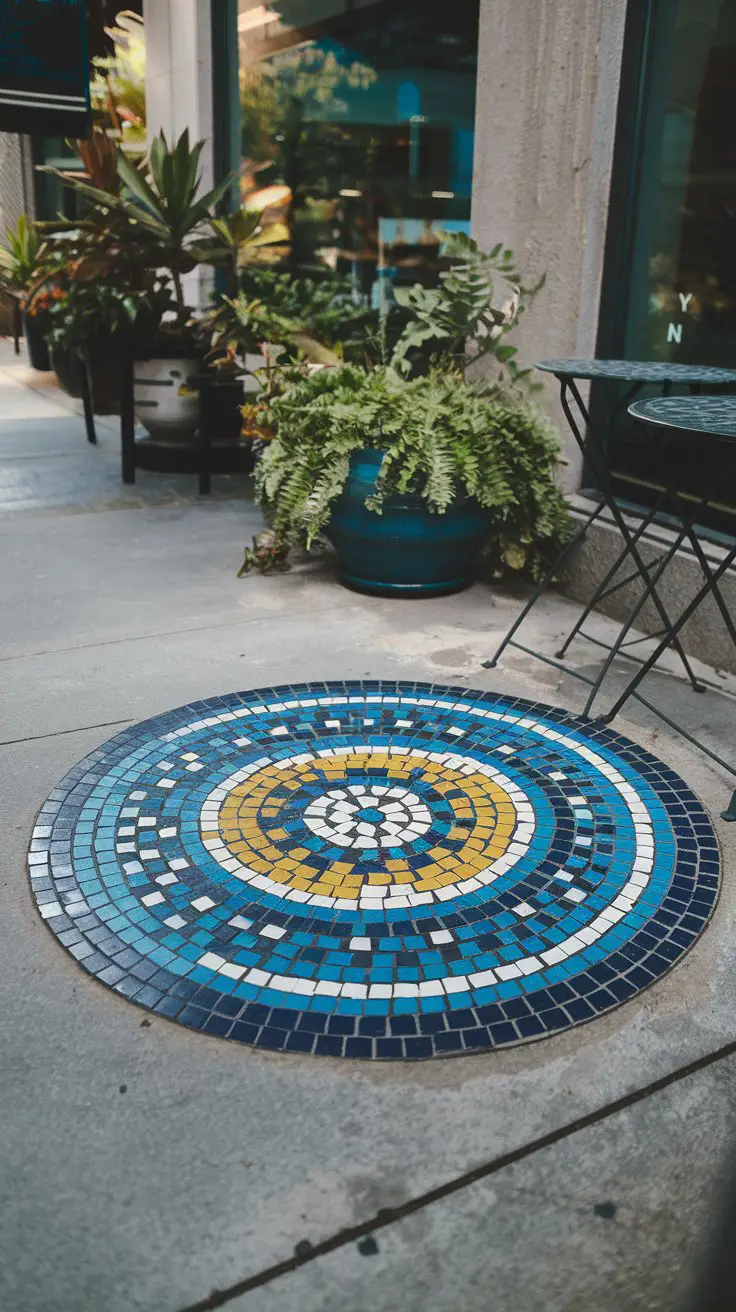
Add a touch of artistic flair to your back patio with budget-friendly mosaic stepping stones. This creative and customizable idea allows you to personalize your outdoor pathway or seating area with splashes of color and intricate designs without spending much. Mosaic stepping stones offer a unique way to elevate your patio’s aesthetic, seamlessly integrating art with nature.
How to Achieve It
Sourcing Materials:
– Obtain plain concrete stepping stones from garden centers or home improvement stores.
– Gather old or broken tiles, glass pieces, or colored stones to use for the mosaic; these can be sourced from thrift stores or collected over time.
– Purchase tile adhesive and grout suited for outdoor use.
Design Planning:
– Sketch your desired mosaic design on paper, considering patterns such as floral motifs, geometric shapes, or abstract art.
– Decide on a color scheme that complements your patio’s overall decor; consider using warm tones like reds and oranges for vibrancy or cool blues and greens for a calming effect.
Creating the Mosaic:
– Clean the stepping stones thoroughly to remove any dirt or debris.
– Arrange your chosen mosaic pieces loosely on the stone to test your design before adhering them.
– Apply tile adhesive to the back of each piece and press it firmly onto the stone, ensuring even spacing between pieces.
Grouting and Sealing:
– Once the adhesive has dried, use a grout float to apply grout evenly between mosaic pieces.
– Wipe away excess grout with a damp sponge and allow it to set completely.
– Seal the finished stones with an outdoor-rated sealant to protect against weathering.
Placement and Maintenance:
– Position the mosaic stepping stones in your patio space, either as a decorative path or integrated into a seating area.
– Ensure the ground is level to prevent stones from shifting; use a layer of sand underneath for stability.
– Clean periodically with mild soap and water, avoiding harsh chemicals that may damage the mosaic.
Incorporating mosaic stepping stones into your patio design allows you to express your creativity while enhancing the visual appeal of your outdoor area. Tailor your design and color choices to reflect your personal style, adding an artistic touch to your backyard retreat.
Outdoor Fabric Canopy for Shade and Style
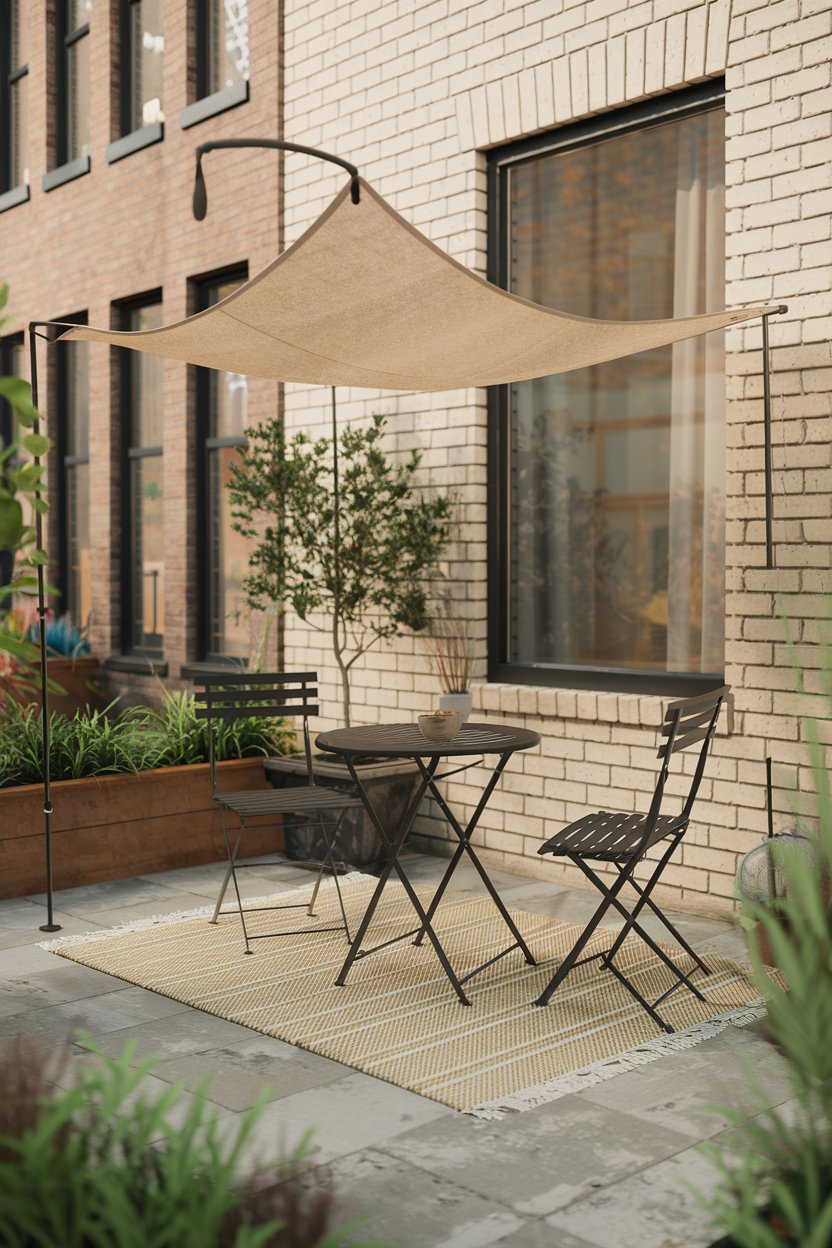
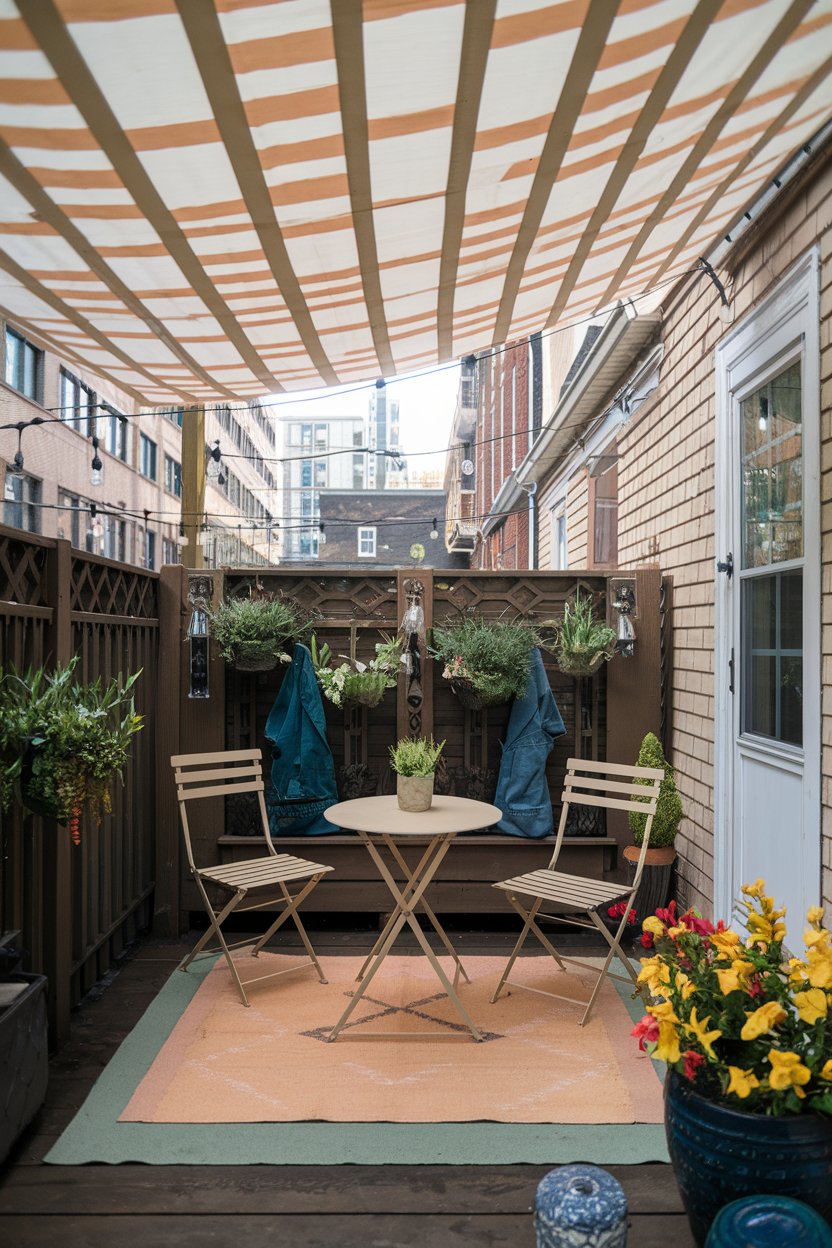
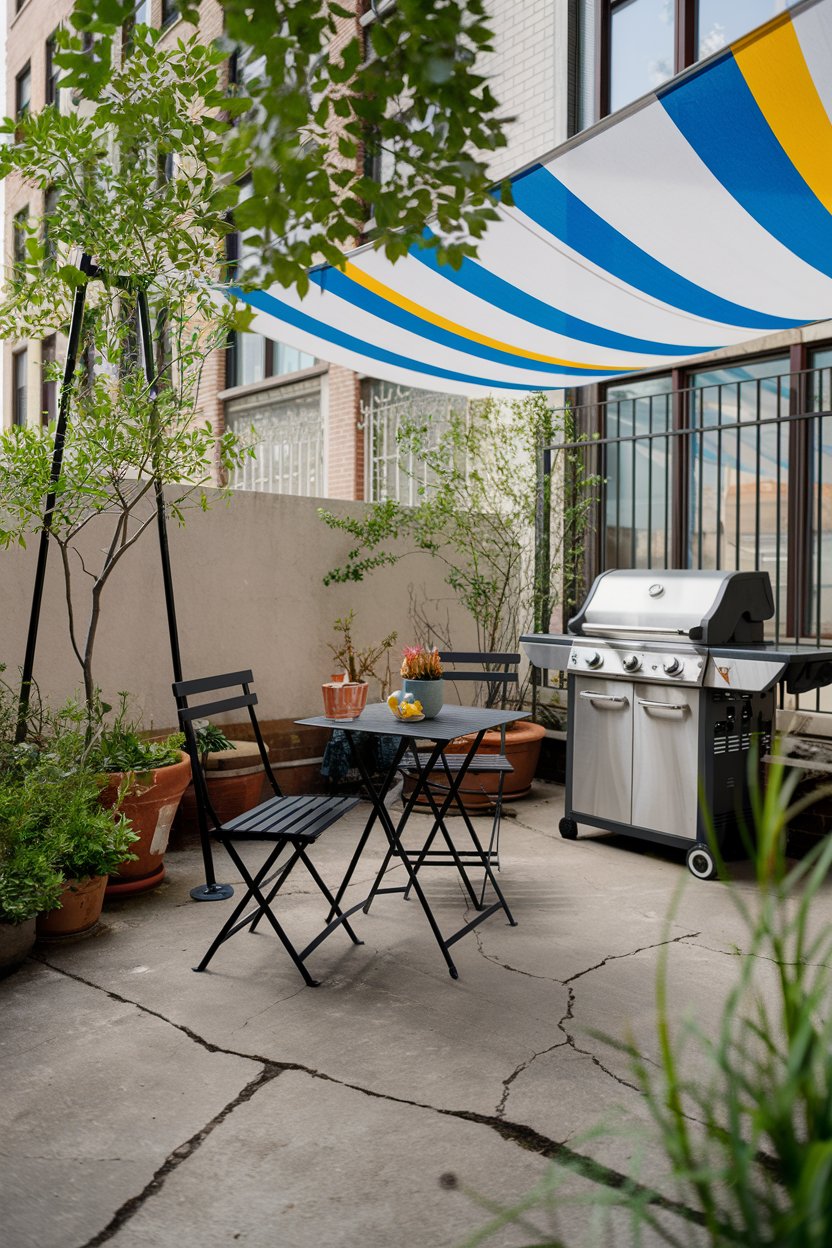
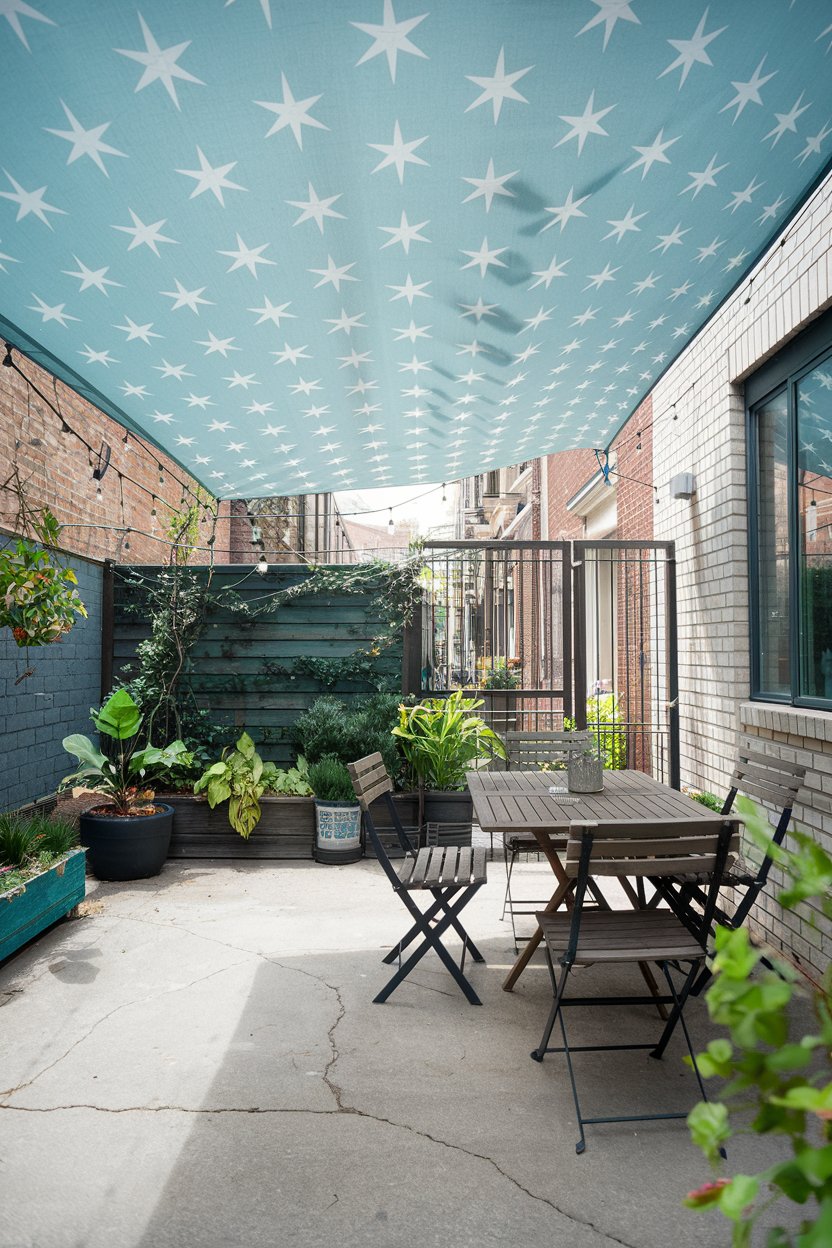
Enhance your back patio with a stylish and functional outdoor fabric canopy. This budget-friendly idea provides much-needed shade while adding an element of sophistication to your outdoor retreat. Not only does a fabric canopy help keep your patio cool on sunny days, but it also offers a charming accent that can easily be customized to match your existing decor. Perfect for relaxing in comfort or entertaining guests, an outdoor canopy transforms your patio into an inviting oasis.
How to Achieve It
Sourcing Materials:
– Obtain weather-resistant outdoor fabric from craft stores or online retailers in a pattern or color that complements your patio’s style.
– Use galvanized or stainless steel grommets, wire cables, or strong rope for installing the canopy.
Design Planning:
– Decide the size and shape of your canopy based on the area of your patio that needs shade—consider rectangular, square, or triangular designs for varying aesthetics.
– Measure the desired installation area carefully, ensuring your fabric is an appropriate size to provide effective coverage.
Installation Setup:
– Install posts or use existing structures (e.g., pergolas, house eaves) for anchoring your canopy.
– Attach grommets securely to the corners of the fabric if they aren’t pre-installed.
Installing the Canopy:
– Use wire cables or ropes threaded through the grommets to attach the fabric to your anchor points, ensuring it’s taut but not overly tight.
– Adjust the height and angle to create the desired amount of shade and water runoff in case of rain.
Finishing Touches and Maintenance:
– Select a color scheme that aligns with your patio’s decor—opt for neutral shades for a subtle look or vibrant colors to make a bold statement.
– Regularly check for loose grommets or wear and tear on the fabric, addressing any issues promptly to prolong the life of the canopy.
– Clean the fabric periodically using mild soap and water to remove any dirt or debris buildup.
Adding an outdoor fabric canopy provides both practical shade and visual elegance to your back patio without significant expense. By tailoring the design and color to your taste, you can create an inviting and stylish space perfect for outdoor leisure and social gatherings.
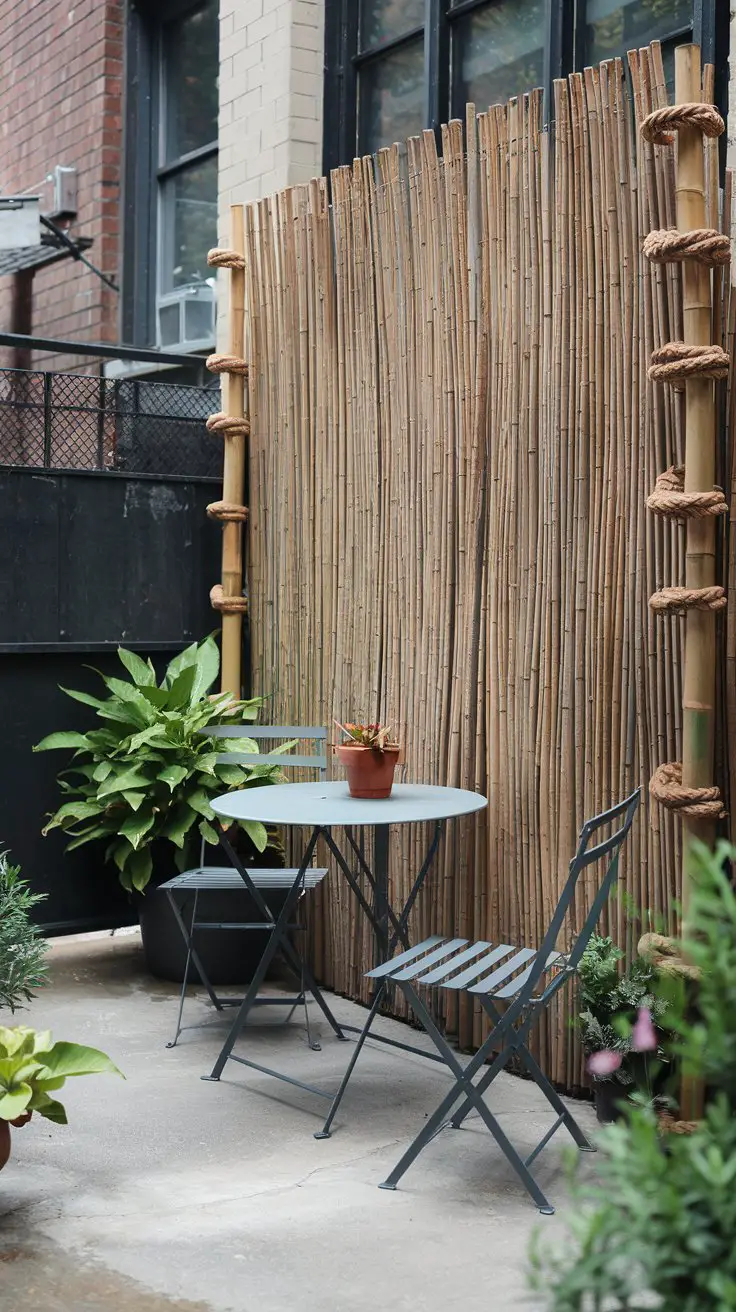
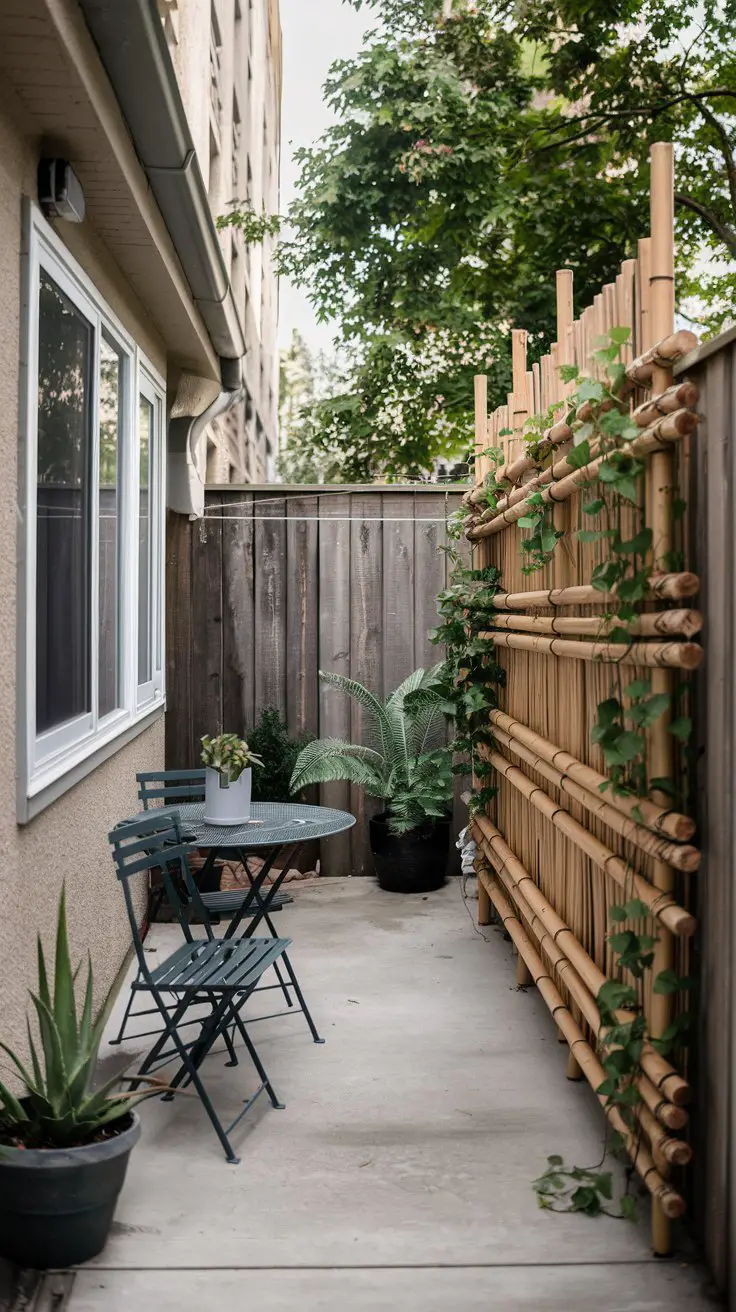
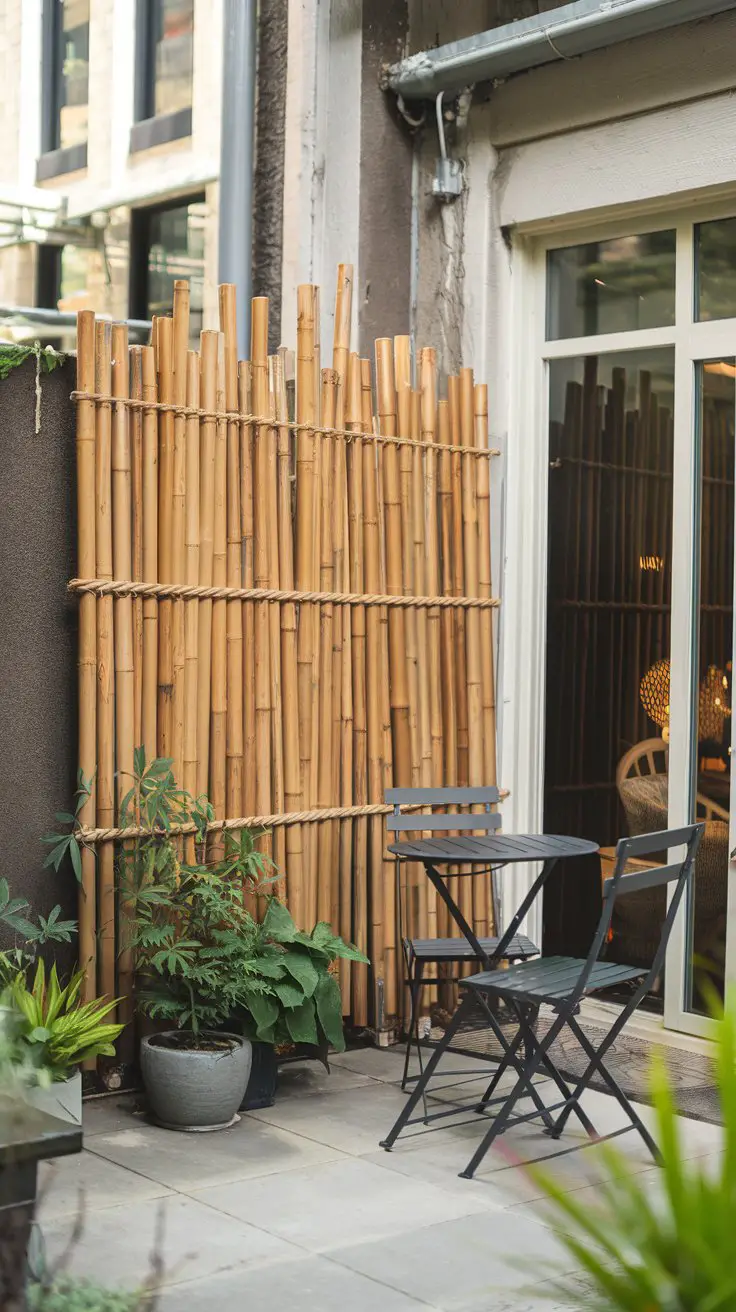
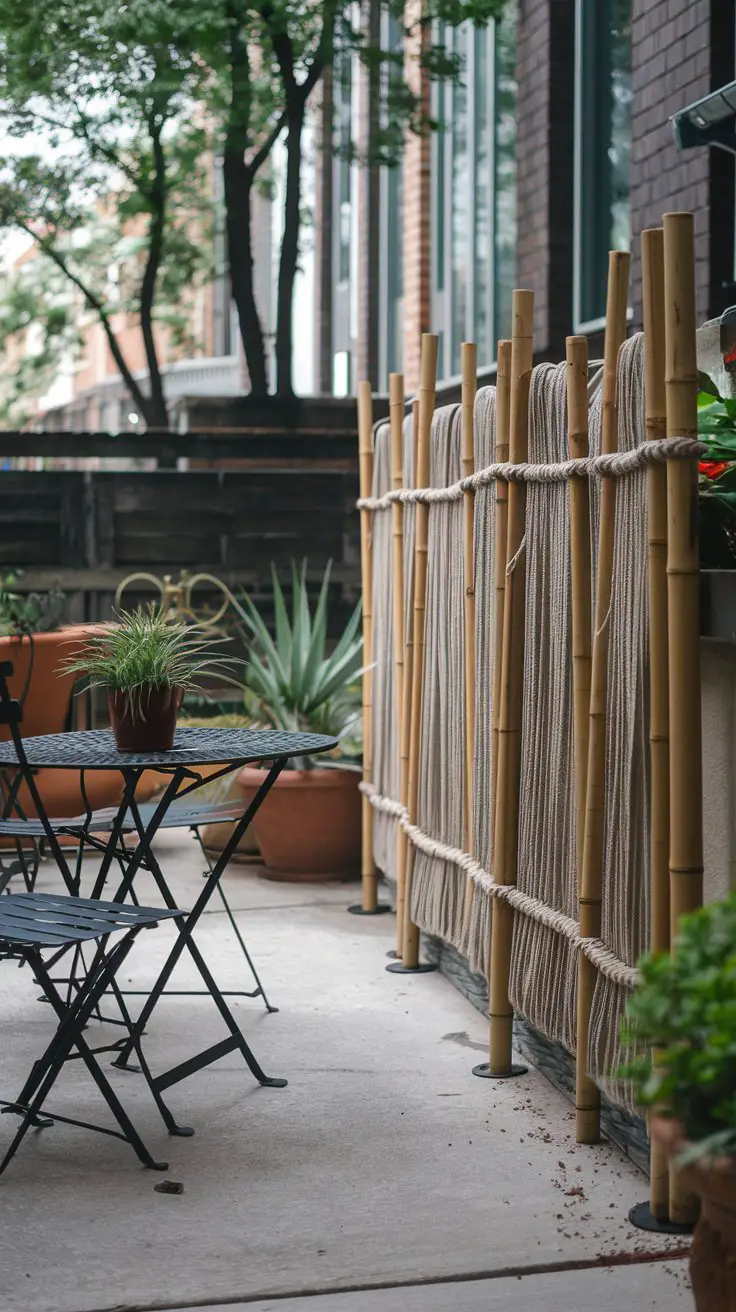
DIY Outdoor Privacy Screen Using Bamboo
Create an intimate and tranquil back patio environment with a DIY outdoor privacy screen using bamboo. This budget-friendly solution offers both aesthetic appeal and functionality, as the natural beauty of bamboo complements various outdoor styles while providing privacy from neighbors or street view. Ideal for delineating a cozy nook within your patio or shielding a specific section, bamboo screens can be customized to fit any space and budget.
How to Achieve It
Sourcing Materials:
– Look for affordable bamboo poles at garden centers, craft stores, or purchase them online.
– Gather other materials including sturdy rope, zip ties, or wire for binding the poles together.
Design Planning:
– Determine the height and width of the screen based on your patio’s layout and privacy needs.
– Consider the placement of the screen for maximum effectiveness—align it along a fence, against a wall, or as a standalone partition.
Constructing the Screen:
– Arrange the bamboo poles vertically side by side to form a uniform barrier.
– Use rope, zip ties, or wire to tightly secure the poles together at intervals along their length, ensuring the structure is stable.
– Reinforce the edges by adding horizontal bamboo poles as braces.
Installation:
– Anchor the bamboo screen in place by attaching it to existing structures like a fence or by using additional support stakes for freestanding installation.
– Ensure the screen is securely fastened to withstand wind and weather conditions.
Finishing Touches and Maintenance:
– Enhance the aesthetic by decorating the screen with climbing plants or string lights for a charming and cozy atmosphere.
– Select neutral or natural colors to maintain harmony with the bamboo’s earthy tones and blend seamlessly with your outdoor decor.
– Regularly inspect the screen for any wear and tear, tightening bindings or replacing damaged pieces as necessary to maintain its integrity.
By constructing a bamboo privacy screen, you can achieve a serene and private outdoor space that is both practical and visually appealing, without straining your budget. This natural addition helps create an inviting ambiance while offering a touch of exotic elegance to your patio.
