Transforming a bland outdoor space into a tranquil natural haven can be achieved beautifully through river rock landscaping. These versatile stones, each uniquely shaped and colored by nature, serve as an ideal medium to create stunning visual interest in your garden. River rocks offer the perfect blend of functionality and aesthetic appeal, whether they’re used for defining pathways, enhancing garden borders, or crafting a serene water feature. This article delves into inspiring river rock landscaping ideas that will help you to integrate these natural elements into your landscape design seamlessly, enhancing the harmony and charm of your outdoor environment.
Zen Garden Oasis with River Rocks
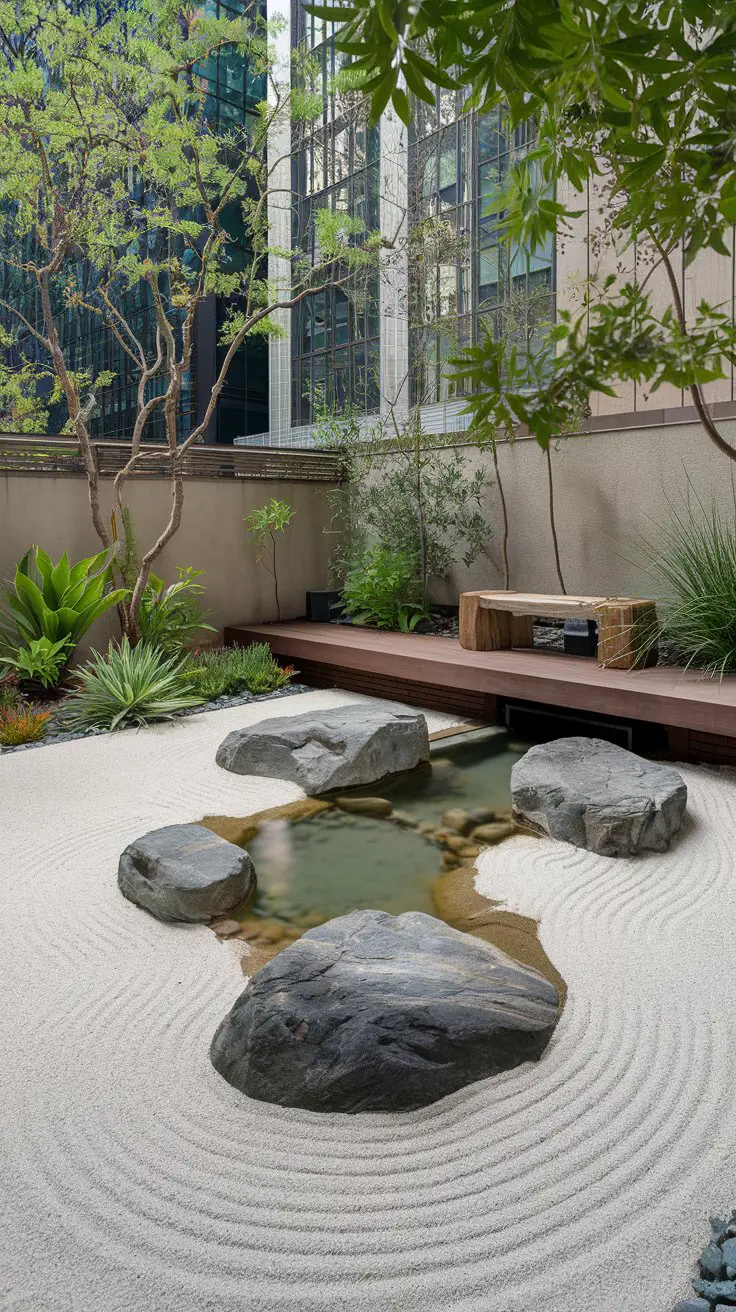
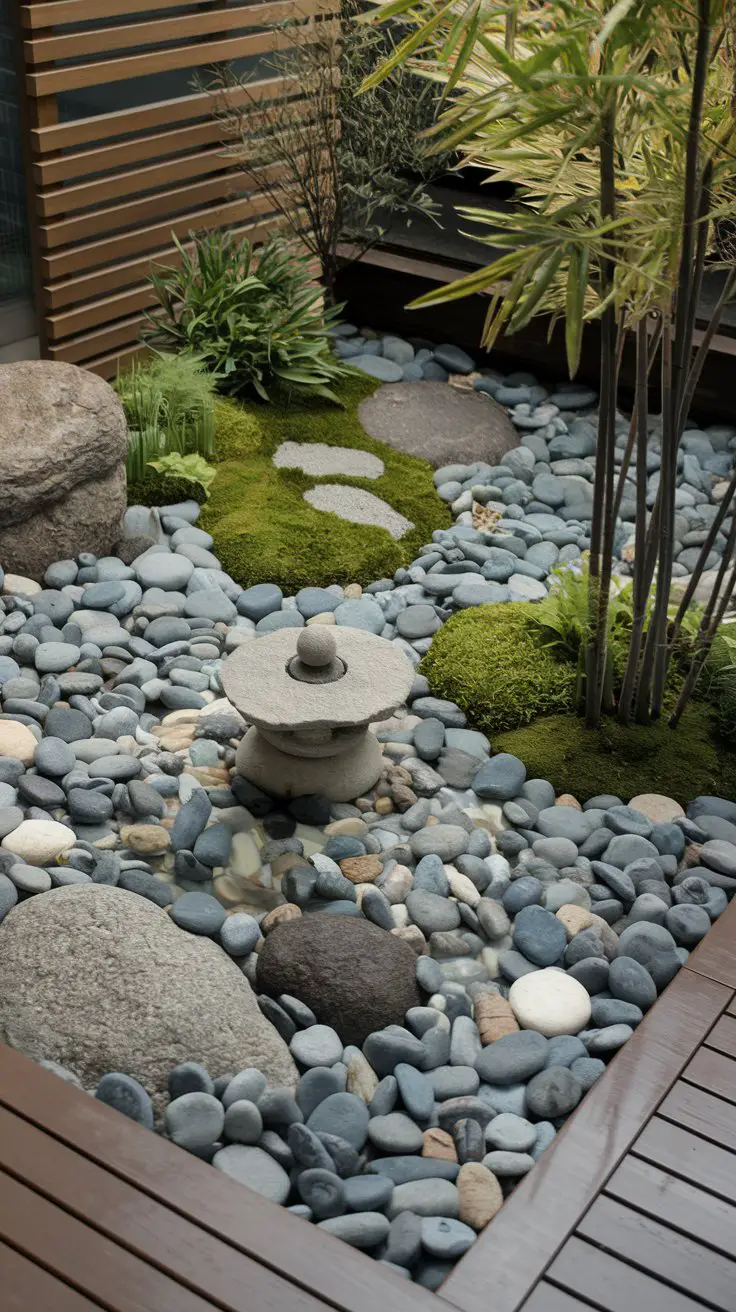
Creating a Zen garden oasis using river rocks can transform any outdoor space into a tranquil and calming retreat. This landscaping idea combines the natural beauty of smooth river rocks with minimalist design principles, emphasizing simplicity, balance, and mindfulness. The gentle curves and natural colors of the rocks mimic the flow of water, adding a serene, contemplative atmosphere to your garden. Colors such as soft grays, whites, and earthy browns are perfect to maintain a serene and neutral palette.
How to Achieve a Zen Garden Oasis
Select a Location:
Choose a flat, dry area in your garden to create your Zen garden. An area that is visible from your home or a quiet corner away from busy areas is ideal.
Clear the Space:
Remove any existing grass, plants, or debris from the selected area. Ensure the ground is even and compact.
Install a Weed Barrier:
Lay down landscape fabric to prevent weed growth, ensuring long-term maintenance is minimal.
Outline the Garden:
Use larger river rocks to create a defined border for your Zen garden, providing structure and containing the smaller elements within.
Choose Complementary Elements:
Incorporate features like a small Buddha statue, a water feature, or a simple bench. Ensure these elements complement the overall aesthetic and maintain the peaceful vibe.
Place the River Rocks:
Begin by laying a layer of fine gravel or white sand as the base. Arrange the river rocks in natural, flowing patterns that resemble streams or waves. Leave space between groups of rocks to mimic islands or pathways.
Add Greenery Sparingly:
Introduce minimal greenery such as moss, small evergreen shrubs, or bamboo to add a touch of life without overpowering the simplicity.
Maintain the Garden Regularly:
Rake the sand or gravel to maintain its patterns and ensure the river rocks remain clean and neatly arranged.
Lighting and Color Schemes:
Consider adding subtle, soft lighting like solar-powered lanterns to illuminate the garden at night, emphasizing the natural colors of the rocks and creating a calming nighttime ambience.


Rustic Fire Pit with River Rocks
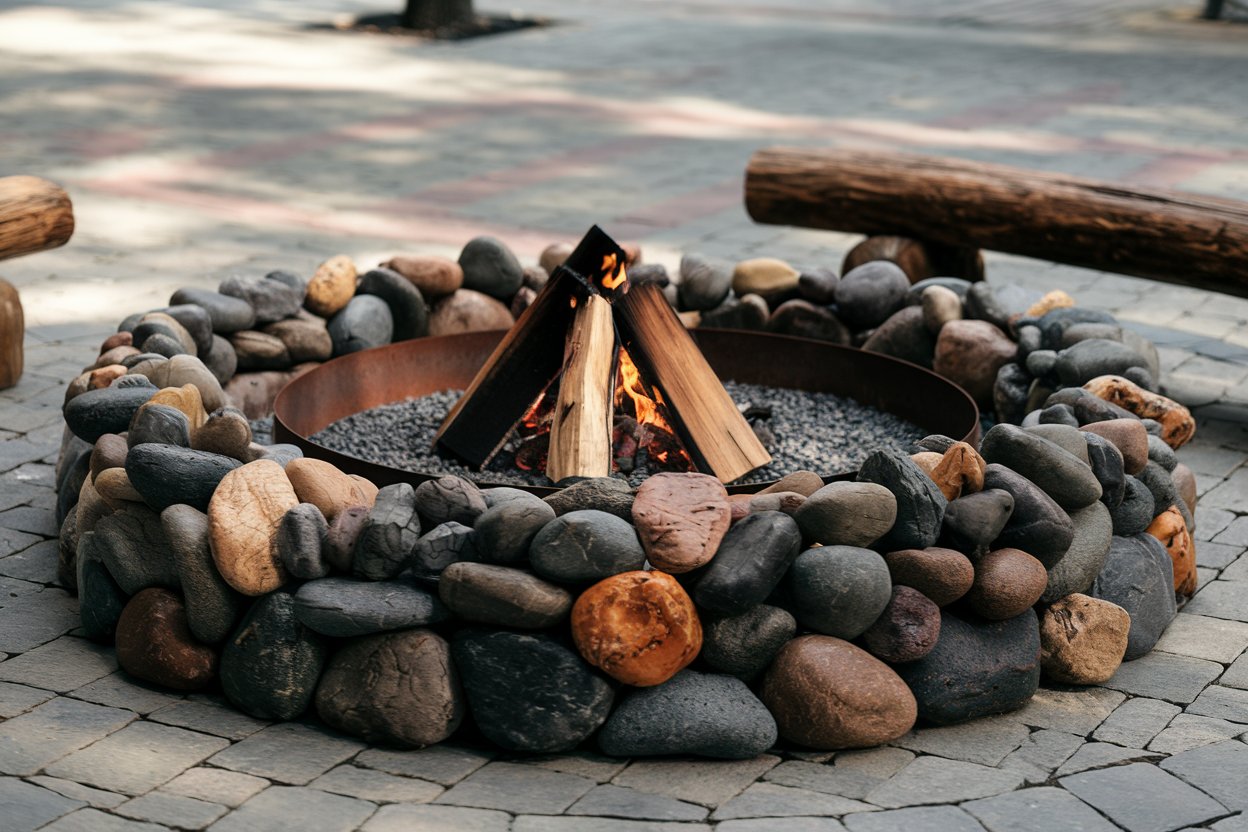
Creating a rustic fire pit using river rocks can transform any backyard into a warm and inviting gathering space. This landscaping idea combines the timeless charm of natural stones with the functionality of a fire pit, perfect for social gatherings or quiet, reflective evenings. The rough-hewn appearance of river rocks adds an organic, earthy element that blends seamlessly with the natural outdoor environment. Opt for rocks in shades of deep gray, amber, and taupe to complement the flickering hues of firelight, enhancing the cozy and rustic atmosphere.
How to Achieve a Rustic Fire Pit with River Rocks
Select a Location:
– Choose a safe, open area away from trees, structures, or other flammable objects.
– Ensure the ground is level and stable to accommodate the fire pit.
Design the Fire Pit:
– Decide on the size of the fire pit, considering the available space and your intended use.
– Sketch out a circular layout using landscaping paint or chalk.
Gather Materials:
– Collect a sufficient number of medium to large river rocks for the fire pit perimeter.
– Acquire gravel or lava rocks for the fire pit base.
Prepare the Base:
– Dig a shallow pit in the marked area, approximately 6-12 inches deep.
– Level the base and fill it with gravel or lava rocks to ensure proper drainage and fire safety.
Construct the Fire Pit:
– Arrange the river rocks in a circular pattern around the pit, stacking them to reach the desired height.
– Ensure the rocks are stable and well-aligned, creating a secure perimeter.
Enhance the Surroundings:
– Consider adding rustic seating options like wooden logs or stone benches around the fire pit.
– Incorporate rustic elements such as lanterns or string lights to add ambiance.
Safety and Maintenance:
– Regularly inspect the fire pit stones for stability and reposition them if necessary.
– Keep firefighting tools like a garden hose or buckets of sand nearby for safety.
– Be mindful of local fire regulations and adhere to outdoor fire safety guidelines.
Lighting and Color Schemes:
– Complement the fire pit area with warm-toned lighting to enhance the flicker of the flames.
– Consider surrounding the space with earthly tones in outdoor furniture or decor to maintain cohesion with the naturally rustic theme.



River Rock Garden Pathway
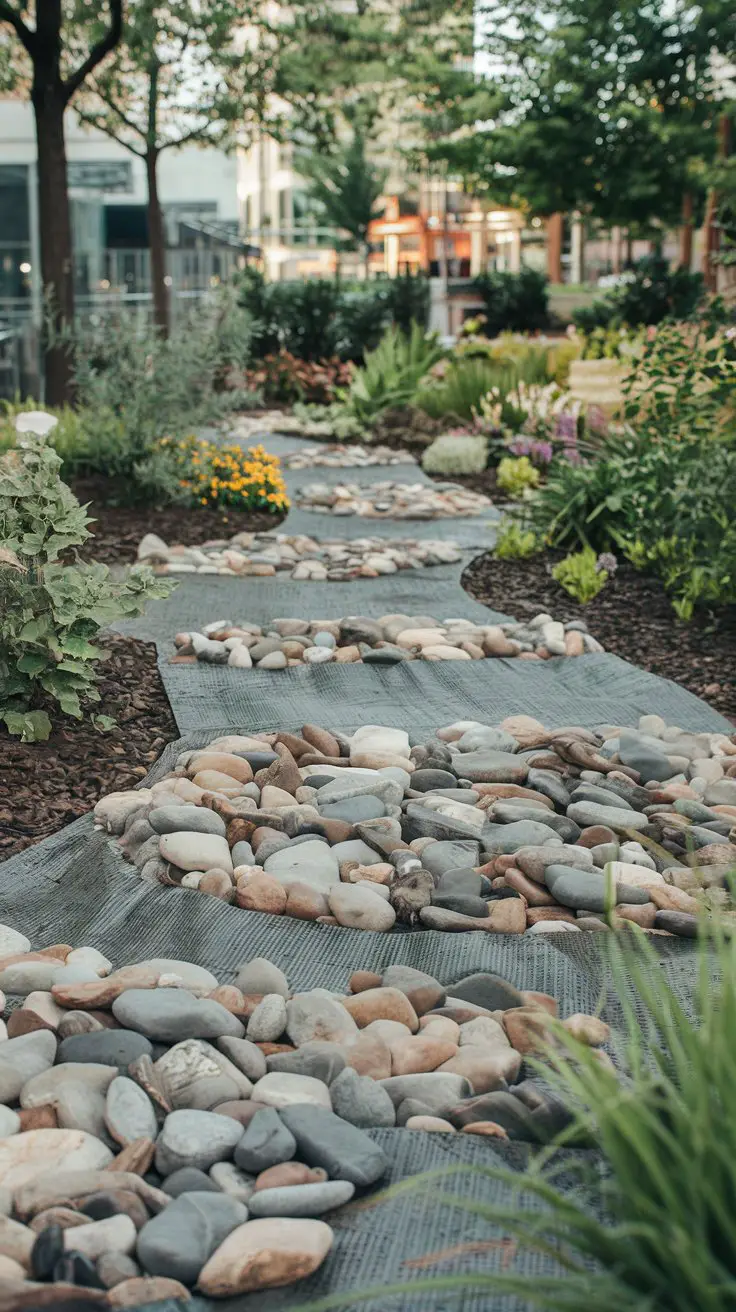
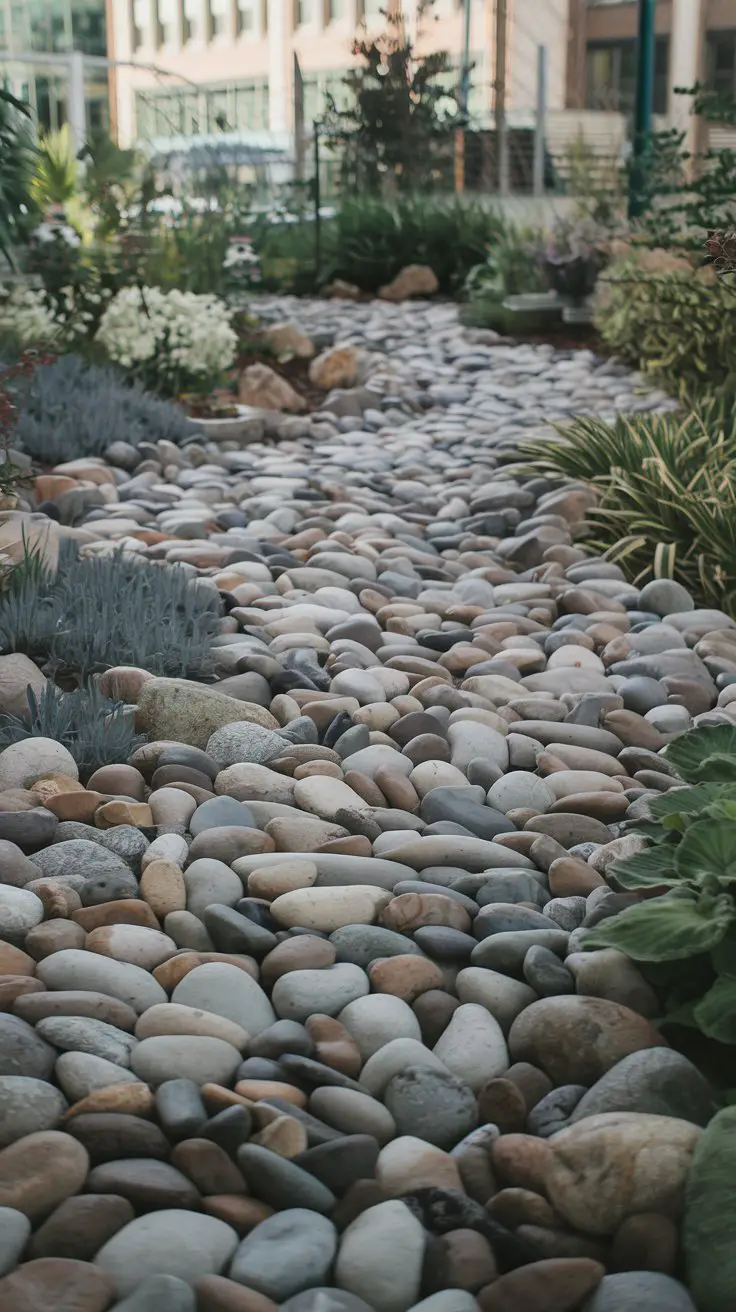
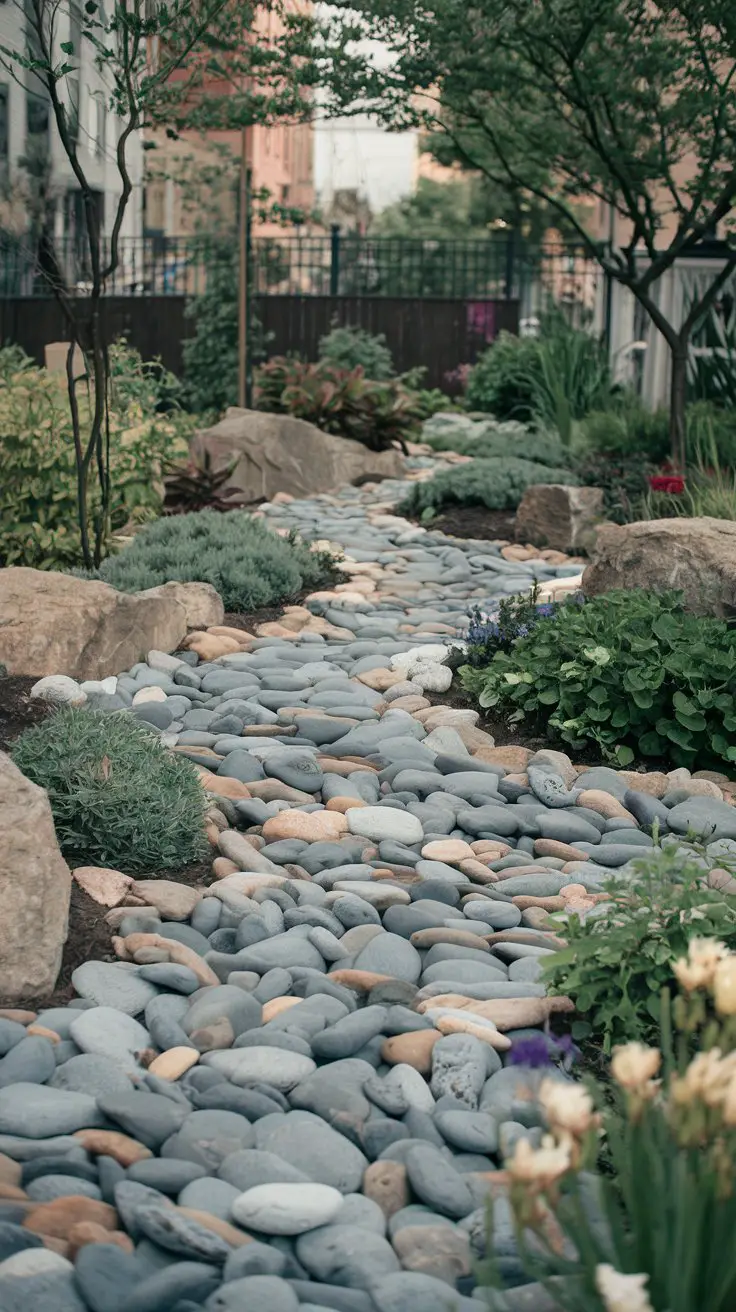
A river rock garden pathway can add functionality and aesthetic appeal to your outdoor space, seamlessly blending practicality with natural beauty. This landscaping idea utilizes the smooth, rounded textures of river rocks to create a durable and attractive walkway that guides visitors through your garden. The natural hues of the stones, ranging from soft grays and sandy whites to muted browns, harmonize with a variety of garden designs while offering tactile interest and visual continuity.
How to Achieve a River Rock Garden Pathway
Plan the Pathway:
– Determine the desired length, width, and shape of your pathway based on the garden layout and the flow of foot traffic.
– Use a garden hose or rope to outline the path’s course for a visual guide.
Clear the Path Area:
– Remove grass, plants, and debris along the planned path to expose bare soil.
– Use a spade or landscaping edger to create clean, defined edges.
Excavate the Soil:
– Dig a shallow trench along the marked path area, about 4-6 inches deep for stability and support.
– Ensure the base is level and compact to prevent shifting.
Lay a Weed Barrier:
– Position landscape fabric within the trench to deter weed growth and preserve the integrity of the pathway.
Add a Base Layer:
– Fill the bottom of the trench with a layer of crushed stone or decomposed granite for drainage and a firm foundation.
– Compact the base layer with a tamper to create a stable surface.
Place the River Rocks:
– Arrange river rocks over the base layer, ensuring they are evenly distributed and stable underfoot.
– Adjust the position of stones for a natural, cohesively flowing pattern.
Fill Gaps with Sand:
– Sprinkle fine sand between the river rocks and sweep it into the crevices to lock them in place.
– Dampen the sand with water to aid in settling and secure the rocks further.
Add Edging (Optional):
– Consider installing brick, metal, or wood edging along the pathway to keep the stones contained and maintain a clean line.
Final Touches and Maintenance:
– Inspect the pathway regularly, and reposition any dislodged rocks as needed.
– Keep adjacent plants trimmed back to prevent overgrowth onto the pathway.

River Rock Water Feature
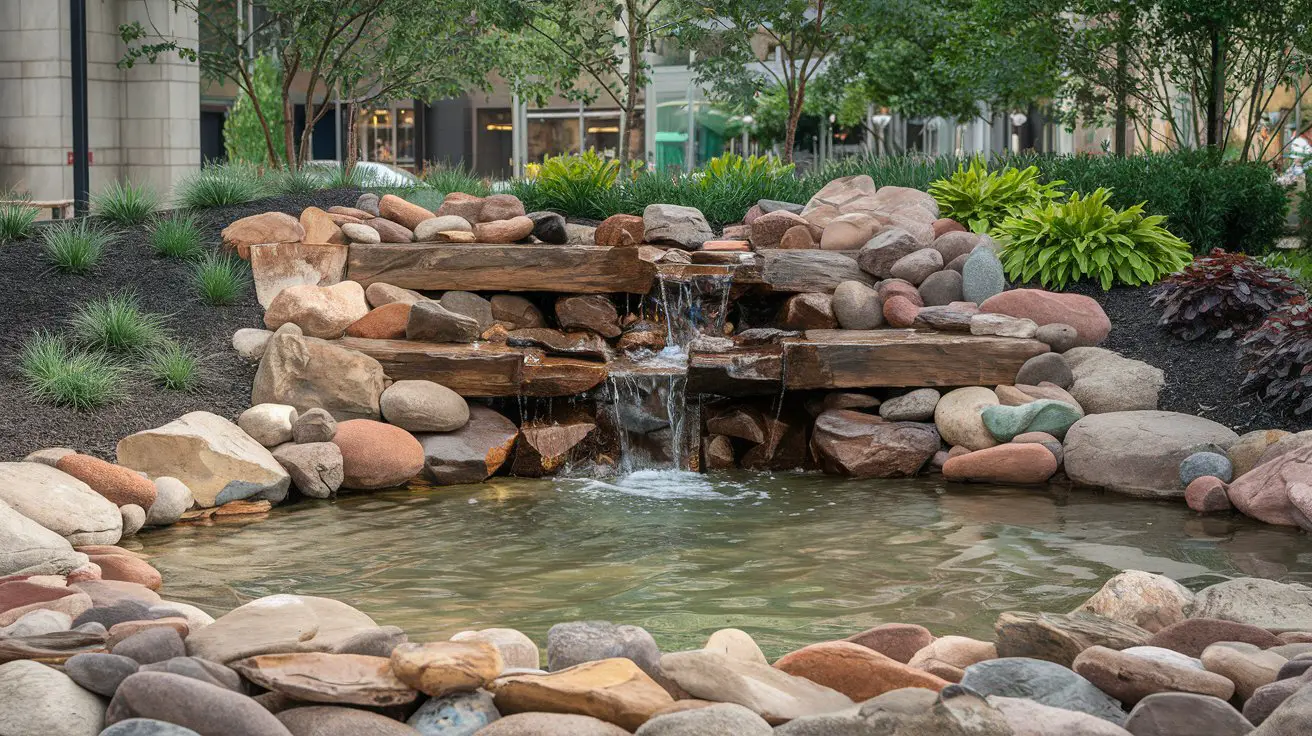
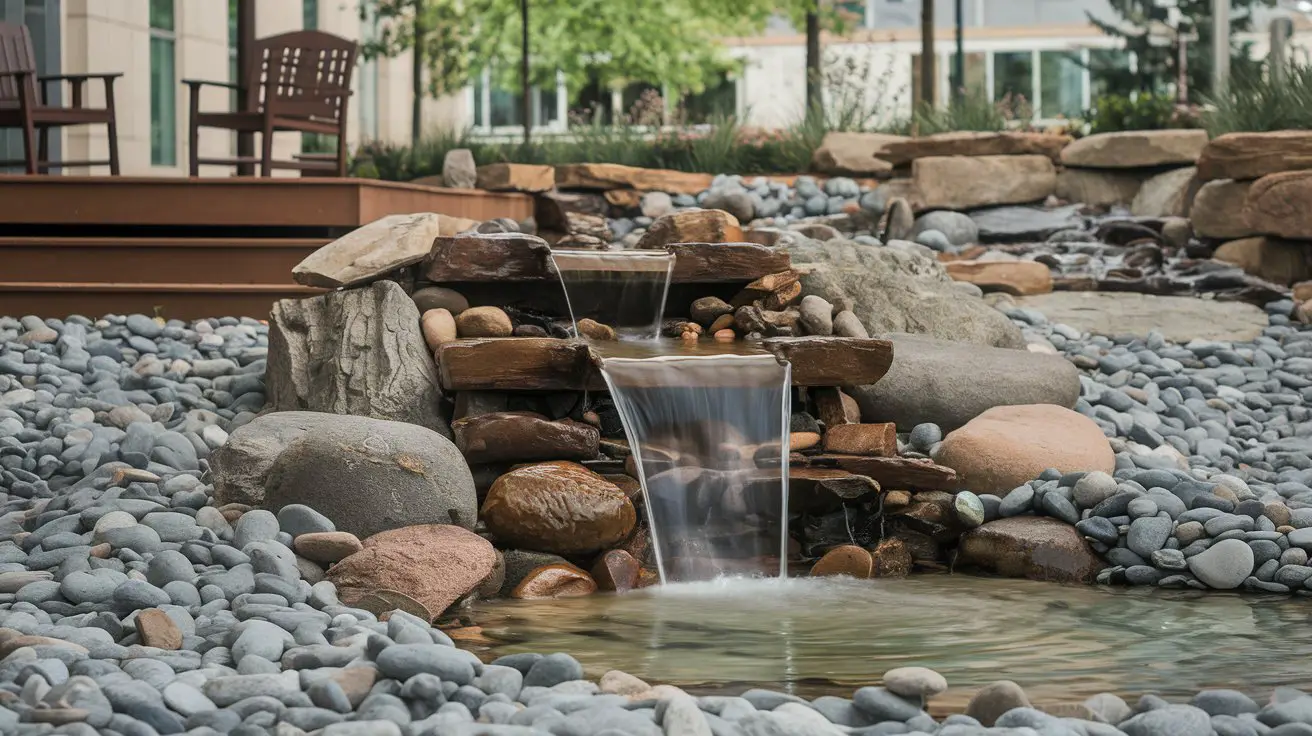
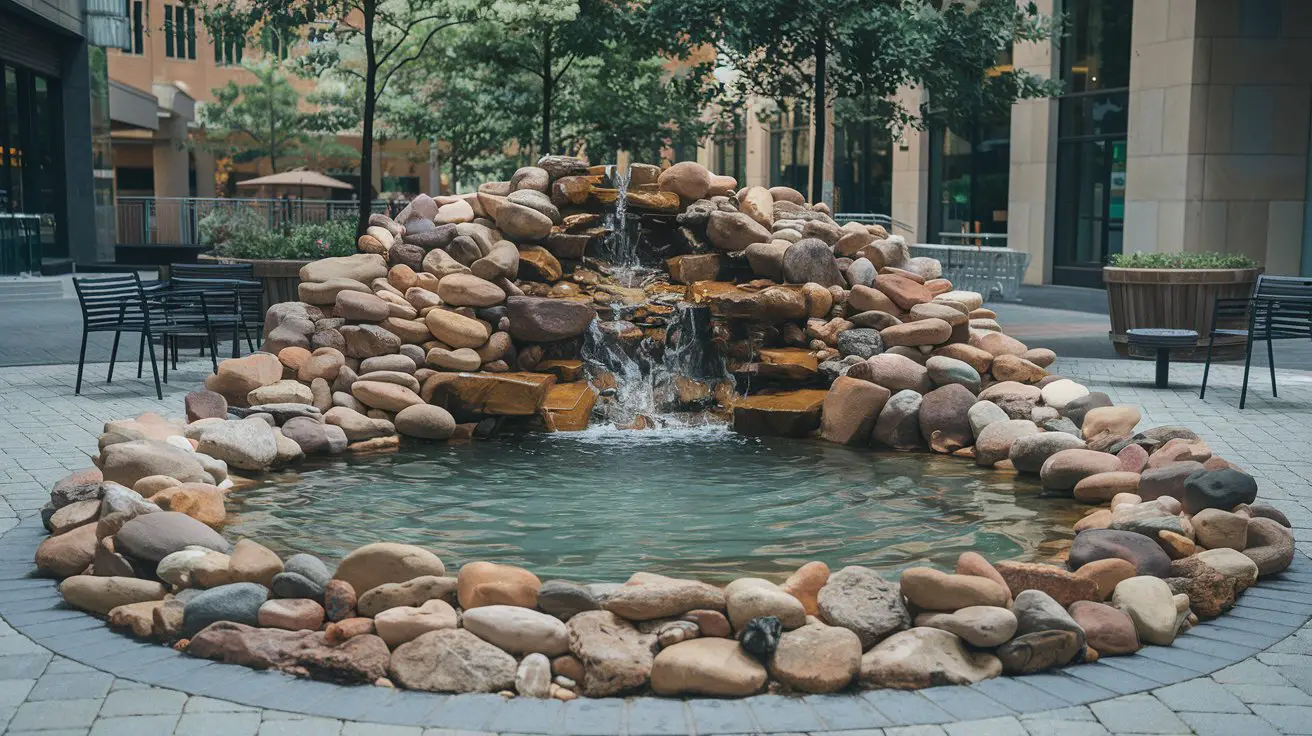
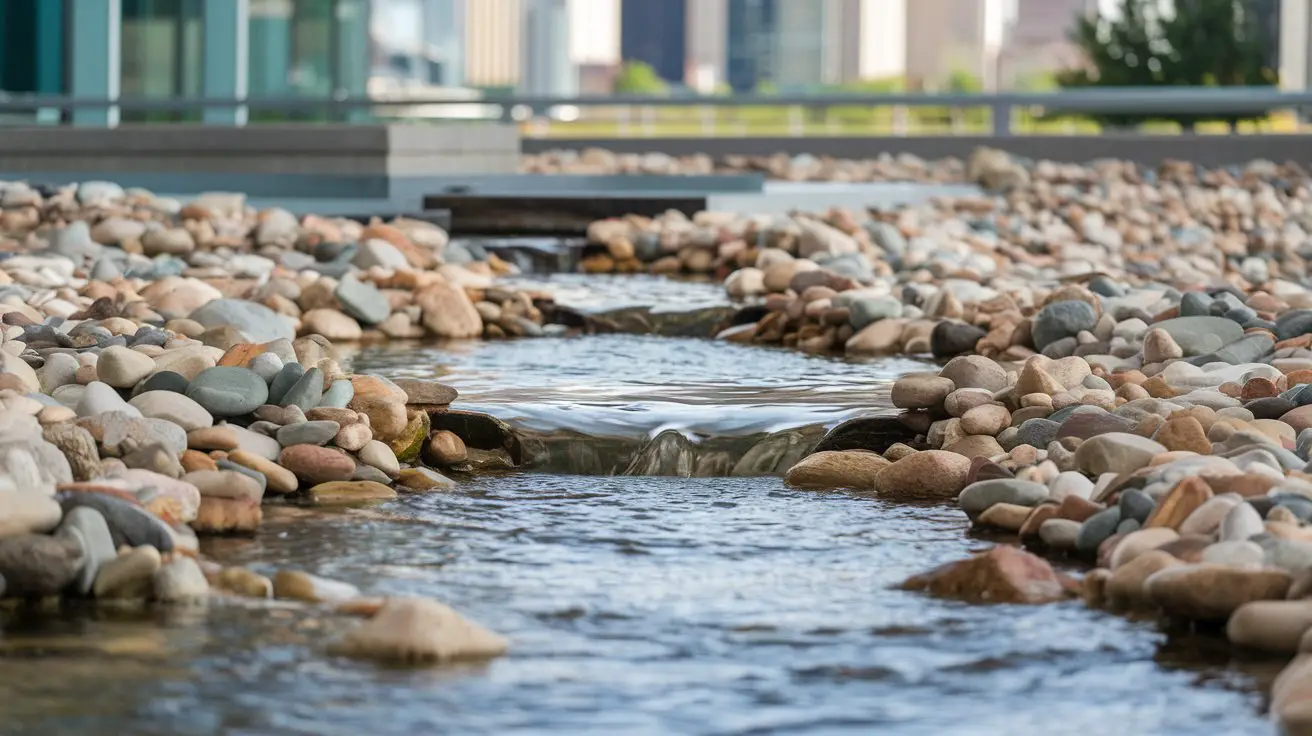
Integrating a river rock water feature into your landscape can transform your outdoor space into a refreshing and soothing sanctuary. The gentle sound of flowing water combined with the natural beauty of river rocks adds a sense of tranquility and elegance to any garden. This design leverages the smooth texture and varied colors of river rocks to create an organic and serene ambiance, perfect for enhancing relaxation and meditation areas.
How to Achieve a River Rock Water Feature
Select the Location:
– Choose a visible area in your garden, preferably near seating or social spaces, to maximize enjoyment.
– Ensure the location is near a power source for the water pump and positioned on stable ground.
Design the Water Feature:
– Decide between a standalone fountain, a cascading waterfall, or a small stream as the desired feature type.
– Sketch the layout, taking into consideration water flow direction and integration with existing landscape elements.
Gather Materials:
– Collect various sizes of river rocks; larger rocks for the base and smaller ones for detailing.
– Acquire a water pump, tubing, and waterproof liner or basin for the water feature setup.
Prepare the Site:
– Excavate the area for the water feature, ensuring an appropriate depth for the basin or liner.
– Level the bottom and place a waterproof liner or basin to contain the water.
Install the Water Pump:
– Position the water pump at the base, ensuring easy access for maintenance.
– Connect tubing from the pump to the top of the water feature layout.
Arrange the River Rocks:
– Begin with larger rocks to create a stable, natural-looking foundation.
– Gradually layer smaller river rocks to form the structure, ensuring water can flow seamlessly over them.
Test the Water Flow:
– Fill the basin with water and turn on the pump to test flow and adjust rock placement as needed for optimal water movement.
Enhance with Greenery and Decor:
– Add aquatic plants or small shrubs to blend the feature into the surrounding landscape.
– Consider decorative elements such as garden statues or lighting for added visual interest.
Lighting and Color Schemes:
– Integrate soft, ambient lighting like LED spotlights or underwater lights to highlight the water feature at night.
– Use subtle color variations in the rocks to create a harmonious blend with your garden’s color palette.
Regular Maintenance:
– Regularly clean the pump and ensure the water remains at the correct level.
– Remove any debris or fallen leaves to maintain clear water flow and visual appeal.
River Rock Stepping Stones
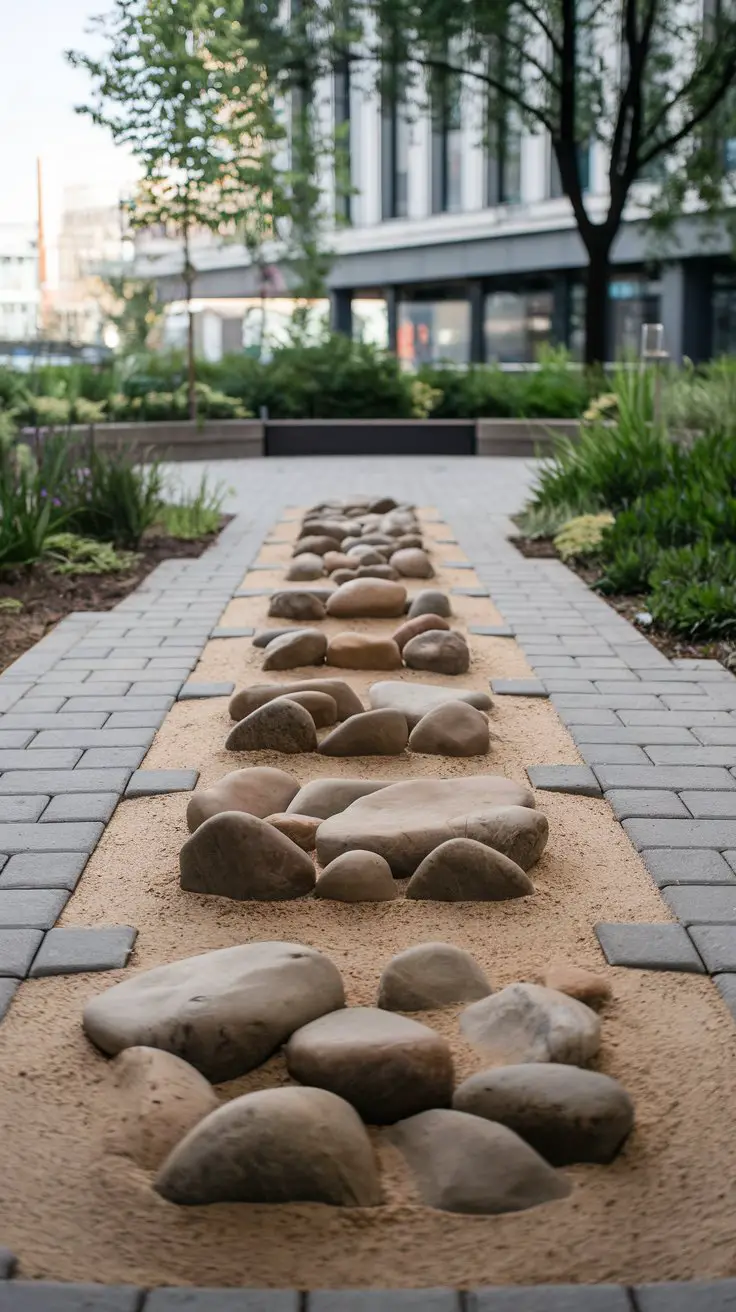
Introducing river rock stepping stones into your landscape offers a distinctive way to enhance your garden’s visual structure while providing functional access paths. This creative idea utilizes the beauty of smooth, naturally shaped river rocks fixed within concrete blocks, creating an organic connection between spaces. The subtle collision of textures presents a delightful contrast and ensures each step is a journey through nature’s artistry. Opt for river rocks in shades of blue-gray, earthy brown, and soft white to blend seamlessly with your garden’s existing elements.
How to Achieve River Rock Stepping Stones
Design and Layout:
– Plan your walkway by determining the desired path and spacing between stepping stones.
– Use a garden hose or spray chalk to outline the path and placement of each stone.
Gather Materials:
– Acquire medium-sized river rocks in complementary colors and shapes.
– Obtain concrete mix, molds for stepping stones, and a trowel for smoothing.
Create the Stepping Stones:
– Prepare concrete mix per the manufacturer’s instructions for your stepping stone molds.
– Arrange river rocks within the bottom of each mold, pressing them into the concrete to ensure they sit flush with the surface.
Cure and Set:
– Allow the concrete to cure in a safe, undisturbed area for at least 48 hours for strength.
– Once cured, carefully remove stepping stones from molds.
Prepare the Pathway Base:
– Excavate shallow depressions along the outlined path where each stepping stone will be placed, ensuring stability and evenness.
– Add a layer of sand or gravel to each depression to facilitate drainage and firmness.
Install Stepping Stones:
– Place each concrete stepping stone carefully into the prepared hole, ensuring they are level with the ground for a seamless path.
– Adjust as needed by adding or removing sand/gravel to achieve level alignment.
Edge and Secure:
– Optionally, surround each stepping stone with a natural border of smaller pebbles or mulch to blend seamlessly into the garden.
Maintenance and Aesthetic:
– Regularly check for any shifting or debris accumulation, repositioning stones as necessary.
– Enhance visual appeal by surrounding the stepping stones with colorful, low-growing plants or ground cover.

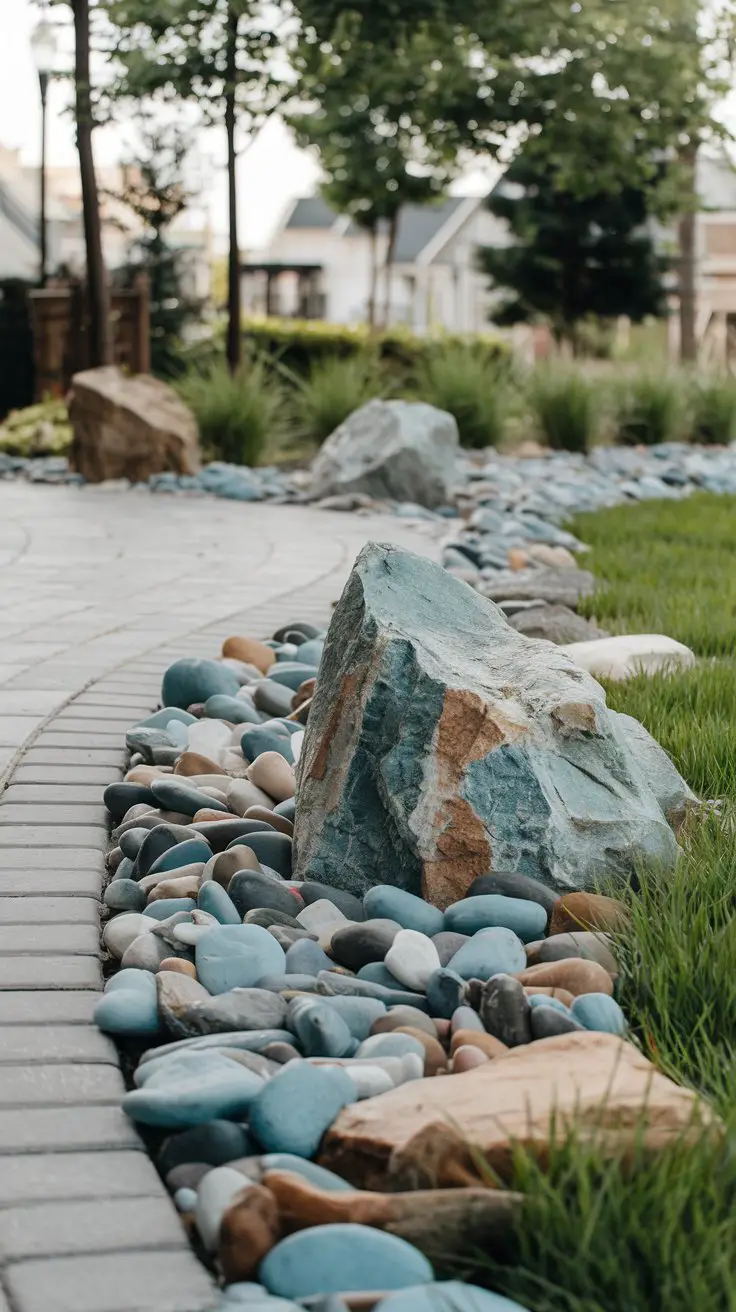
River Rock Border with Succulent Garden
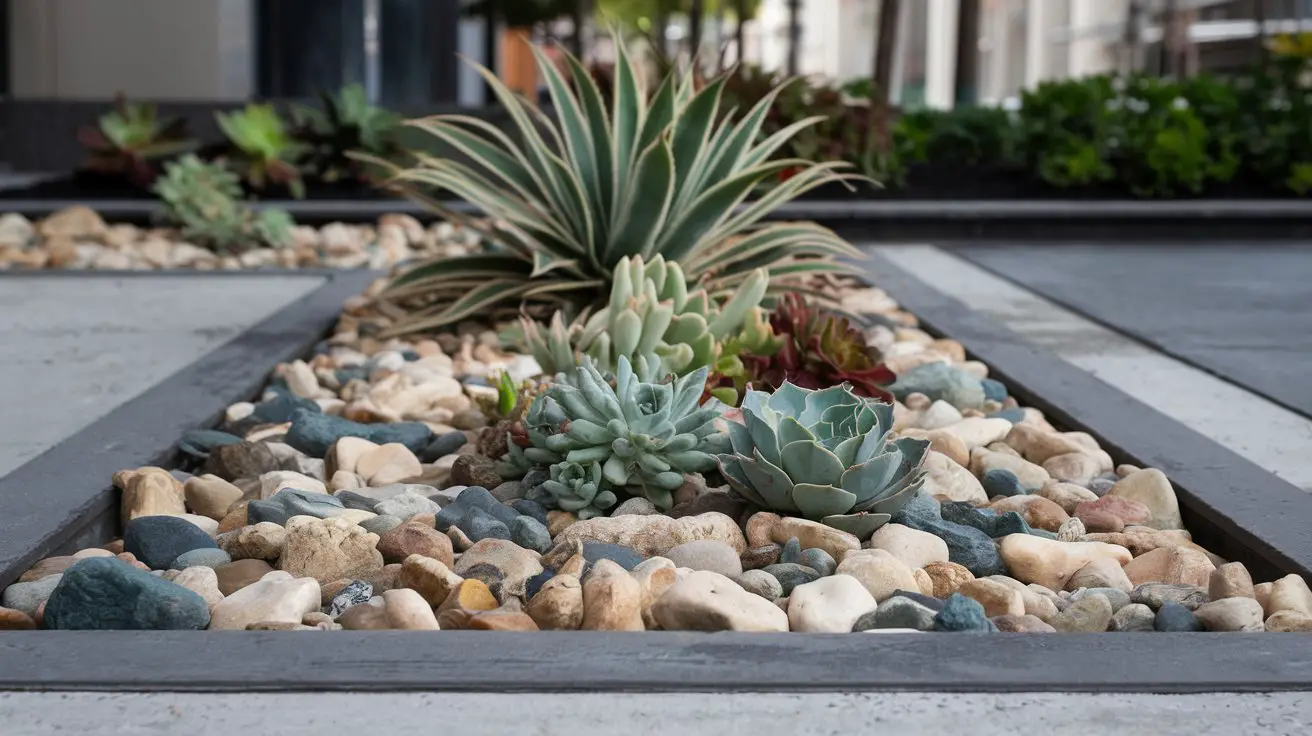
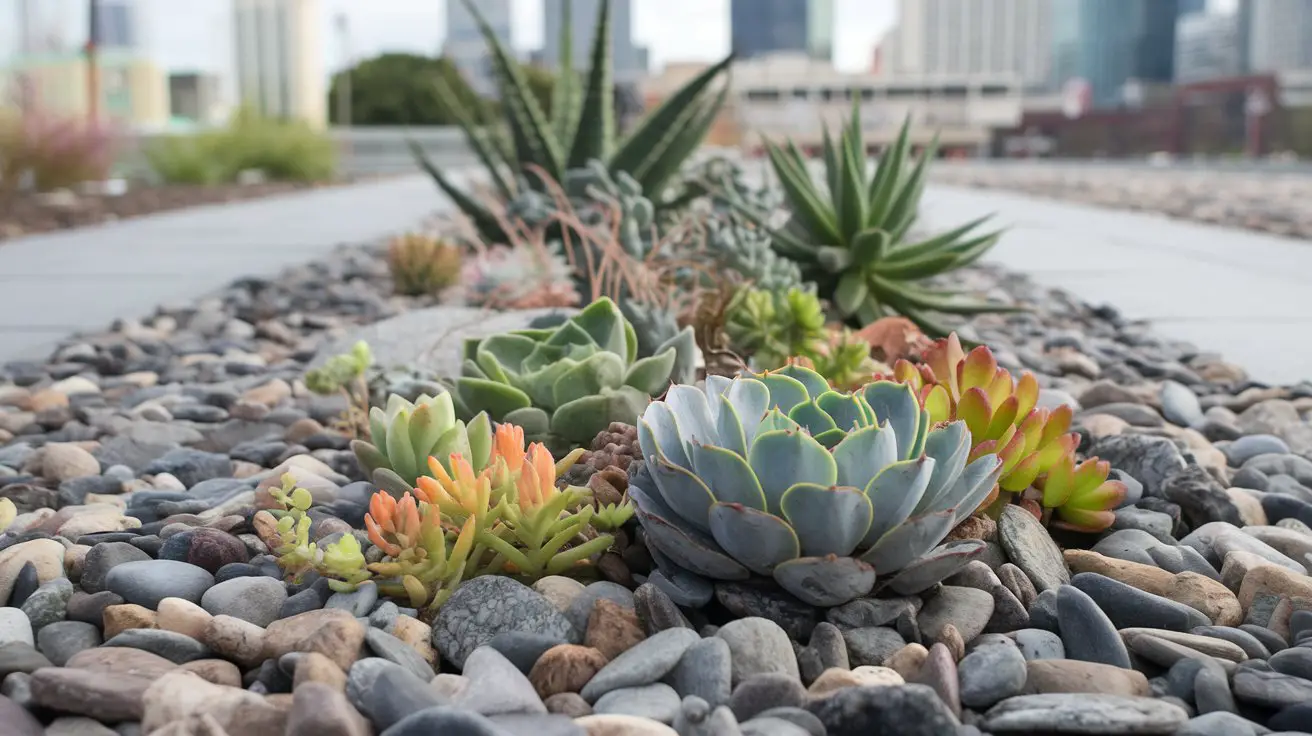
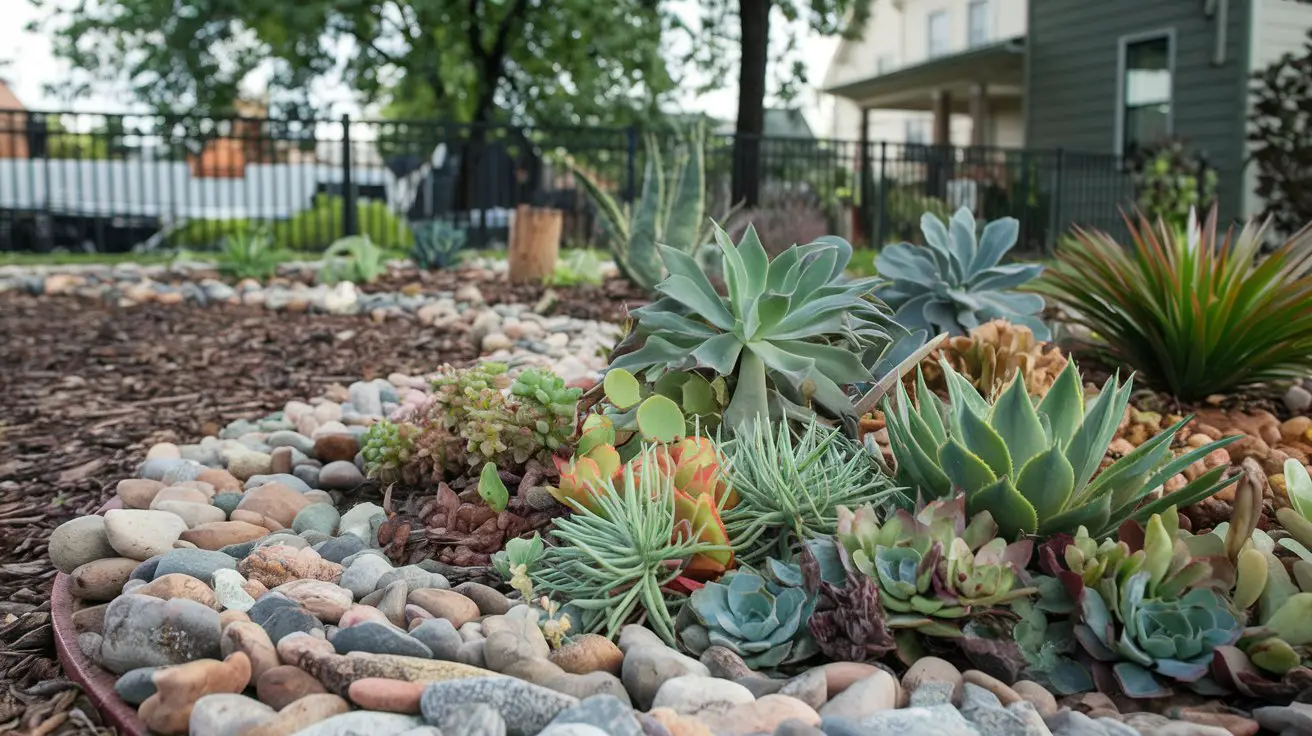
A river rock border paired with a succulent garden can create a captivating and low-maintenance landscape feature. This design highlights the stunning textures and colors of both elements, while utilizing river rocks to define garden space with a natural, flowing boundary. The lightweight and drought-tolerant nature of succulents make them an ideal companion for river rock landscaping, together forming an appealing contrast between the soft, plump shapes of succulents and the smooth, organic contours of river rocks. Opt for river rocks in shades of slate gray, creamy beige, and earthy brown to perfectly complement the diverse greens and pastels of the succulents.
How to Achieve a River Rock Border with Succulent Garden
Select the Area:
– Identify a sunny location in your garden that accommodates the succulents’ light needs.
– Plan the size and shape of the border to complement the existing landscape design.
Clear and Prepare the Site:
– Remove any grass, weeds, and debris from the selected area.
– Till the soil to break it up, ensuring a well-draining foundation for the succulents.
Outline the Border:
– Use landscape paint or a garden hose to outline the desired shape of the border.
– Place larger river rocks along this outline to form the initial border structure.
Set a Weed Barrier:
– Lay landscape fabric over the garden bed space to prevent unwanted weed growth.
– Cut openings in the fabric where you plan to plant the succulents.
Install the River Rock Border:
– Position the river rocks along the outline, ensuring stability and securing them in place.
– Layer smaller river rocks to enhance the visual appeal and reinforce the border.
Plant the Succulents:
– Arrange a variety of succulent species within the bordered area, paying attention to color and height variation.
– Dig holes slightly larger than the succulent root balls and plant, ensuring adequate spacing for growth.
Top with Decorative Rocks:
– Add a layer of smaller decorative rocks or gravel among the succulents for additional texture and weed suppression.
– Adjust the placement of stones to achieve a natural, cohesive appearance.
Incorporate Complementary Elements:
– Consider adding garden statues, driftwood, or other natural features to enhance the theme.
– Integrate low-voltage lighting to highlight the plants and rocks at night.
Maintain the Garden:
– Water the succulents sparingly, as their foliage retains moisture and prevents over-watering.
– Periodically clean the river rocks and remove any fallen leaves or debris to retain a neat appearance.

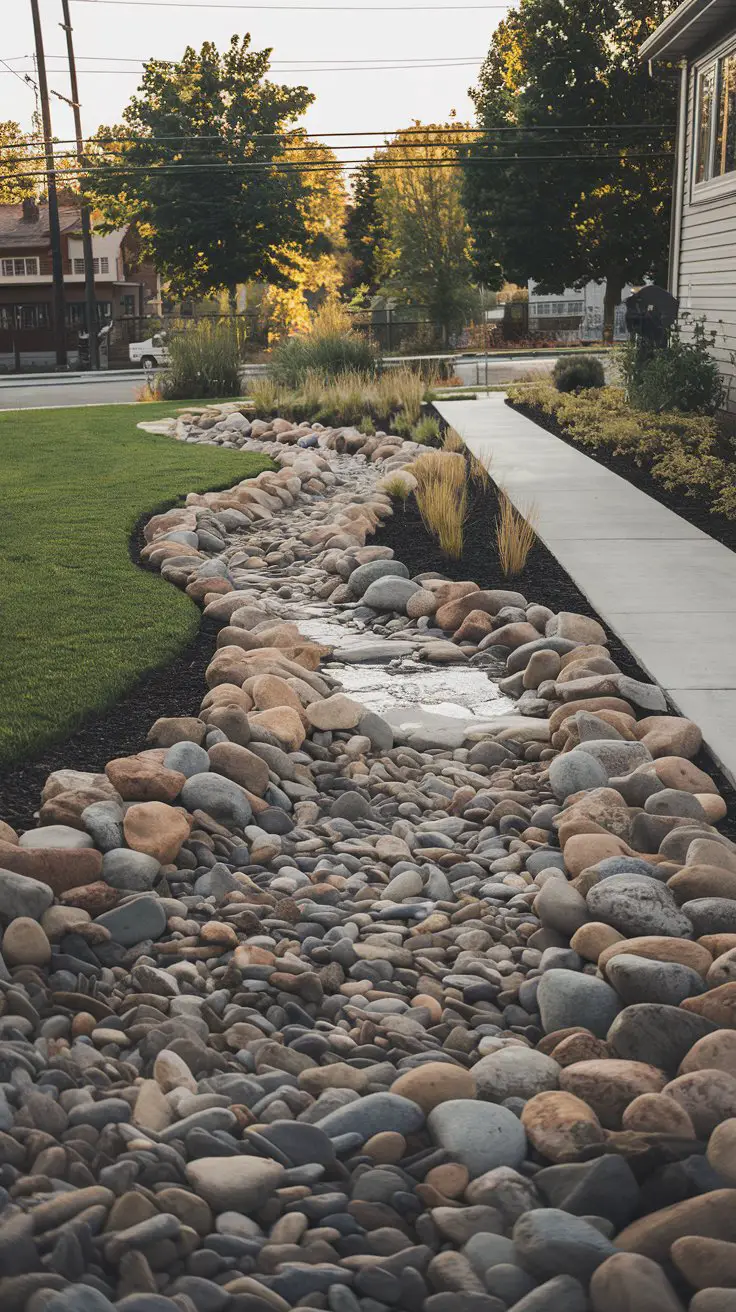
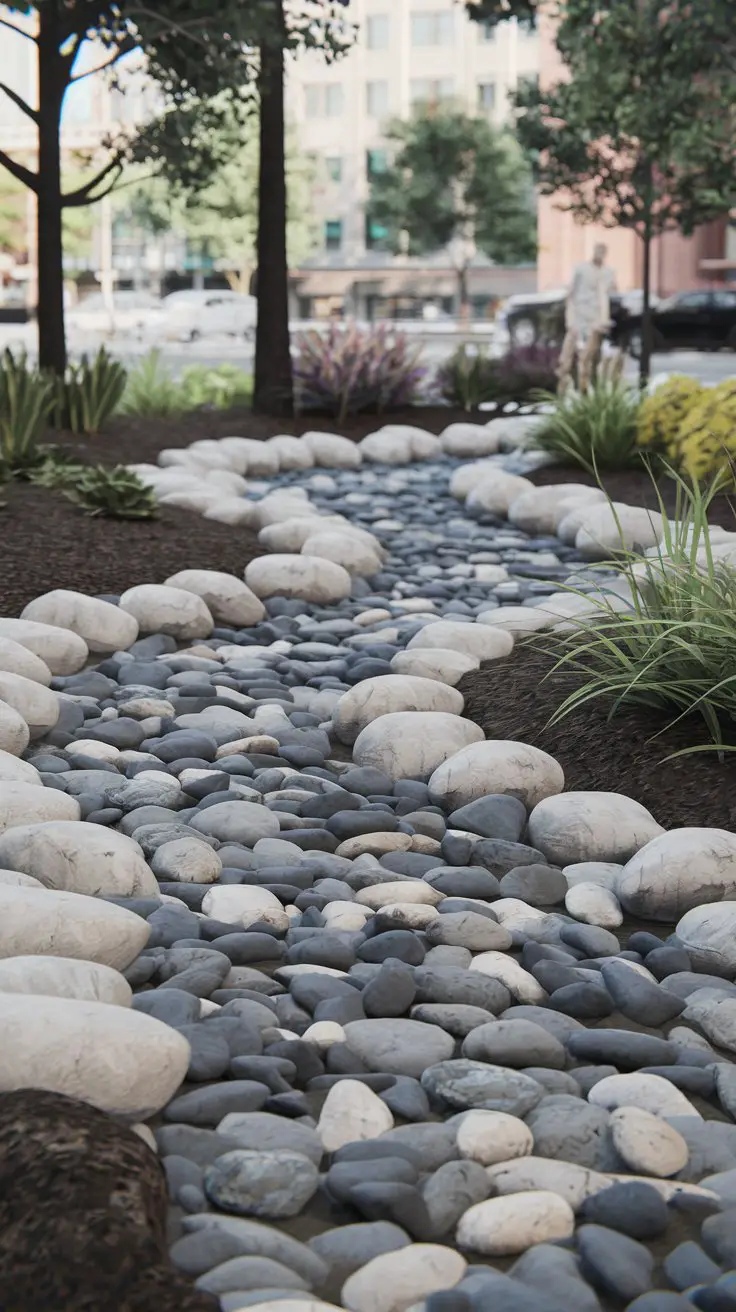
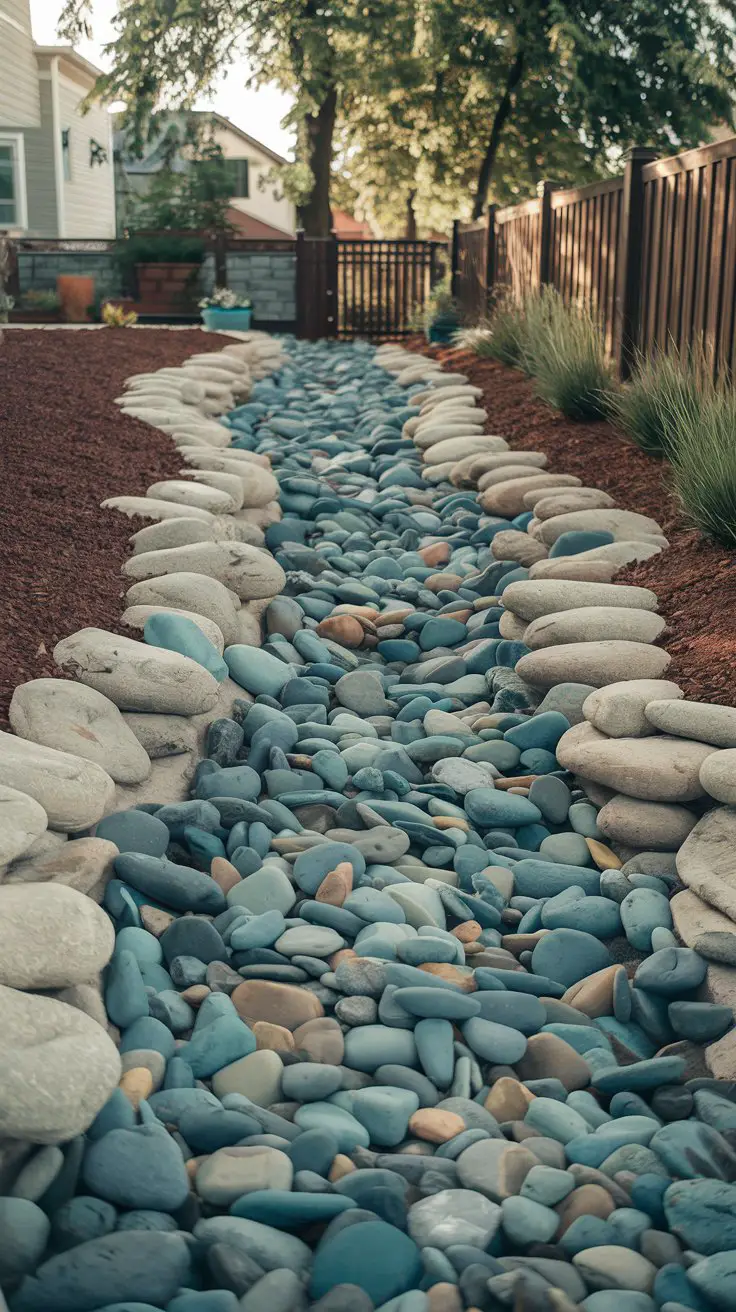
River Rock Dry Creek Bed
A river rock dry creek bed is an imaginative landscape feature that combines functionality with natural aesthetics, effectively managing rainwater runoff while embellishing your garden with a captivating focal point. This creative idea uses a collection of river rocks to simulate a dry stream, adding depth and visual interest to otherwise flat terrain. It mimics a natural waterway without constantly flowing water, offering the illusion of movement with its meandering form and varied rock sizes. Select river rocks in shades of gray, slate blue, and earthy white to create a subtle yet engaging color palette that complements surrounding garden features.
How to Achieve a River Rock Dry Creek Bed
Plan the Layout:
– Determine where the dry creek bed will run, factoring in natural contours of your yard for guiding water flow.
– Use a garden hose or spray paint to outline the desired path and shape for visual guidance.
Excavate the Creek Bed:
– Dig out the path to a depth of about 6-12 inches, varying the width to mimic a natural creek.
– Shape the sides to create gentle slopes, ensuring realism and effective water flow during rain.
Install a Liner (Optional):
– Lay landscape fabric along the creek bed to prevent weed growth, though optional for a more natural approach.
Layer Larger Stones:
– Begin by placing larger river rocks along the bottom and edges to form the structure of the creek bed.
– Ensure stones are stable, creating a natural and undulating stream bed.
Fill with Smaller Rocks:
– Add medium and small river rocks, filling gaps and creating a naturalized look.
– Allow for variety in size and placement to replicate the randomness of actual creek beds.
Add Complementary Elements:
– Introduce driftwood, larger boulders, or planted grasses along the edges for additional texture and authenticity.
– Consider small bridges or stepping stones if the creek path intersects with garden pathways.
Incorporate Plants and Greenery:
– Plant native grasses, ferns, or low-growing shrubs along the creek bed to enhance the natural look.
– Use drought-tolerant plants for easy maintenance and integration with the rock features.
Lighting and Color Schemes:
– Install soft solar lights along the creek bed to illuminate and emphasize the natural stones at night.
– Consider the color scheme of adjacent garden elements to ensure cohesion with the creek bed’s earthy tones.
Regular Maintenance:
– Periodically check for any displaced stones and adjust as necessary.
– Remove debris like leaves or twigs that may accumulate within the creek bed to maintain its appearance and functionality.

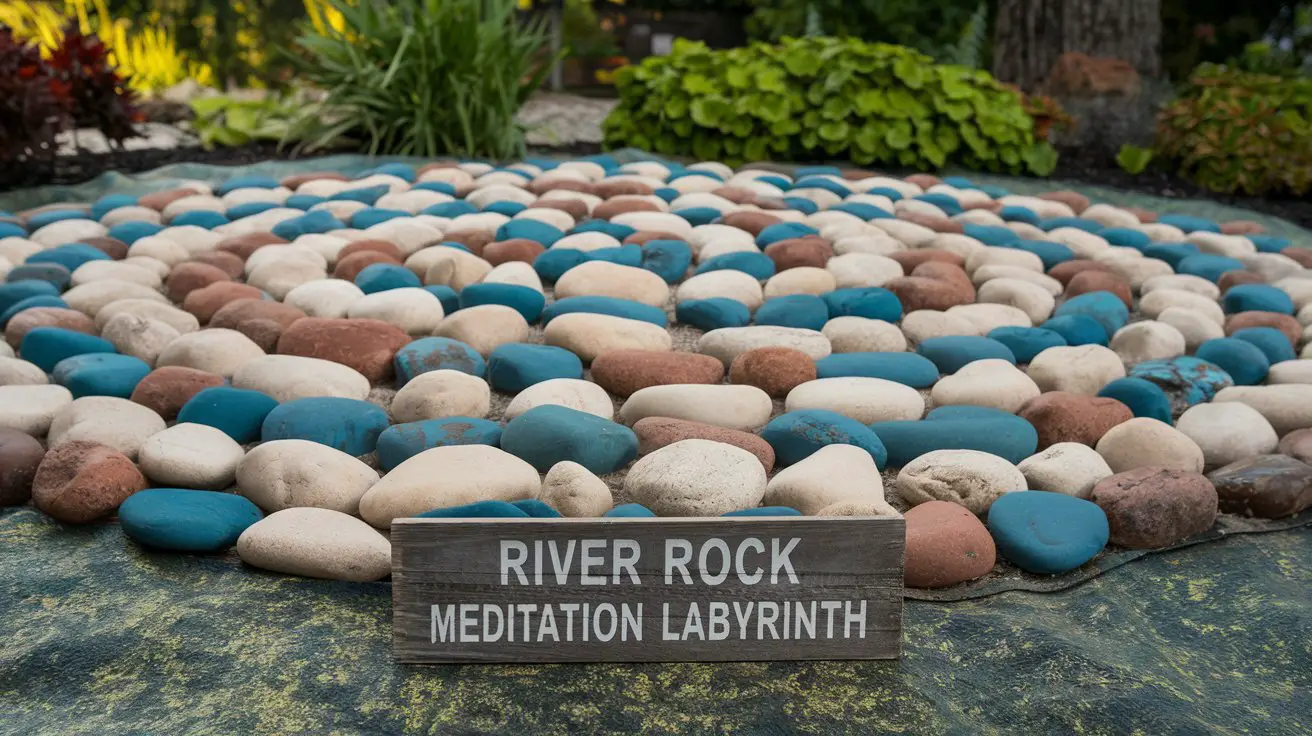
River Rock Meditation Labyrinth
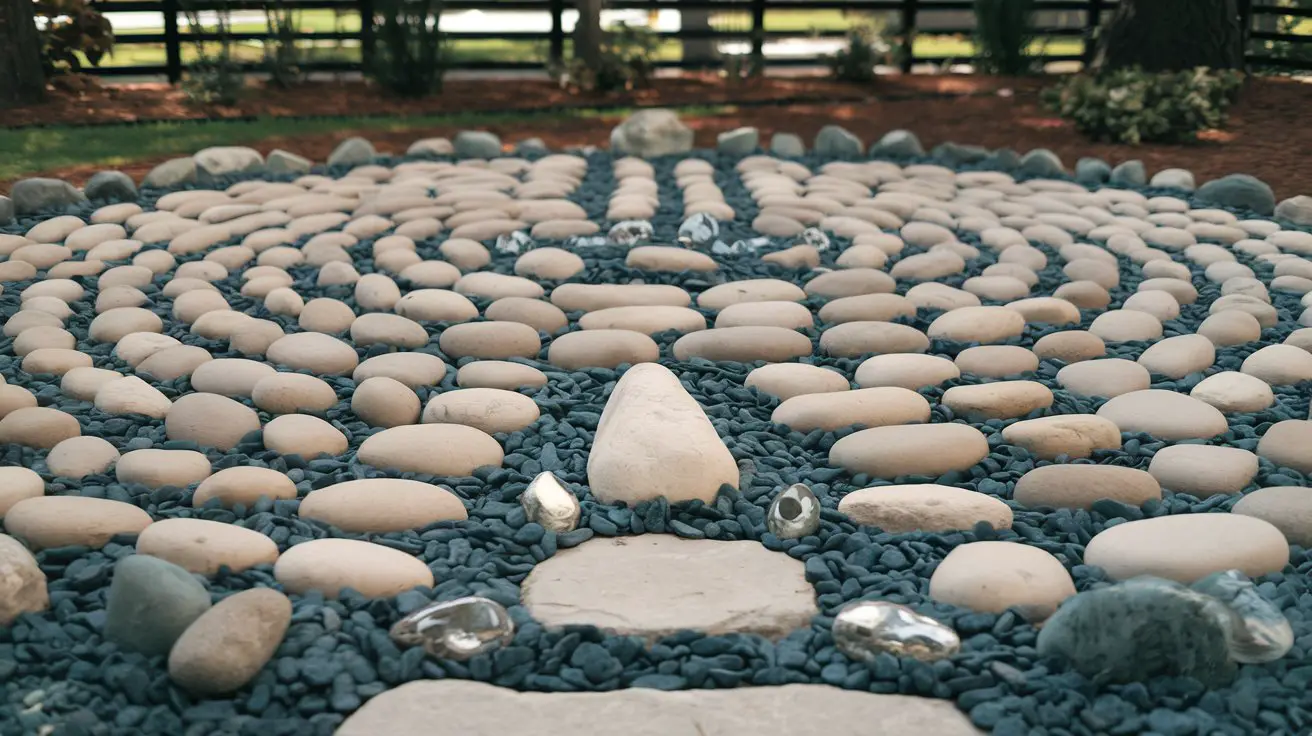
Transform your garden into a serene meditation space by creating a River Rock Meditation Labyrinth. This idea involves designing a winding labyrinth path made from river rocks to inspire introspection and mindfulness. The intricate patterns of the labyrinth combined with the organic beauty of river rocks offer a tranquil escape designed to encourage peaceful contemplation. Colors like gentle beige, soft blue-gray, and muted rust offer a rustic yet calming look, harmonizing the labyrinth with nature.
How to Achieve a River Rock Meditation Labyrinth
Select a Location:
– Choose a quiet area in your garden with enough space to accommodate the labyrinth’s intended size.
– Ensure the site has a flat, even surface for easy walking and installation.
Design the Labyrinth:
– Decide on the type of labyrinth design, like a traditional seven-circuit design or a simple spiral.
– Use stakes and string or chalk to outline the labyrinth pattern on the ground.
Clear the Area:
– Remove any grass, plants, or debris within the outlined area.
– Level the ground to ensure it is compact and even.
Lay a Weed Barrier:
– Place landscape fabric across the area to deter weed growth, preserving the labyrinth’s structure over time.
Arrange the River Rocks:
– Begin outlining the labyrinth’s path with medium-sized river rocks, ensuring the lines are clear and continuous.
– Create a distinct entrance and center point for the labyrinth using larger stones or a focal element like a sculpture.
Fill the Walking Paths:
– Fill the spaces between the rock outlines with compacted soil, gravel, or lighter-colored pebbles.
– Ensure that the path is level and smooth for comfortable walking.
Enhance with Natural Elements:
– Add small, reflective items like crystals or seashells within the labyrinth for added interest.
– Incorporate surrounding plants that encourage peace, such as lavender or low-growing herbs.
Lighting and Color Schemes:
– Install soft solar lights along the path to highlight the labyrinth at night, enhancing its peaceful atmosphere.
– Choose a color scheme that blends with your garden’s existing features to maintain a seamless appearance.
Maintenance:
– Regularly inspect the labyrinth for any displaced stones and readjust as necessary.
– Keep surrounding plants trimmed and tidy to ensure the labyrinth is distinct and accessible.


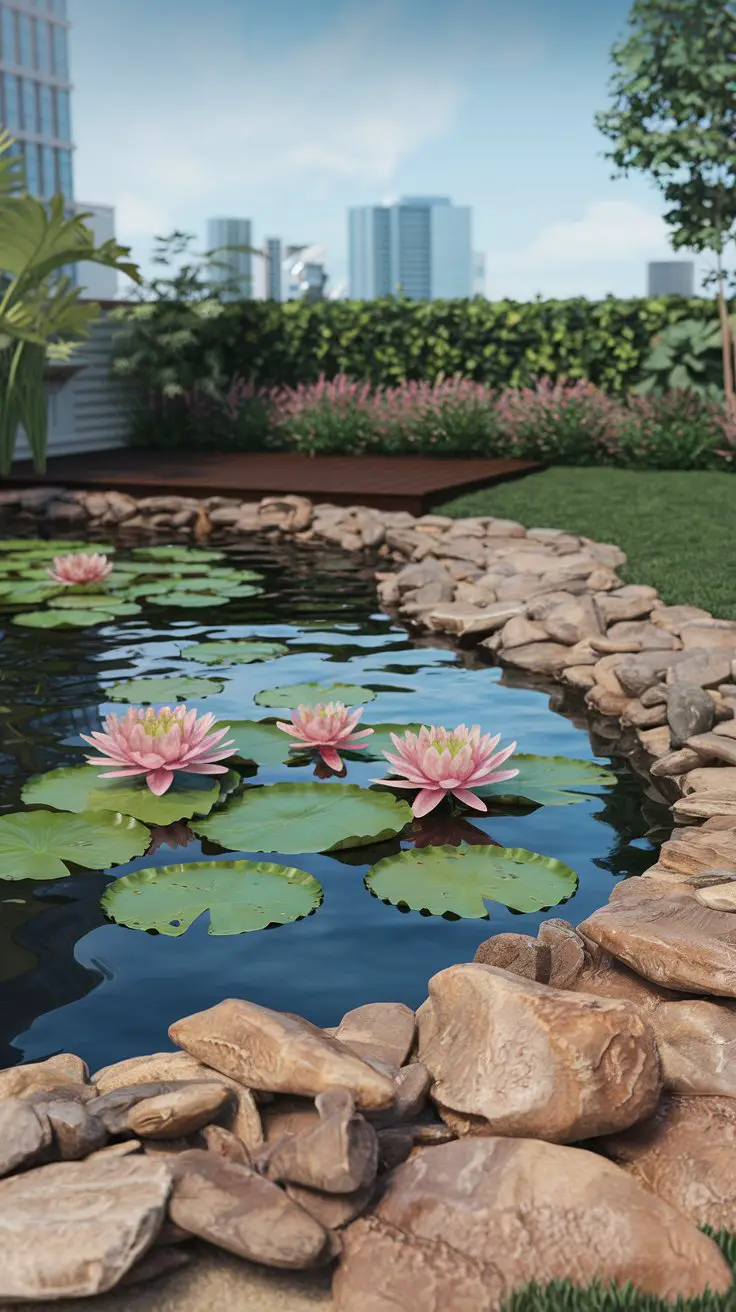
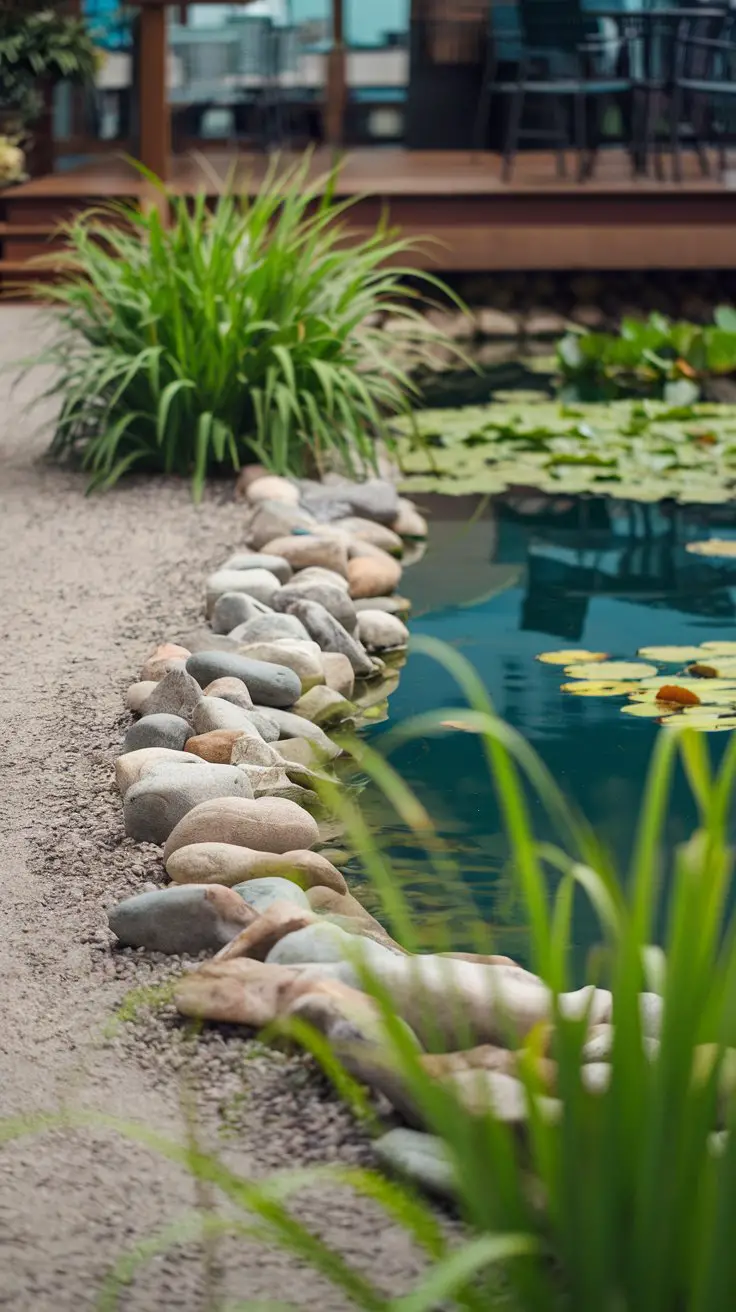
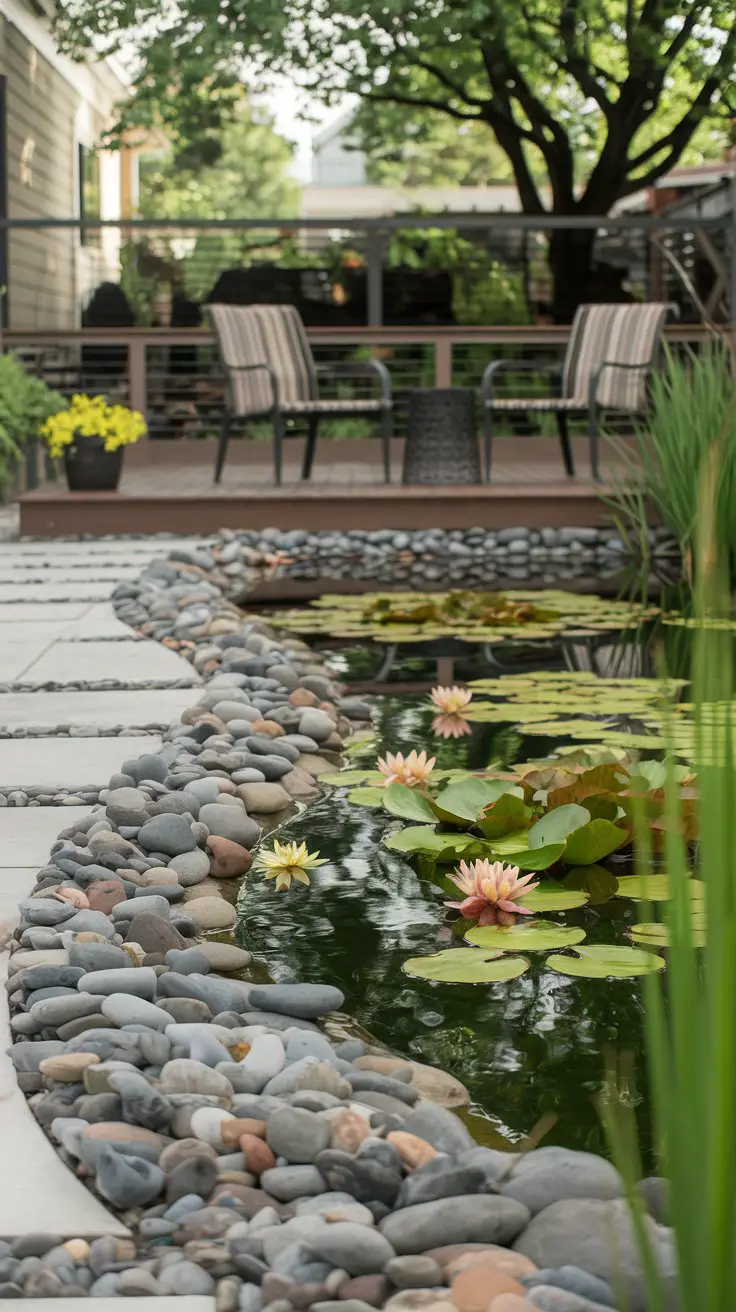
River Rock Pond Edge with Floating Lilies
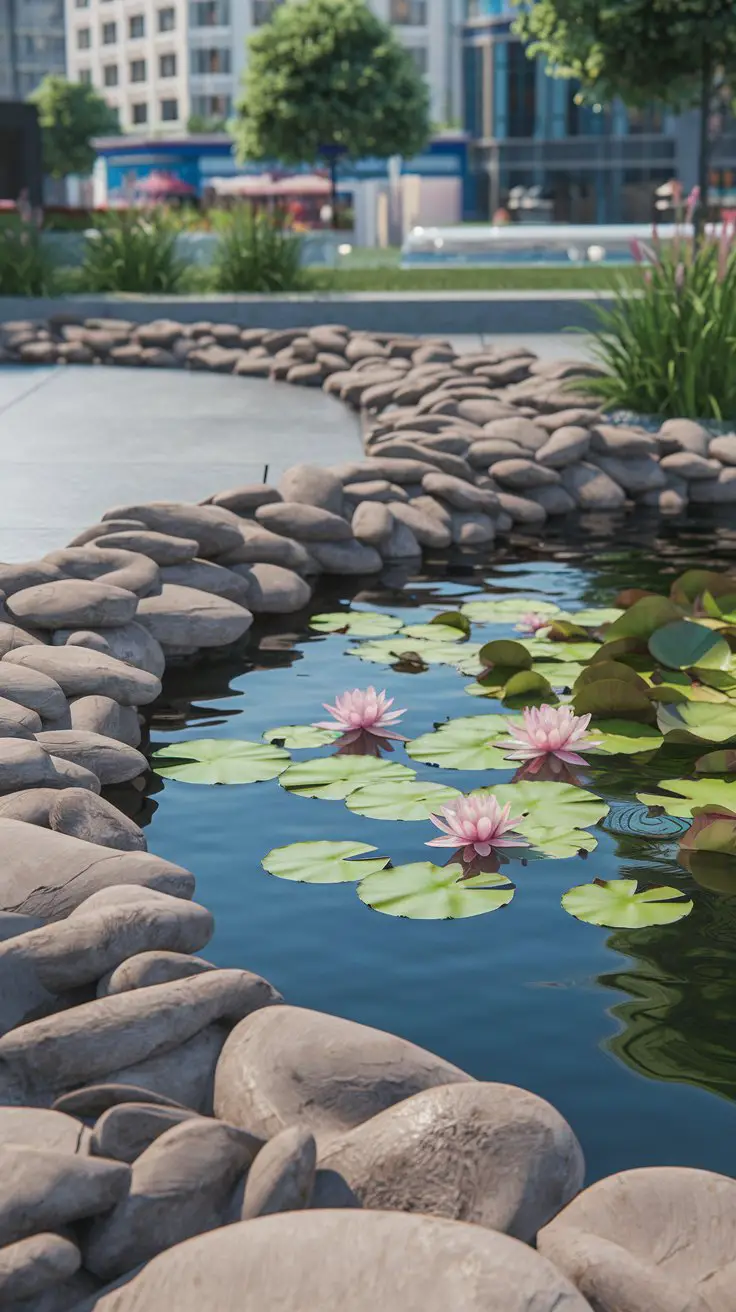
Creating a river rock pond edge adorned with floating lilies can infuse your garden with vibrant life and serene beauty. This landscaping concept combines the natural allure of smooth river rocks with the elegance of floating water lilies, enhancing your pond’s biodiversity and visual appeal. The gentle colors and textures of river rocks provide a beautiful, understated backdrop for the vibrant blooms of lilies, capturing the essence of a tranquil water garden oasis.
How to Achieve a River Rock Pond Edge with Floating Lilies
Select a Pond Location:
– Identify a sunny spot in your garden that can accommodate a pond, as water lilies require direct sunlight.
– Ensure the pond area is visible from key garden spots for maximum enjoyment.
Prepare the Pond Area:
– Excavate the chosen location to create a suitable pond basin, with a depth that supports both lily growth and natural water balance.
– Line the dug area with a pond liner to retain water and prevent leakage.
Install River Rock Edging:
– Arrange larger river rocks around the pond perimeter to create a natural-looking edge and prevent soil erosion.
– Secure the rocks in place for stability, ensuring a consistent and pleasing appearance.
Add Water Features:
– Install a water filtration system to keep the water clean and conducive for lily growth.
– Consider adding a gentle pump or bubbler for aeration and increased water movement.
Introduce Water Lilies:
– Choose a variety of water lily species for diversity in color and bloom size.
– Plant lily tubers in pots filled with aquatic soil, submerge them in the pond, and ensure the top of the pot remains beneath the water surface.
Fill the Pond with Water:
– Gradually fill the pond with water to minimize disruption to the planted lilies.
– Monitor water levels and quality, ensuring a balanced environment for healthy plants.
Enhance with Additional Elements:
– Refine the pond’s surroundings with complementary plants like ornamental grasses or irises.
– Add decorative features like a small statue or driftwood for added interest.
Lighting and Color Schemes:
– Integrate soft, underwater LED lights to illuminate the pond and highlight the river rock edge during evening hours.
– Opt for river rocks in neutral tones like grays, beiges, and tans to allow the vibrant colors of the lilies to stand out.
Maintain the Pond Environment:
– Regularly check the water quality, removing any debris or dead plant matter.
– Trim back overgrown lily leaves to prevent crowding and encourage new blooms.
River Rock Rockery with Alpine Plants
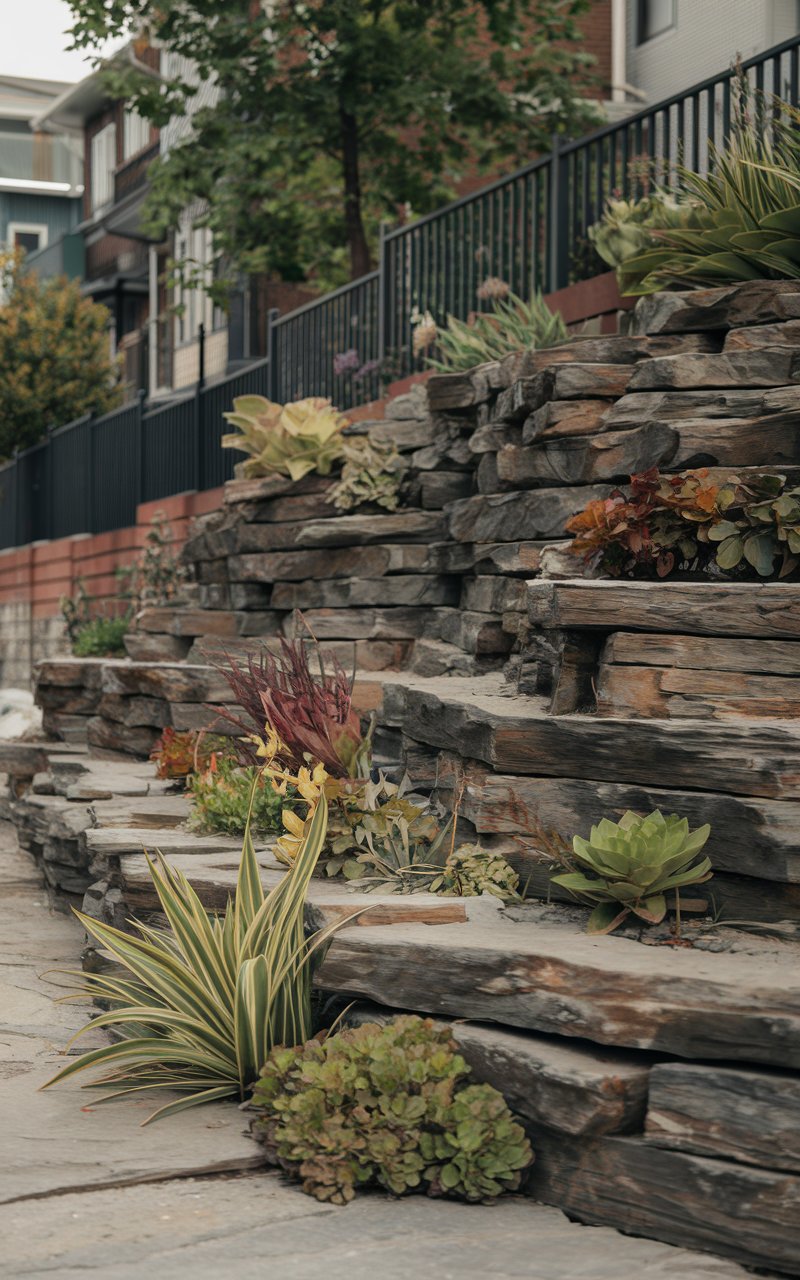
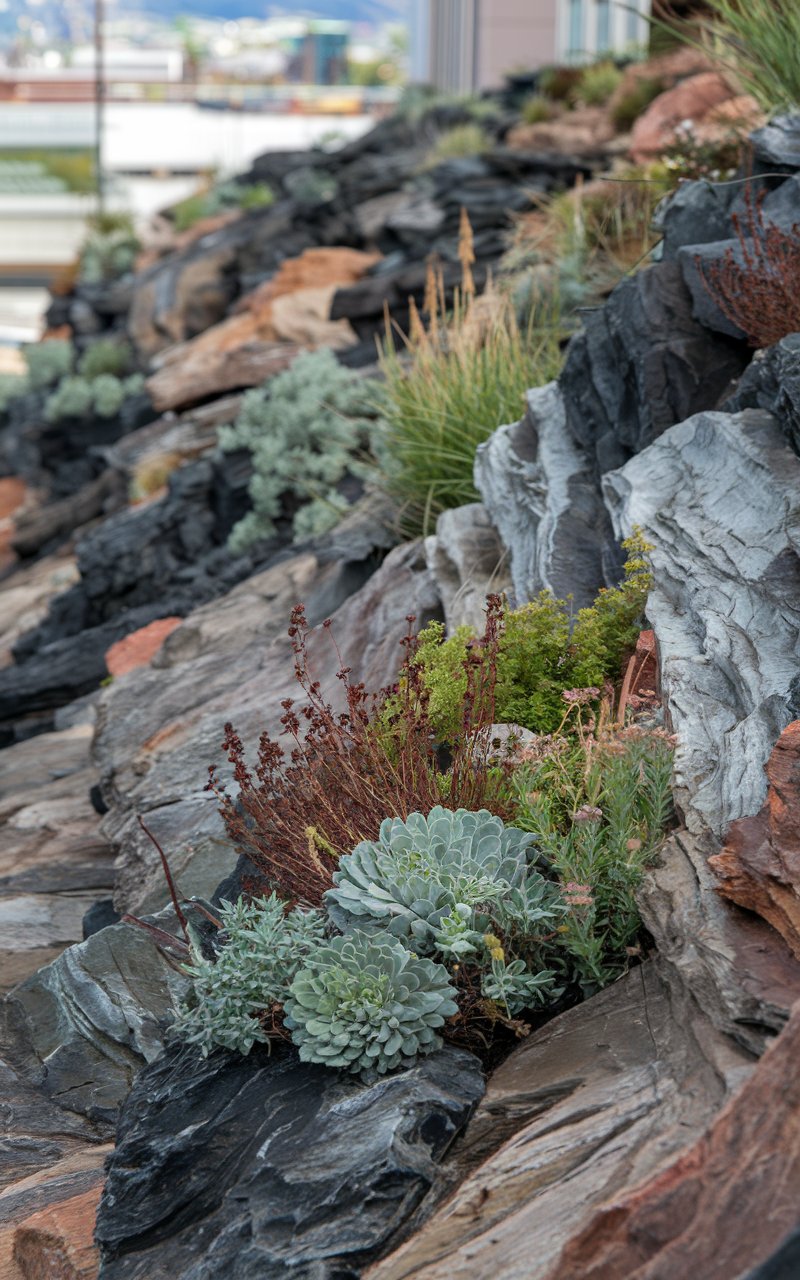
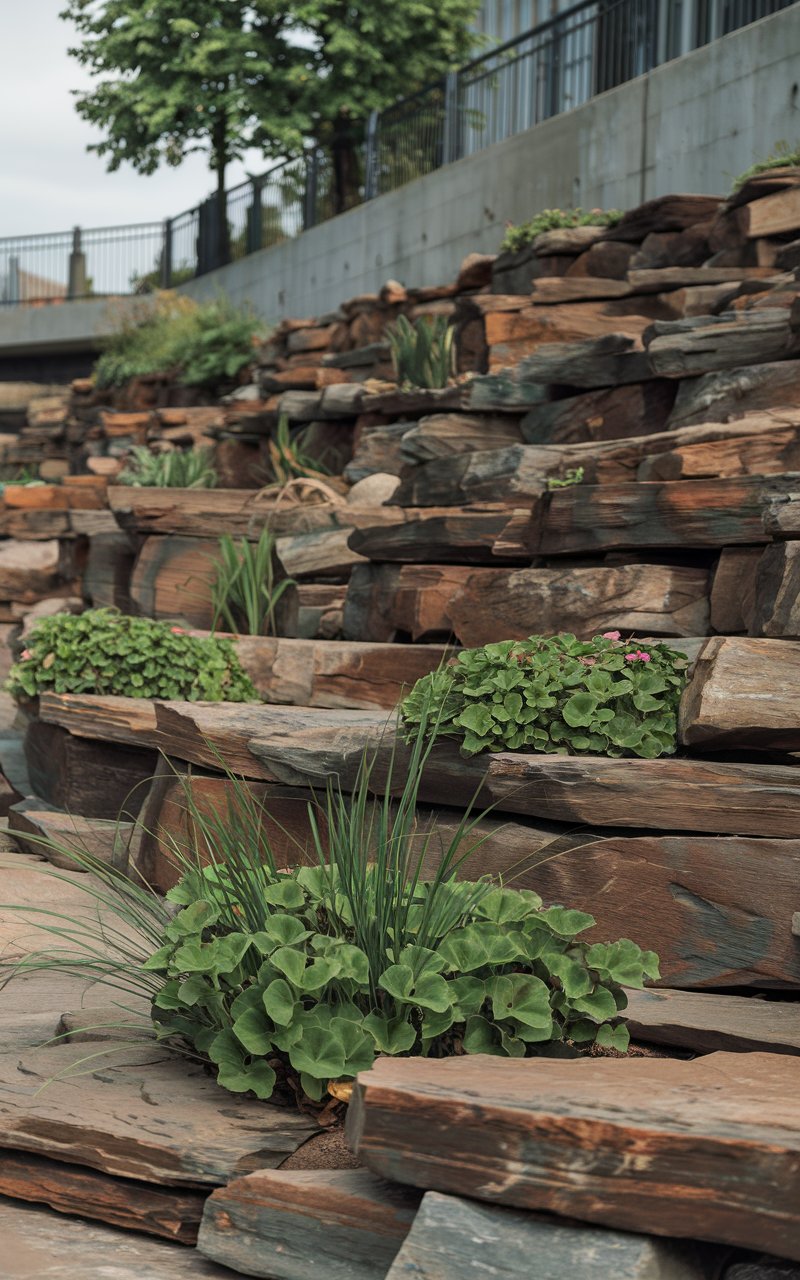
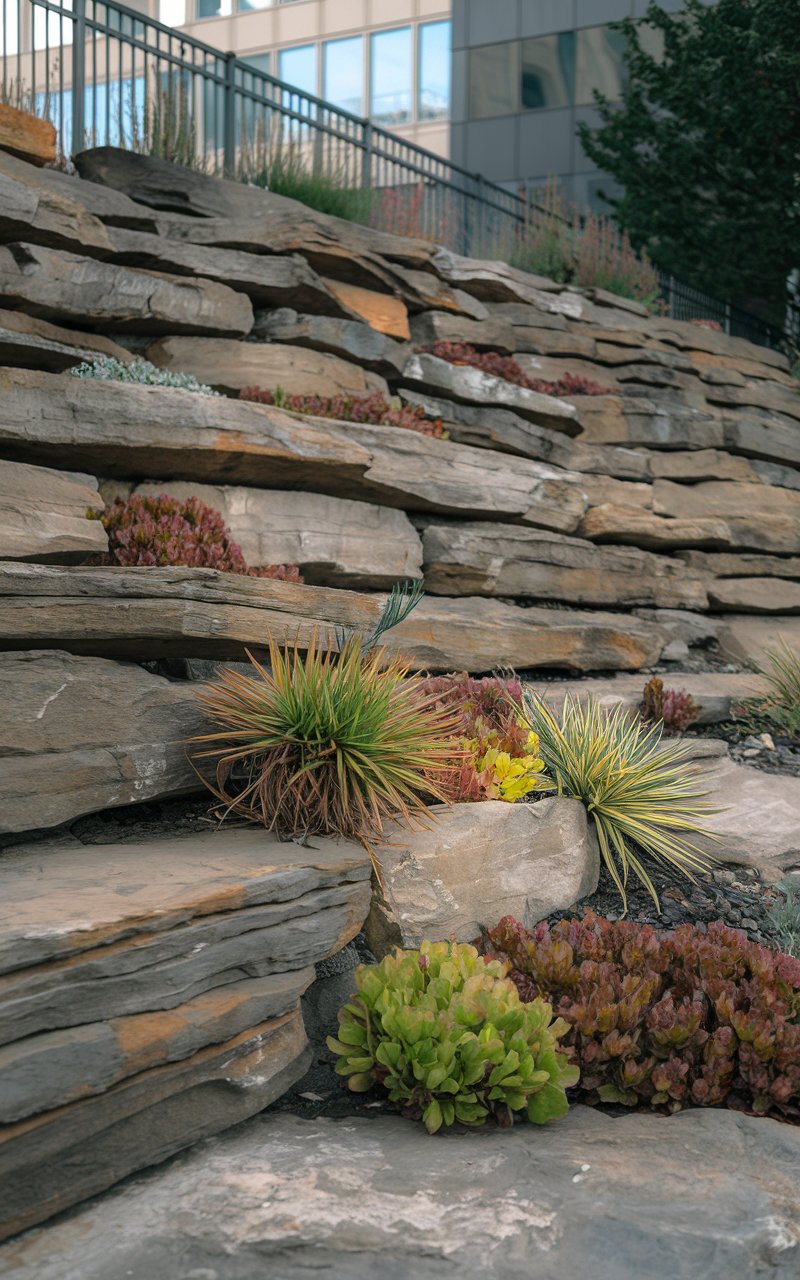
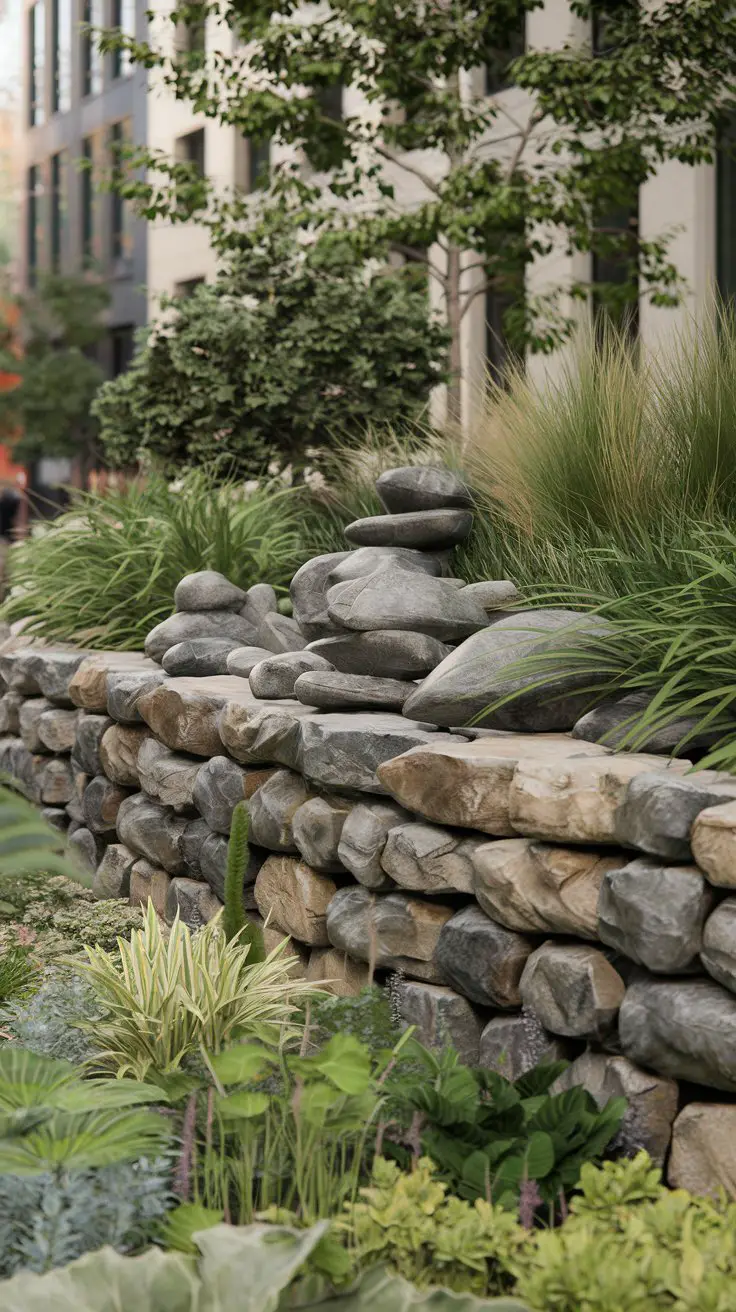
Creating a river rock rockery with alpine plants can transform a part of your garden into a rugged, mountainous retreat. This landscaping idea uses the jagged elegance of river rocks to form a tiered rockery that mimics natural alpine environments, creating an ideal habitat for hardy alpine plants. The juxtaposition of these resilient plants with river rocks of varying sizes provides a striking and textured landscape feature. Choose rocks in diverse shades like deep charcoal, silvery gray, and rust to replicate the rich colors of mountain landscapes while highlighting the vibrant blooms and greenery of the alpine flora.
How to Achieve a River Rock Rockery with Alpine Plants
Select a Location:
– Choose a sloped area or an underutilized corner of your garden where a rockery can create visual interest.
– Ensure the location offers good drainage and sufficient sunlight for alpine plants.
Prepare the Area:
– Clear the selected space of grass, weeds, and debris to expose bare soil.
– Break up the soil to improve drainage, adding coarse sand or gravel if necessary.
Construct the Rockery:
– Begin by placing the largest river rocks at the base, creating a stable foundation.
– Stack smaller rocks on top, arranging them to form natural-looking terraces and crevices.
Create Planting Pockets:
– Leave gaps between rocks to accommodate the alpine plants, ensuring adequate soil depth and drainage.
– Fill these pockets with a gritty, well-draining soil mix suitable for alpine growth.
Plant the Alpines:
– Select a variety of alpine plants such as sedums, saxifrages, and thyme for color and texture diversity.
– Plant within the crevices, ensuring each plant has enough space to spread and thrive.
Incorporate Mulch and Gravel:
– Scatter decorative gravel or small pebbles around the plants to deter weeds and retain moisture.
– This added layer also accentuates the rockery’s rugged appearance.
Enhance with Additional Features:
– Consider adding a birdbath or a small water feature to attract wildlife and add a focal point.
– Place ornamental objects like rustic garden sculptures for added interest.
Lighting and Color Schemes:
– Install solar-powered spotlights to highlight the rockery’s contours and plant features at night.
– Opt for river rocks in a cohesive color palette that contrasts with the vibrant hues of the alpine florals.
Maintenance:
– Regularly assess and adjust rocks if needed to maintain structural integrity.
– Prune and care for alpine plants to encourage new growth and manage spreading.
