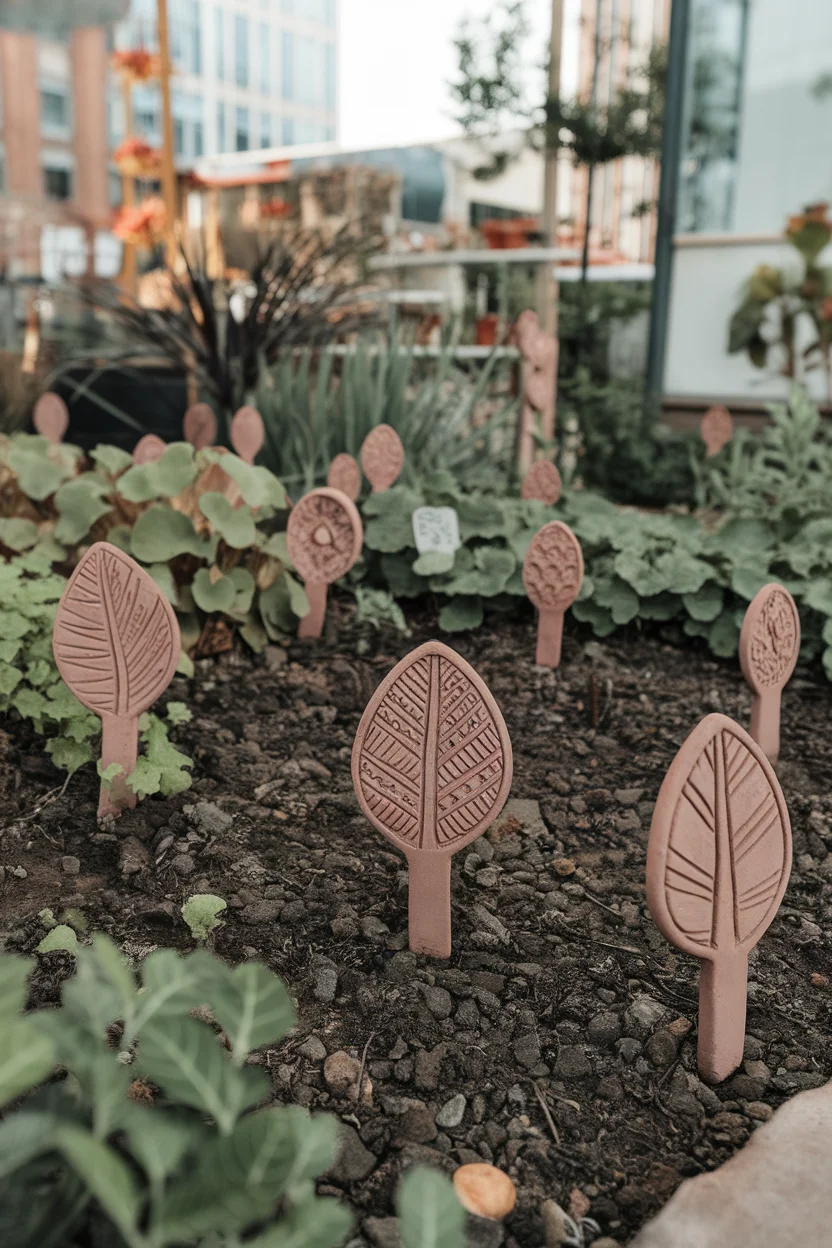
Crafting with clay offers a delightful blend of creativity and mindfulness, making it an ideal medium for artists and hobbyists alike. Whether you’re a seasoned artisan or a curious beginner, small clay projects provide the perfect opportunity to explore the endless possibilities of this versatile material. From charming trinkets and personalized gifts to decorative home accents, these projects invite you to mold your imagination into tangible expressions. As you shape and form each piece, you’ll discover the unique satisfaction that comes from bringing a simple lump of clay to life with your own hands. In this article, we’ll explore a variety of small clay project ideas that are sure to inspire and engage creators of all skill levels.
Personalized Clay Keychains
Creating personalized clay keychains is a delightful small project that combines creativity with functionality. These keychains can be tailored as gifts or unique personal accessories. By using polymer or air-dry clay, you can shape and design miniature objects, letters, or symbols that hold personal significance. Due to their compact size, they are ideal beginner projects, allowing you to experiment with colors and techniques without requiring extensive materials or time.
How to Achieve Personalized Clay Keychains
Materials Needed:
– Polymer or air-dry clay in various colors
– Keychain rings
– Rolling pin or smooth cylindrical object
– Small cutting tools or a craft knife
– Clay molding tools (optional)
– Baking sheet (for polymer clay) or drying area (for air-dry clay)
– Acrylic sealer (optional for additional durability)
Steps to Create:
1.
Select a Design
: Decide on the shape or theme, such as initials, small animals, or geometric shapes.
2.
Prepare the Clay
: Condition the clay by kneading it until it is soft and pliable. This ensures easy shaping.
3.
Shape Your Clay
: Roll out the clay to a thickness of about 1/4 inch and cut out your desired shapes using small clay cutters or a craft knife.
4.
Add Details
: Use small tools to add texture, patterns, or letters. Incorporate different colors for a vibrant look.
5.
Attach the Keychain Ring
: Gently insert a small eye pin or hook into the clay where the ring will be attached.
6.
Cure the Clay
:
*For polymer clay*: Place shaped pieces on a baking sheet covered with parchment paper and bake according to the package instructions.
*For air-dry clay*: Leave the clay to dry in an undisturbed area as per the manufacturer’s instructions, usually 24 to 48 hours.
7.
Sealing
: If desired, apply a coat of acrylic sealer after the clay has hardened or cooled to add a glossy finish and durability.
8.
Assemble the Keychain
: Once the clay pieces are fully set, attach the keychain ring through the eye pin or hook.
Color Scheme Suggestions:
– Combine neutral tones with a pop of metallic for an elegant look.
– Use pastel shades for a soft, playful theme.
– Opt for bold, contrasting colors for a striking and modern design.
Creating clay keychains allows for endless customization and serves as a perfect introduction to working with clay, offering a chance to explore textures, shapes, and color theory.
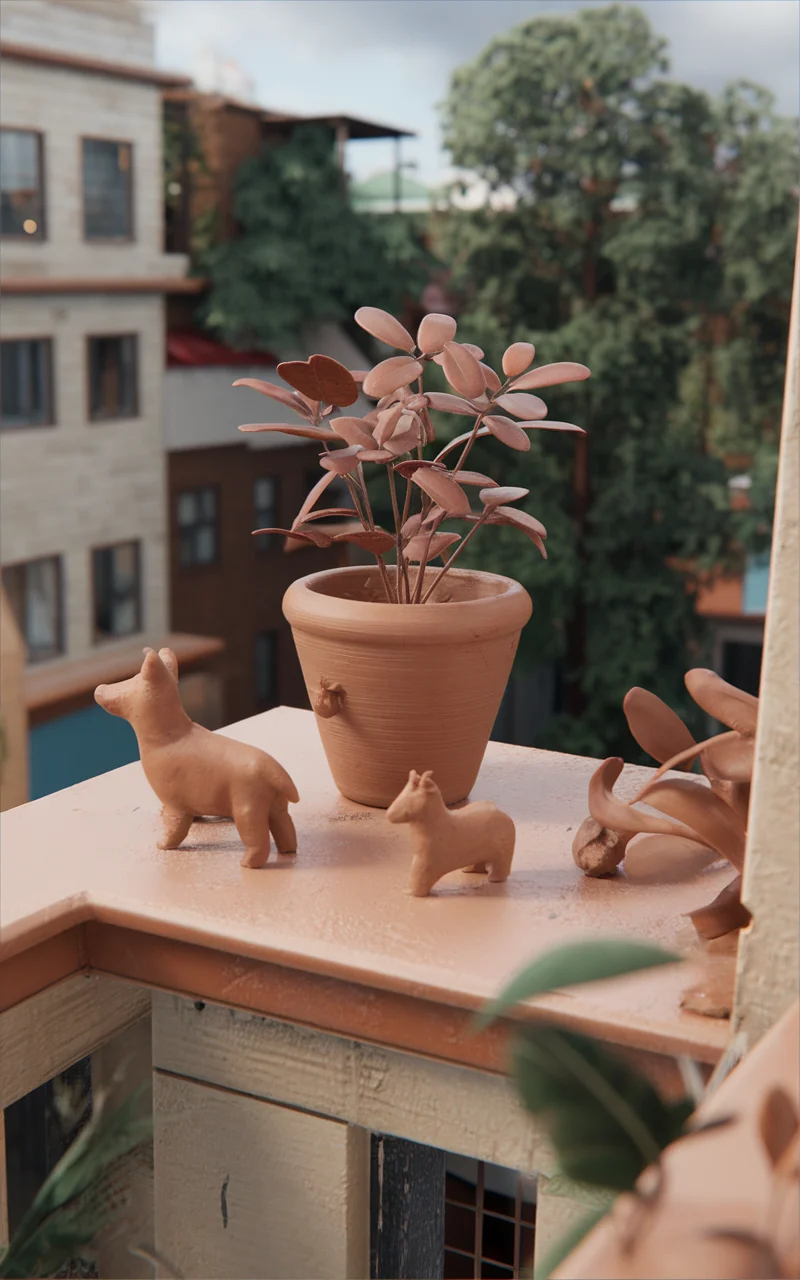
Miniature Clay Succulents
Miniature clay succulents are a charming and low-maintenance way to add a touch of greenery to your space. These tiny, lifelike plants can be crafted using polymer or air-dry clay and serve as everlasting decorations or unique gifts. With endless customization options for colors and enhancements, they’re an excellent project for crafters of all skill levels. Plus, their diminutive size makes them perfect for small spaces or as decorative elements in dollhouses and terrariums.
How to Achieve Miniature Clay Succulents
Materials Needed:
– Polymer or air-dry clay in shades of green, and optional colors for decorative pots (browns, blacks, pastels)
– Small sculpting tools or toothpicks
– Rolling pin or smooth cylindrical object
– Craft knife
– Miniature pots or bottle caps for plant holders
– Baking sheet (for polymer clay) or drying area (for air-dry clay)
– Acrylic or matte sealer to finish (optional)
Steps to Create:
1.
Pick a Succulent Type
: Select a type or styles, like aloe, rosette, or layered succulents, for reference and creative direction.
2.
Condition the Clay
: Soften the clay by kneading it well until flexible; this will facilitate better shaping.
3.
Create Leaves
: Roll out small pieces of clay and shape them into individual succulent leaves. For a rosette, layer variety, create flat, oval leaves, and for tall succulents, create long conical shapes.
4.
Assemble the Succulent
: Start placing leaves around a clay center piece, working from the inside out for a rosette shape or layering leaves in a spiraling pattern for taller varieties.
5.
Add Details
: Use a toothpick or sculpting tools to shape and texture the leaves, adding a natural look.
6.
Create the Pot
: Roll out a different color clay for the pot if desired, and wrap it around a base like a small cap. Alternatively, use real miniature pots.
7.
Cure the Clay
:
*For polymer clay*: Arrange on a baking sheet lined with parchment paper and bake according to the clay package instructions.
*For air-dry clay*: Allow it to dry in a ventilated area per manufacturer’s guidelines.
8.
Finish
: (Optional) Once the clay has set or cooled, apply an acrylic or matte sealer to enhance durability and appearance.
Color Scheme Suggestions:
– Mix different shades of green for a more natural look.
– Use pastel colors for a whimsical, delicate style.
– Try unconventional colors like blue or purple for a unique and vibrant succulent.
Crafting miniature succulents from clay offers a creative means to bring life into interiors without the ongoing care that real plants require, perfect for creating small, eye-catching decor pieces.
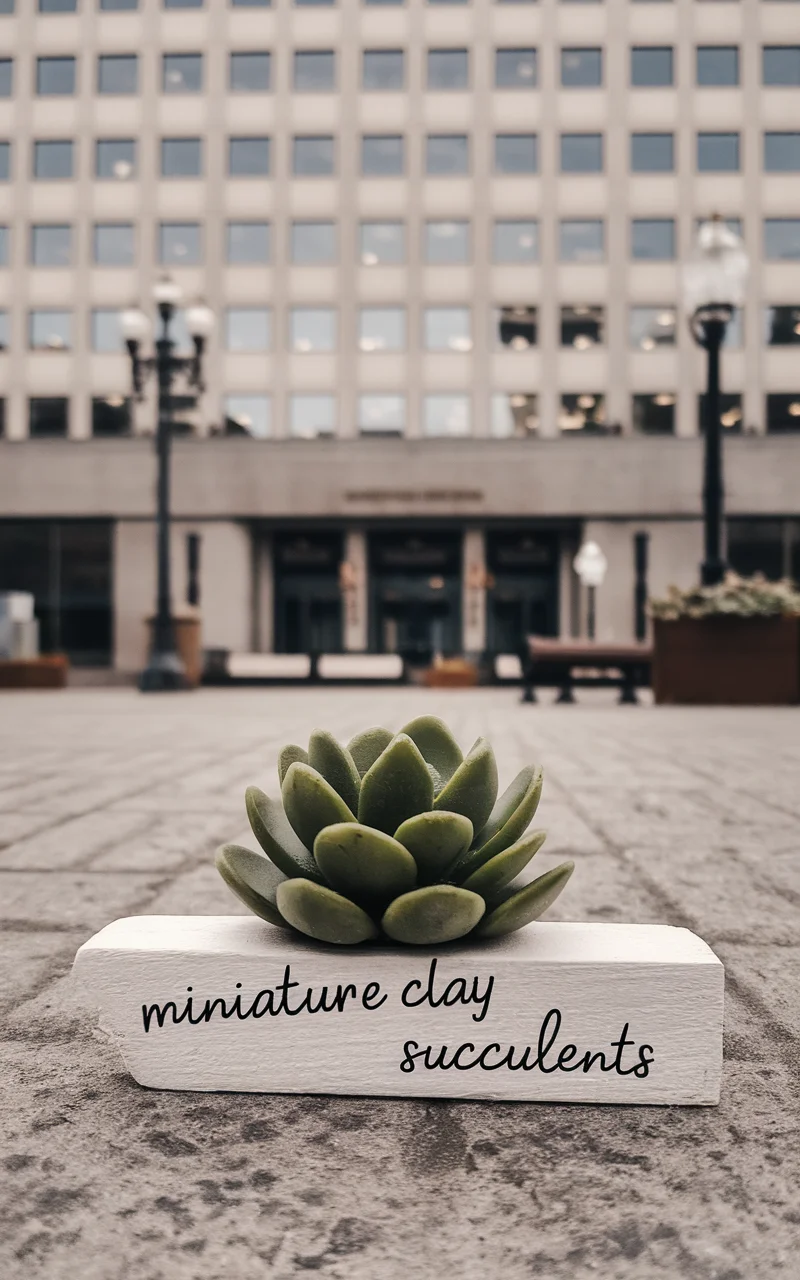
Clay Jewelry Dishes
Creating clay jewelry dishes is a charming and functional small project that offers a practical way to keep your accessories organized. These dishes can be crafted in various shapes and sizes, and they can be personalized with textures, colors, and patterns that match your aesthetic preferences. Whether for personal use or as thoughtful gifts, these handcrafted dishes are a delightful addition to a dresser or vanity.
How to Achieve Clay Jewelry Dishes
Materials Needed:
– Polymer or air-dry clay in your choice of colors
– Rolling pin or a smooth cylindrical object
– Round cookie cutters or any other desired shape cutters
– Clay molding tools or a toothpick for detailing
– Baking sheet (for polymer clay) or drying area (for air-dry clay)
– Optional: Acrylic paint and paintbrushes for additional decoration
– Optional: Acrylic sealer to enhance durability
Steps to Create:
1.
Select a Design
: Decide on the dish shape; it can be circular, oval, heart, or any other shape that suits your style.
2.
Condition the Clay
: Knead the clay until it becomes soft and pliable to ensure easy shaping and smooth textures.
3.
Roll Out the Clay
: Use the rolling pin to flatten the clay to your desired thickness, usually about 1/4 inch, to ensure sturdiness.
4.
Cut Out the Dish Shape
: Use cookie cutters to cut out the base of your dish in your chosen shape.
5.
Shape the Edges
: Gently lift the edges of the clay shape to form a shallow dish. Smooth out any rough edges using your fingers or a tool.
6.
Add Texture and Detail
: Use tools or a toothpick to add designs, such as geometric patterns or imprints. Alternatively, you can leave it smooth.
7.
Cure the Clay
:
*For polymer clay*: Place the shaped dish on a baking sheet lined with parchment paper and bake per the clay package instructions.
*For air-dry clay*: Let the dish dry in a well-ventilated area as directed by the manufacturer, typically 24 to 48 hours.
8.
Paint and Decorate (Optional)
: Once the clay has set or cooled, use acrylic paint to add colors or patterns. Let the paint dry completely.
9.
Seal the Dish (Optional)
: Apply a coat of acrylic sealer to add a glossy finish and increase durability.
Color Scheme Suggestions:
– Use marbled clay for a unique, elegant look.
– Paint with metallic colors like gold or silver for a chic, sophisticated style.
– Opt for bold, vibrant hues to create eye-catching, cheerful dishes.
Creating clay jewelry dishes is a fun way to combine aesthetics with utility, allowing for creative self-expression while organizing your favorite jewelry pieces.
Clay Fridge Magnets
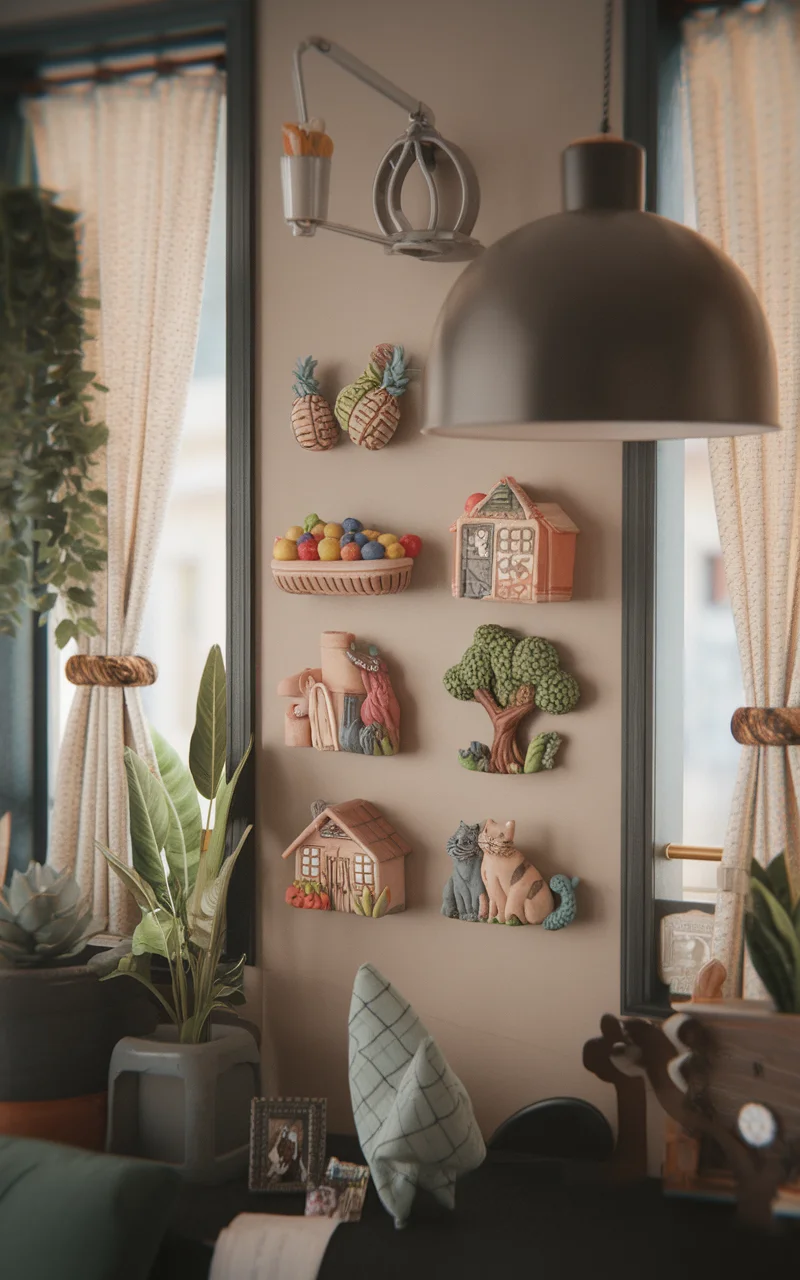
Clay fridge magnets are a fun and artistic project that can brighten up your kitchen space while showcasing personal flair. By using polymer or air-dry clay, you can craft tiny artworks that reflect themes, colors, and shapes that resonate with you. These magnets are both decorative and functional, holding important notes or photos on your refrigerator. Their small size makes them suitable for beginner crafters, allowing plenty of room for creativity in design and color.
How to Achieve Clay Fridge Magnets
Materials Needed:
– Polymer or air-dry clay in various colors
– Strong magnets
– Rolling pin or smooth cylindrical object
– Small cutting tools or craft knife
– Clay molding tools or toothpicks for detail
– Baking sheet (for polymer clay) or drying area (for air-dry clay)
– Strong adhesive (such as E6000) for attaching magnets
– Acrylic sealer (optional for added durability)
Steps to Create:
1.
Plan Your Designs
: Consider shapes, themes, or objects for the magnets, such as fruits, animals, or abstract designs.
2.
Prepare the Clay
: Knead the clay until it’s soft to ensure it’s easy to work with.
3.
Shape Your Clay
: Roll out the clay to about 1/4 inch thick, and cut out your designs using cutting tools or by hand.
4.
Add Details
: Use tools or a toothpick to etch designs, patterns, or add small features to your clay shapes.
5.
Cure the Clay
:
– For polymer clay: Arrange your pieces on a baking sheet with parchment paper and bake as per the clay instructions.
– For air-dry clay: Let the pieces dry in a ventilated area for 24 to 48 hours or as suggested by the manufacturer.
6.
Attach Magnets
: Once the clay shapes have hardened, use strong adhesive to attach magnets to the back of each piece. Allow the glue to dry completely.
7.
Sealing
: (Optional) Apply a coat of acrylic sealer for a glossy finish and increased durability.
Color Scheme Suggestions:
– Use vibrant primary colors for a playful, bold effect.
– Opt for earth tones for a more natural, subdued appearance.
– Mix bright, neon colors for modern, eye-catching magnets.
Crafting clay fridge magnets offers a personalized way to decorate your kitchen, providing both a touch of whimsy and a practical function. These versatile little pieces make for excellent homemade gifts as well.
Clay Candle Holders
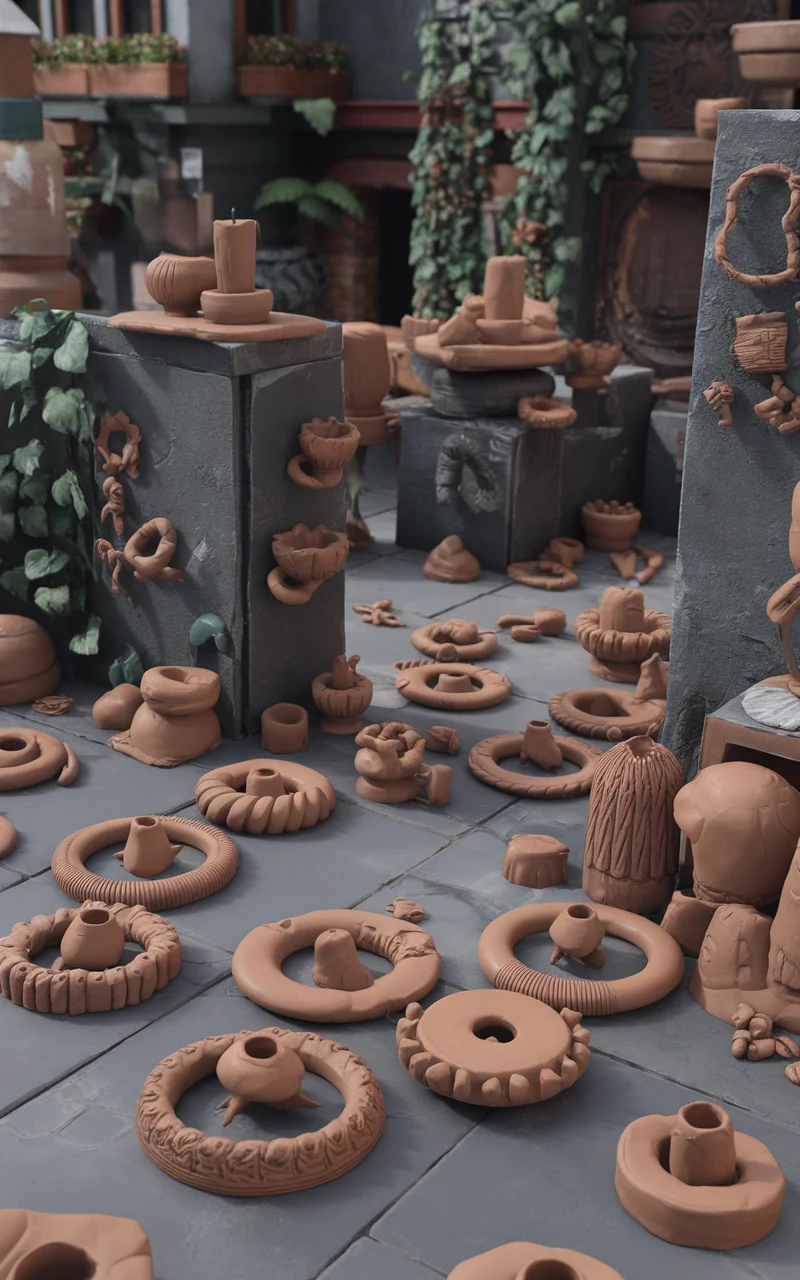
Crafting clay candle holders is a soothing project that marries aesthetics with practicality. These handmade holders offer an opportunity to explore artistic designs while serving as functional decor for any room. Using polymer or air-dry clay, you can construct catch-all candle holders that cater to various candle sizes, whether tea lights, votive candles, or pillar candles. The project is ideal for all skill levels, providing a canvas for experimenting with textures, shapes, and colors, creating ambient lighting accents.
How to Achieve Clay Candle Holders
Materials Needed:
– Polymer or air-dry clay in your choice of colors
– Rolling pin or smooth cylindrical object
– Various-sized cylindrical objects for shaping (e.g., shot glasses, small containers)
– Craft knife or small cutting tools
– Sculpting tools or a toothpick for detailing
– Baking sheet (for polymer clay) or drying area (for air-dry clay)
– Sandpaper or nail file for smoothing (optional)
– Acrylic sealer or varnish (optional for a glossy finish)
Steps to Create:
1.
Select a Candle Type
: Decide on the candle size you want the holder to accommodate, such as tea lights or votive candles.
2.
Condition the Clay
: Knead the clay until it becomes soft and pliable, ensuring ease in shaping and detailing.
3.
Form the Base
: Roll out the clay to about 1/4 inch thick and cut a circle or shape that will serve as the base of the holder.
4.
Construct the Holder
: Wrap clay strips around a cylindrical object to create walls and join the ends securely. Place this on the base.
5.
Add Details
: Use tools to add textures or patterns on the holder’s surface. You can create grooves, dot patterns, or leaf imprints for added interest.
6.
Cure the Clay
:
– For polymer clay: Arrange on a baking sheet lined with parchment paper and bake as per the clay package instructions.
– For air-dry clay: Leave it to dry in a well-ventilated area for 24 to 48 hours or per the manufacturer’s guidance.
7.
Finish the Surface
: (Optional) Once cured, lightly sand any rough edges for a smooth finish.
8.
Seal the Holder
: (Optional) Apply an acrylic sealer or varnish to add a glossy finish and enhance durability.
Color Scheme Suggestions:
– Use marbled clay for a sophisticated, artistic look.
– Choose earth tones, like terracotta and ochre, to emphasize a warm, natural aesthetic.
– Opt for metallic shades, such as gold or silver, for a striking, modern appearance.
Creating clay candle holders allows for a personalized touch in home decor, offering ambiance and functionality. These beautifully crafted pieces can also make thoughtful, handcrafted gifts.
Clay Coasters with Botanical Imprints
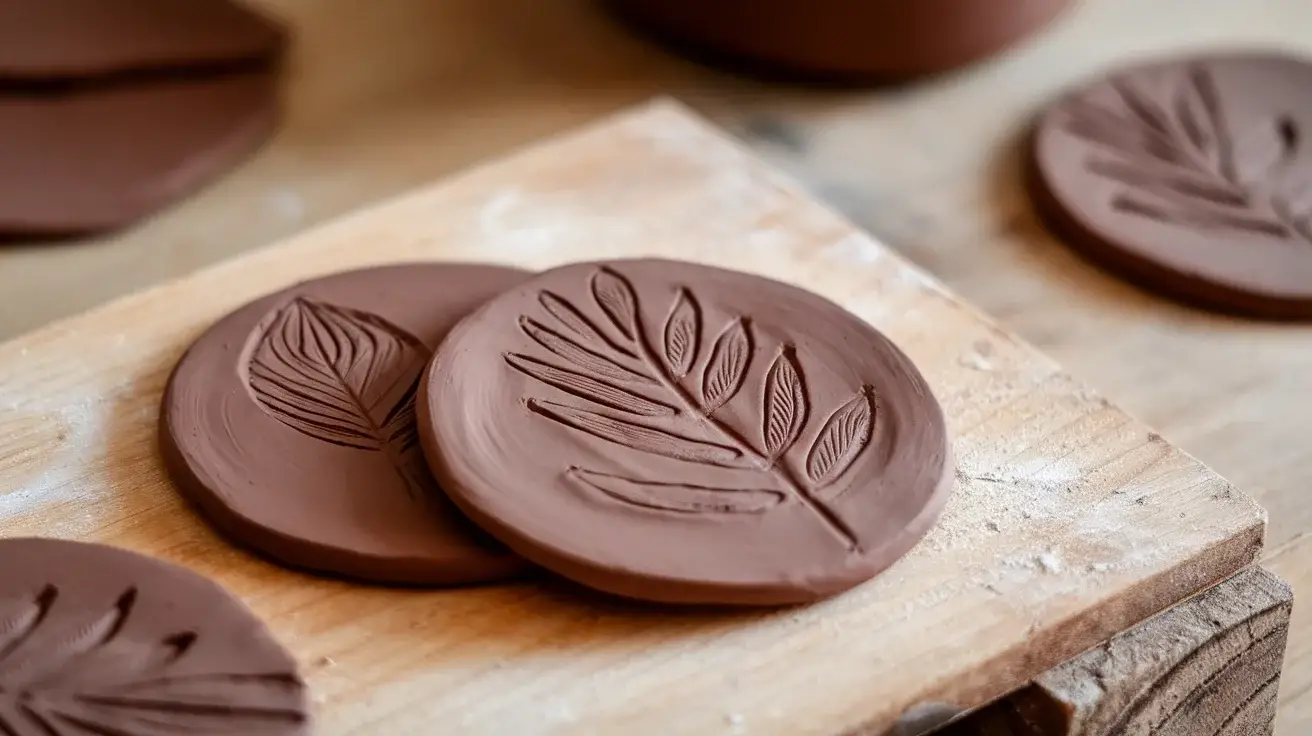
Crafting clay coasters with botanical imprints is an innovative way to bring nature into your home. These coasters are a stylish and functional accessory, perfect for protecting surfaces while adding an organic, artful touch to your decor. Made using polymer or air-dry clay, they serve as functional art pieces by capturing the beauty of leaves or small flowers. This project is suitable for all skill levels, providing an opportunity to explore texture and natural motifs.
How to Achieve Clay Coasters with Botanical Imprints
Materials Needed:
– Polymer or air-dry clay in a neutral or chosen color
– Rolling pin or smooth cylindrical object
– Round cookie cutters or a glass for cutting shapes
– Fresh leaves or flat flowers with distinct vein patterns
– Baking sheet (for polymer clay) or drying area (for air-dry clay)
– Sandpaper or a nail file for smoothing edges (optional)
– Acrylic sealer for extra durability
Steps to Create:
1.
Select Botanical Elements
: Choose leaves or small flowers that have interesting and prominent vein patterns for imprinting.
2.
Prepare the Clay
: Knead the clay until it is soft and pliable to ensure smooth rolling and shaping.
3.
Roll Out the Clay
: Flatten the clay to a thickness of about 1/4 inch using a rolling pin.
4.
Imprint the Design
: Place a leaf or flower on the clay and gently press down with the rolling pin to ensure the pattern transfers clearly.
5.
Cut Out the Coasters
: Use a round cutter or the rim of a glass to cut out circle shapes around the imprints.
6.
Refine the Edges
: Smooth any rough edges with your fingers or sandpaper for a clean finish.
7.
Cure the Clay
:
– For polymer clay: Arrange on a baking sheet lined with parchment paper and bake as per the clay package instructions.
– For air-dry clay: Allow to dry thoroughly in a ventilated area as directed by the manufacturer.
8.
Seal the Coasters
: Apply a coat of acrylic sealer to protect the surface from moisture and enhance durability.
Color Scheme Suggestions:
– Use natural clay colors like beige or terracotta for a rustic, earthy feel.
– Opt for white or light pastels for a minimalist, elegant look.
– Accent with subtle metallic hues in the acrylic sealer for a refined, sophisticated touch.
Creating clay coasters with botanical imprints is a project that beautifully combines functionality with artistic expression, allowing you to incorporate the tranquility of nature into your everyday life.
Clay Aromatherapy Diffusers
Crafting clay aromatherapy diffusers is a creative way to enhance your space with natural scents while displaying a unique decorative piece. These small clay diffusers can be customized in various shapes and patterns to suit your aesthetic preferences. By using air-dry clay, you can infuse essential oils into the clay, creating a personalized and functional home fragrance solution. These diffusers are perfect for small areas like desks, bedside tables, or bathrooms, offering calm and relaxation through aromatic diffusion.
How to Achieve Clay Aromatherapy Diffusers
Materials Needed:
– Air-dry clay in your preferred color
– Essential oils of your choice
– Rolling pin or smooth cylindrical object
– Small cookie cutters or shape templates
– Toothpicks or clay tools for detailing
– Burlap or textured fabric (optional for texture)
– Small paintbrush
Steps to Create:
1.
Design Your Diffuser
: Decide on the shape, such as circles, hearts, or leaves. Plan any textural patterns or details you want to add.
2.
Prepare the Clay
: Knead the clay until soft and pliable for easy shaping and smooth surface finish.
3.
Shape Your Diffuser
: Roll out the clay to approximately 1/4 inch thickness. Use cutters to create the desired shapes.
4.
Add Texture and Details
: Optional: Press burlap or textured fabric onto the clay to leave an imprint. Use toothpicks or tools for additional patterns.
5.
Make a Hole for Hanging
: If intended for hanging, poke a small hole near the top with a toothpick.
6.
Dry the Clay
: Allow the shapes to dry completely in a well-ventilated area for 24 to 48 hours, as per clay instructions.
7.
Add Essential Oils
: Once dry, use a small paintbrush to apply essential oils directly onto the clay. Let the oil absorb for even scent distribution.
8.
Reapply Oils
: Refresh the scent by reapplying essential oils as needed.
Color Scheme Suggestions:
– Use natural clay or terracotta hues for a rustic, organic look.
– Choose calming pastels such as lavender or mint green for a relaxing feel.
– Select a monochromatic scheme in whites or creams for a minimal, modern approach.
Creating clay aromatherapy diffusers enables a fusion of beauty and utility, offering a personalized approach to aromatic home decor, enhancing the ambiance with soothing scents and elegant visuals.

Clay Bookmarks with Leaf Impressions
Crafting clay bookmarks with leaf impressions offers a perfect blend of nature and functionality, serving as a beautiful way to mark your place in a book. These bookmarks combine the tactile beauty of clay with the elegance of natural leaf imprints. Using polymer or air-dry clay, you can create unique and delicate designs that reflect your love for nature and reading. These bookmarks make excellent gifts for book lovers and are simple enough for crafters of all skill levels to create.
How to Achieve Clay Bookmarks with Leaf Impressions
Materials Needed:
– Polymer or air-dry clay in your chosen color
– Rolling pin or smooth cylindrical object
– Craft knife or clay cutting tools
– Fresh leaves with prominent veins for impressions
– Baking sheet (for polymer clay) or drying area (for air-dry clay)
– Lengths of ribbon or twine (optional for decoration)
– Acrylic sealer (optional for added durability)
Steps to Create:
1.
Select Leaves
: Choose leaves with interesting vein patterns. Thin leaves like ferns or herbs often work best for detailed impressions.
2.
Prepare the Clay
: Knead the clay until it is malleable for easy shaping.
3.
Roll Out the Clay
: Flatten the clay to a thickness of about 1/8 inch using a rolling pin.
4.
Imprint the Leaf
: Place a leaf onto the clay and gently press it down with the rolling pin to transfer its pattern.
5.
Cut Out the Bookmark Shape
: Trim the clay into a rectangle or any other shape you prefer, using a craft knife or cutting tool.
6.
Make a Hole for a Ribbon (Optional)
: If you wish to add a decorative ribbon or twine, poke a small hole at the top of the bookmark using a toothpick or similar tool.
7.
Cure the Clay
:
– For polymer clay: Place on a baking sheet lined with parchment paper and bake according to the clay’s package instructions.
– For air-dry clay: Allow the bookmark to dry in a ventilated area for the recommended time.
8.
Seal and Decorate (Optional)
: Once set, you can apply an acrylic sealer to protect the surface and make the bookmark more durable. Tie a ribbon or piece of twine through the hole.
Color Scheme Suggestions:
– Light, natural tones like whites, beiges, or soft greens to mimic the subtlety of nature.
– Pastel shades for a gentle, romantic feel.
– Bold, vibrant colors for a modern and distinctive look.
Creating clay bookmarks with leaf impressions is an enjoyable project that marries your love of literature with the serene beauty of nature, offering a practical yet artistic creation that enhances your reading experience.
Textured Clay Plant Labels
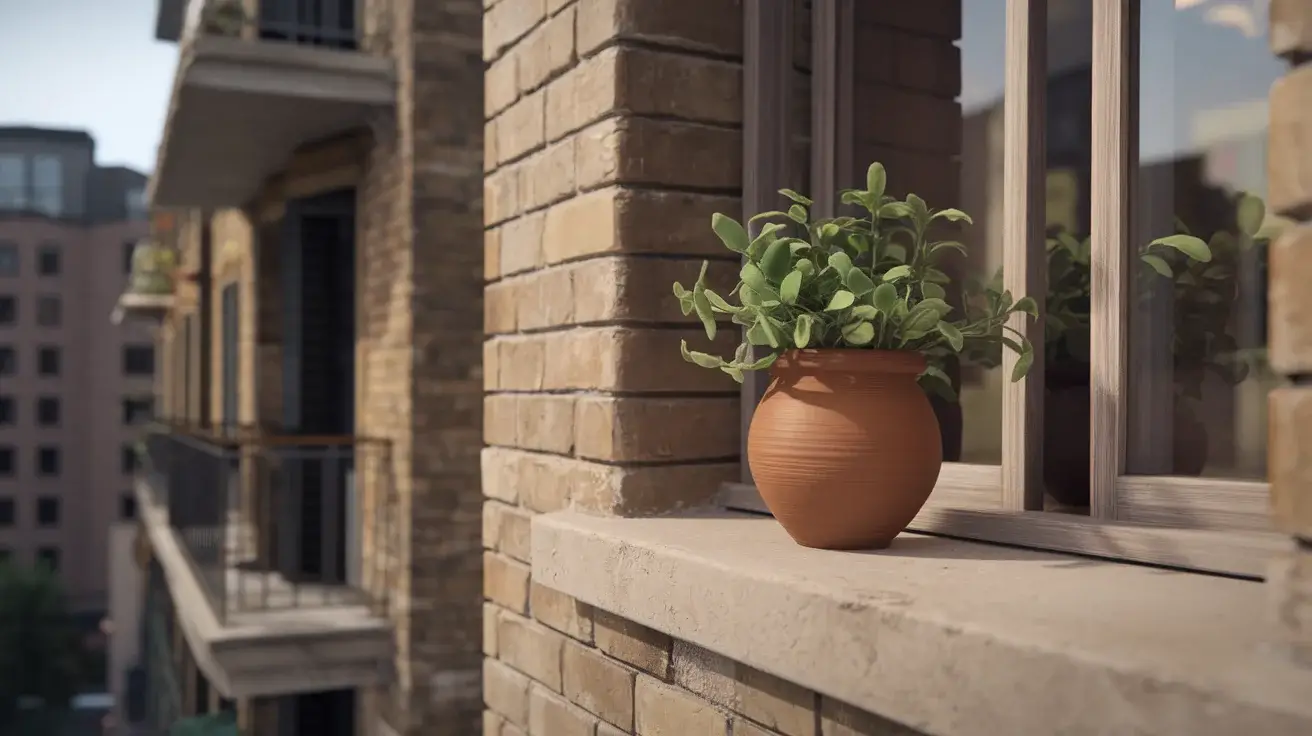
Creating textured clay plant labels is an innovative and artistic project that assists in organizing your garden or plant collection. These labels serve both a practical and decorative function, making them perfect for passionate gardeners and indoor plant enthusiasts. By using polymer or air-dry clay, you can craft durable, weather-resistant labels that add a handmade touch to outdoor or indoor environments. The texture and color can be customized to match your style, making them suitable for all skill levels.
How to Achieve Textured Clay Plant Labels
Materials Needed:
– Polymer or air-dry clay in your preferred colors
– Rolling pin or a smooth cylindrical object
– Craft knife or cutting tools
– Stamps, letter blocks, or toothpicks for texturing
– Baking sheet (for polymer clay) or drying area (for air-dry clay)
– Strong adhesive or clear varnish (optional for added durability)
Steps to Create:
1.
Design the Labels
: Plan the size and shape of your plant labels, such as rectangular, arrow, or oval, and choose texture styles you want to incorporate.
2.
Condition the Clay
: Knead the clay until it becomes soft and pliable, preparing it for easy shaping and texturing.
3.
Roll Out the Clay
: Use a rolling pin to flatten the clay to a thickness of about 1/4 inch.
4.
Add Texture
: Use stamps or letter blocks to emboss texture onto the clay surface. For a more organic look, press various textured items like fabric or shells into the clay.
5.
Cut Out the Labels
: Cut your designed shapes out of the clay using a craft knife or template.
6.
Write Plant Names
: Use letter stamps, inscribing tools, or a toothpick to engrave plant names onto each label.
7.
Cure the Clay
:
– For polymer clay: Place labels on a baking sheet lined with parchment paper and bake according to the clay package instructions.
– For air-dry clay: Leave them to dry in a ventilated area for the duration specified by the manufacturer.
8.
Finish and Seal (Optional)
: Apply a clear varnish or adhesive to protect the labels from moisture and weather elements, enhancing their durability and longevity.
Color Scheme Suggestions:
– Earthy tones like terracotta or sage green for a natural, harmonious look.
– Bright, contrasting colors to add vibrancy to your garden space.
– Neutral shades such as grey or beige to keep the focus on the plant names and textures.
Creating textured clay plant labels not only keeps your garden organized but also adds a touch of creativity and personalization, making gardening even more enjoyable.
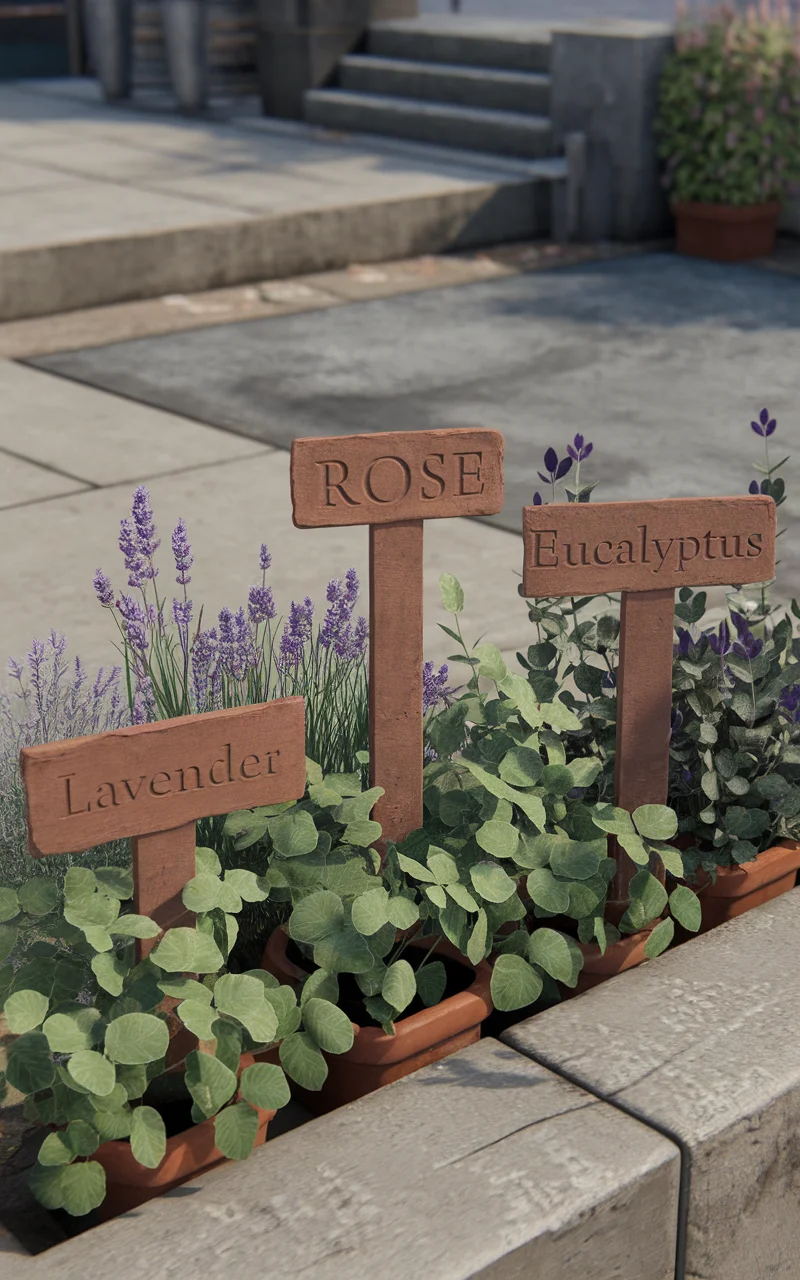
Clay Garden Markers
Crafting clay garden markers is a creative project perfect for both novice and seasoned gardeners. These markers can help you identify your plants while adding a personalized and artistic touch to your garden. Using polymer or air-dry clay, you can design and customize markers with plant names or simple patterns that reflect the beauty of your green space. This project is suitable for all skill levels and is a delightful way to enhance the organization and aesthetics of your garden or indoor plant arrangements.
How to Achieve Clay Garden Markers
Materials Needed:
– Polymer or air-dry clay in your choice of colors
– Rolling pin or smooth cylindrical object
– Craft knife or cutting tools
– Wooden skewer or toothpick for writing
– Baking sheet (for polymer clay) or drying area (for air-dry clay)
– Acrylic sealer or varnish (optional for durability)
Steps to Create:
1.
Plan Your Design
: Choose the size and shape for your markers, such as simple rectangles or fancy shapes like leaves.
2.
Condition the Clay
: Knead the clay until it is soft and easy to shape.
3.
Roll Out the Clay
: Use a rolling pin to flatten the clay to a thickness of approximately 1/4 inch.
4.
Cut Out the Markers
: Use a craft knife to cut your planned shapes from the clay.
5.
Engrave Plant Names
: Use a wooden skewer or toothpick to inscribe plant names or patterns onto each marker.
6.
Cure the Clay
:
– For polymer clay: Arrange the markers on a baking sheet lined with parchment paper and bake according to the clay package instructions.
– For air-dry clay: Allow them to dry thoroughly in a ventilated area as per the manufacturer’s directions.
7.
Seal the Markers (Optional)
: Apply an acrylic sealer or varnish to protect the surfaces from weather and wear, enhancing their durability.
Color Scheme Suggestions:
– Use natural shades like terracotta or green to blend seamlessly with the garden environment.
– Opt for bright, cheerful colors to add vibrancy and make finding your plants easier.
– Consider white or light pastels for a fresh and elegant look.
Creating clay garden markers allows for decorative and practical enhancements to your gardening space, making plant identification stylish and personalized.
