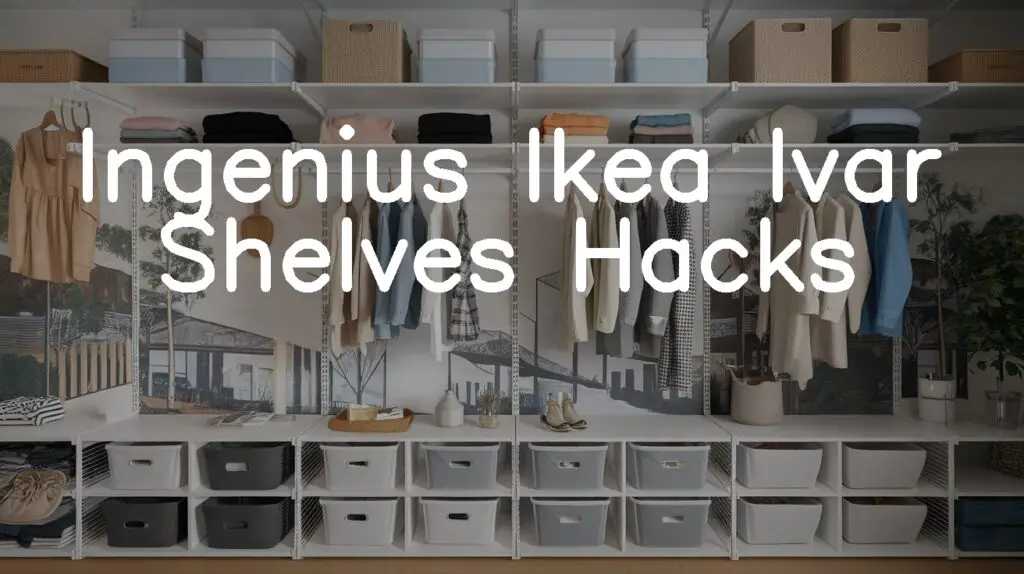
In the world of interior design, versatility often reigns supreme, and few pieces embody this trait as effortlessly as the IKEA Ivar shelves. Originally celebrated for their simple, utilitarian design, these shelves have become a blank canvas for creativity among DIY enthusiasts and home decorators alike. Whether you’re looking to maximize storage, add a touch of personalization, or transform your living space on a budget, ingenious IKEA Ivar shelves hacks offer a plethora of possibilities to reimagine your home. Dive into the art of blending functionality with style as we explore some of the most inspiring and inventive transformations that elevate these classic shelves to a whole new level.
### Custom Rolling Bar Cart
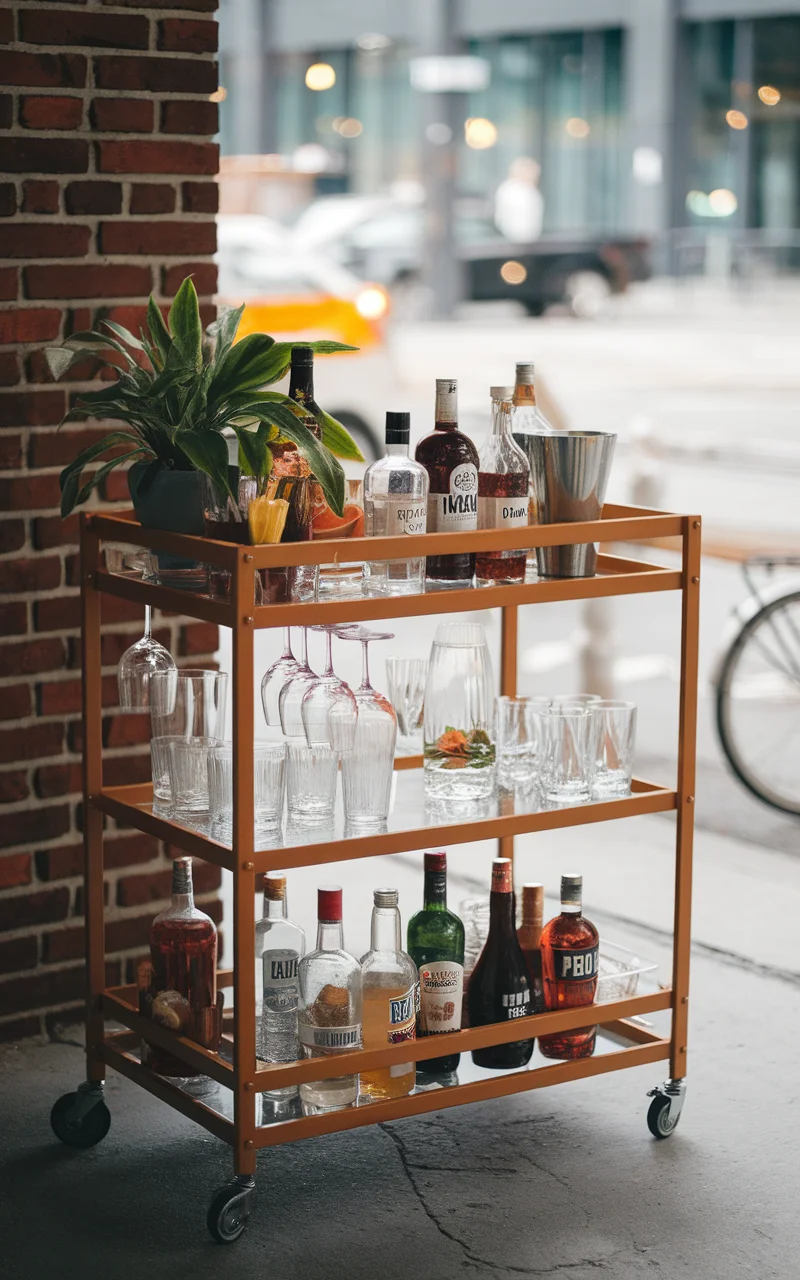
Transform your Ikea Ivar shelves into a stylish and functional rolling bar cart, perfect for entertaining guests or enhancing the ambiance of your dining area. This hack combines both practicality and aesthetic appeal, providing a unique, mobile beverage station that fits any social occasion. With a few simple modifications and clever uses of space, this hack will elevate your home’s hosting potential.
How to Achieve It:
Materials Needed:
– Ikea Ivar shelf units (2 sections)
– Set of caster wheels
– Wood stain or paint (optional, for color customization)
– Gold spray paint (for a chic touch)
Tools Required:
– Electric drill
– Screwdriver
– Paintbrush or roller (if staining or painting)
Instructions:
1.
Assemble the Ivar Shelves:
Follow Ikea’s instructions to assemble two sections of the Ivar shelves. These will form the sides of your bar cart.
2.
Add Caster Wheels:
– Securely attach four caster wheels to the bottom of each shelf section using an electric drill. This adds mobility to your cart, transforming it into a portable bar.
3.
Customize the Color:
– If desired, paint or stain the shelves to match your home decor. A rich mahogany stain can create a classic look, while a bold blue or forest green paint can add a modern flair.
– For a touch of elegance, spray paint the caster wheels in gold.
4.
Install Shelving Supports:
– Use the adjustable shelving brackets included with the Ivar system to position additional shelves at different heights, ideal for storing bottles, glasses, and barware.
5.
Add Accessories:
– Enhance your bar cart with accessories such as hanging racks for glasses, storage baskets for napkins or bar tools, and LED strip lights for an inviting glow.
6.
Final Touches:
– Place your bar essentials and decor items such as a small potted plant or an elegant tray to complete the look.
Color Scheme Suggestions:
– Classic: Dark walnut stain with gold accents
– Modern: Matte black paint with chrome accents
– Coastal: Soft gray with whitewash finish
By following these steps, you can transform a simple set of Ivar shelves into a custom rolling bar cart that is both functional and stylish, catering to your personal taste and home decor.
Chic Plant Display Ladder
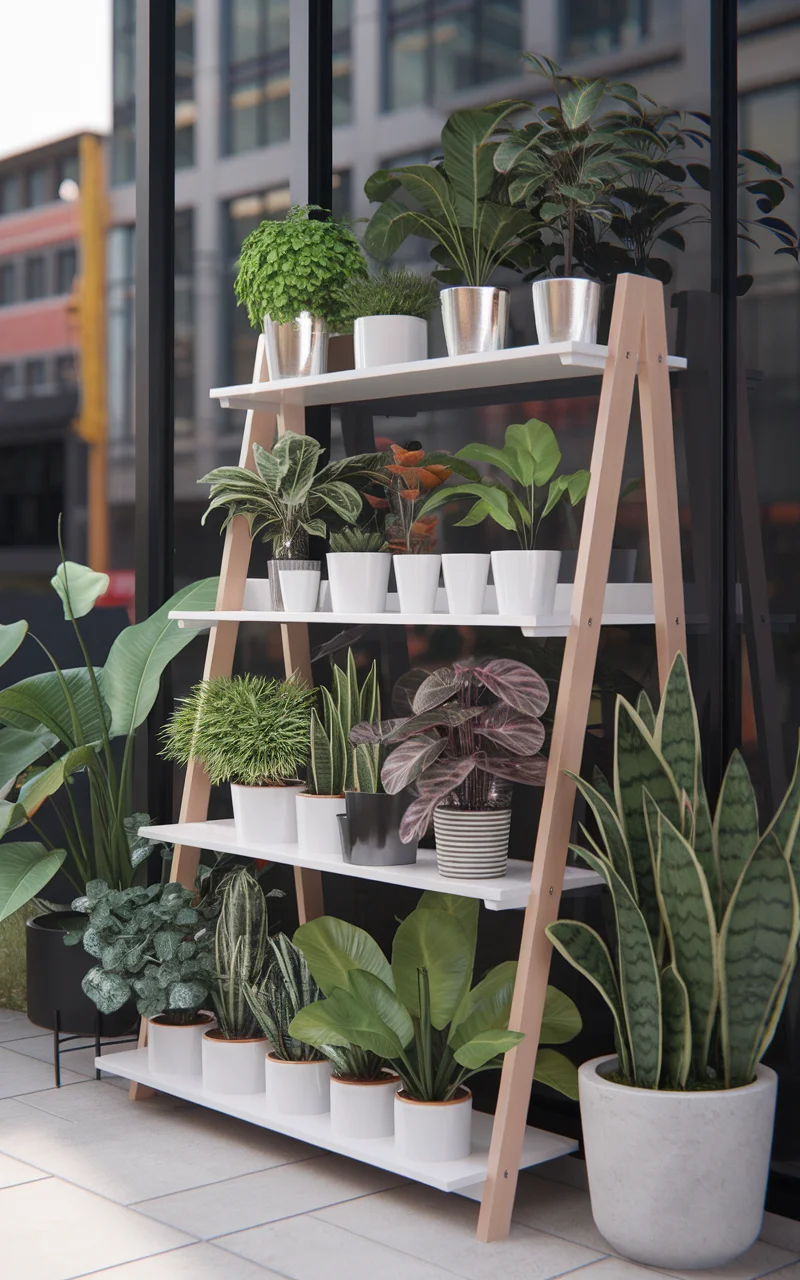
Unleash the full potential of your Ikea Ivar shelves by converting them into a chic plant display ladder. This inventive hack not only showcases your thriving houseplants but also adds a fresh, organic touch to your living space. The varying shelf heights of the Ivar system make it ideal for creating an elegant, cascading green display that is both functional and visually appealing. Elevate the ambiance of any room with this beautiful plant ladder.
How to Achieve It:
Materials Needed:
– Ikea Ivar shelf units (2 tall sections)
– Wood stain or paint (optional, for personalization)
– Plastic trays or liners (to protect shelves)
Tools Required:
– Electric drill
– Screwdriver
– Paintbrush or roller (if staining or painting)
Instructions:
1.
Assemble the Ivar Shelves:
– Follow Ikea’s instructions to assemble two tall sections of the Ivar shelves. These will serve as the sides of your display ladder.
2.
Configure the Shelves:
– Arrange the adjustable shelves at varying heights along each side to accommodate different sizes of plants and pots, creating a staggered, layered look.
3.
Add a Protective Layer:
– Place plastic trays or liners on each shelf to protect against water spills from plant watering, ensuring the wood remains in good condition.
4.
Customize the Finish:
– If desired, apply wood stain or paint to the Ivar shelves to complement your interior design. A natural wood finish can blend seamlessly with a minimalist decor, while a bright color might make the display a focal point.
5.
Arrange Plants:
– Begin placing plants on each shelf, balancing your display with a mix of heights and foliage. Small, cascading plants can be placed at higher levels to cascade down, while larger pots can be placed on the bottom shelves for a grounded look.
6.
Enhance with Accessories:
– Include decorative elements such as small sculptures or art pieces to add character to your plant ladder. Fairy lights intertwined among plants can create a magical ambiance.
Color Scheme Suggestions:
– Botanical Bliss: Natural wood with deep green accents
– Modern Elegance: Soft white paint with black pots
– Rustic Charm: Rustic brown stain with terracotta pots
By following these steps, you can transform Ikea Ivar shelves into a chic plant display ladder, offering a perfect blend of functionality and nature-inspired decor. Mix and match plants and accessories to find the best expression of your personal style.
Artistic Workspace Divider
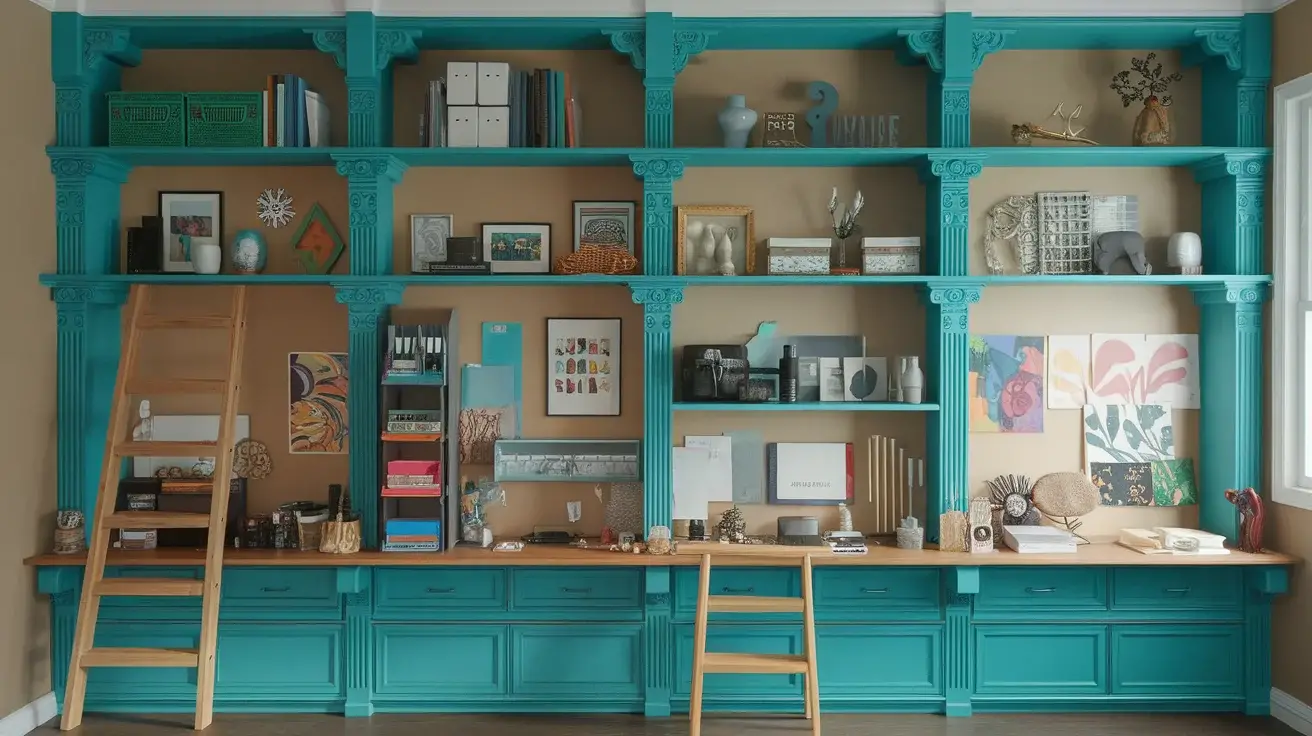
Give your home office a creative boost by transforming Ikea Ivar shelves into an artistic workspace divider. This hack not only maximizes space efficiency but also adds a trendy element to your work area, seamlessly separating your workspace from the rest of the room. The divider can be customized to hold art supplies, office essentials, or even display art pieces, making it both practical and visually captivating.
How to Achieve It:
Materials Needed:
– Ikea Ivar shelf units (2 sections)
– Opaque paneling or fabric curtains
– Hooks or curtain rods (for hanging fabric)
– Wood paint or varnish (optional, for added aesthetic)
Tools Required:
– Electric drill
– Screwdriver
– Paintbrush (if applying paint or varnish)
Instructions:
1.
Assemble the Ivar Shelves:
– Follow the instructions from Ikea to assemble two sections of the Ivar shelves to serve as the sides of your divider.
2.
Add Paneling or Curtains:
– Secure opaque paneling onto the back of the assembled shelf sections using an electric drill. Alternatively, affix curtain rods to the top of the shelves and hang fabric curtains to create a soft, flowing look.
3.
Customize the Finish:
– If desired, paint or apply varnish to the shelves. A monochrome finish can blend easily with a modern décor, while a bold color might make the divider a statement piece.
4.
Install Organizers:
– Use the adjustable Ivar shelving system to add baskets or small organizers for office supplies or craft materials. You can also install small hooks on the sides for hanging tools or decor.
5.
Decorative Touches:
– Incorporate personal touches such as framed art, potted succulents, or personal mementos on the shelves. These additions not only enhance the divider’s functionality but also infuse creativity into the workspace.
Color Scheme Suggestions:
– Sleek and Modern: Matte black with white paneling
– Artistic Flair: Teal shelves with vibrant fabric
– Coastal Breeze: Light blue shelves with beige curtains
By following these steps, you can transform Ikea Ivar shelves into an innovative workspace divider, providing not only a practical solution to delineating your home office but also promoting a space that fuels creativity and inspiration.
Minimalist Floating Desk
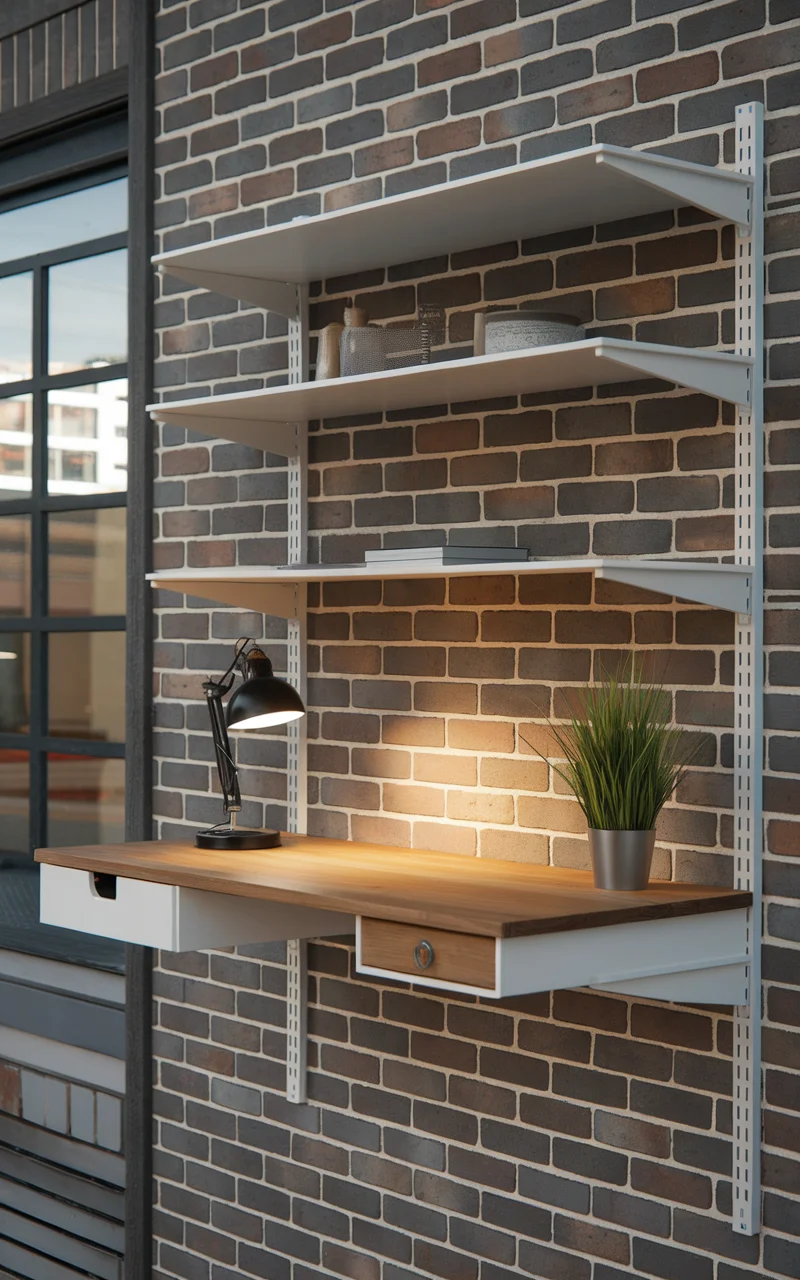
Maximize your workspace potential by transforming Ikea Ivar shelves into a minimalist floating desk. This innovative hack is perfect for small spaces, creating a sleek and functional work area that’s both modern and unobtrusive. The clean lines and compact design make it an ideal solution for those looking to establish a dedicated working spot without sacrificing style or space.
How to Achieve It:
Materials Needed:
– Ikea Ivar shelf units (1 section with shelves)
– Wall-mounting brackets
– Wood stain or paint (optional, for personalization)
– Drawer pull (optional, for added storage)
Tools Required:
– Electric drill
– Screwdriver
– Stud finder
– Level
– Paintbrush or roller (if staining or painting)
Instructions:
1.
Prepare the Shelf Unit:
– Assemble one section of an Ivar shelf, including just the frame and the top shelf to serve as your desk surface.
2.
Mount to the Wall:
– Using a stud finder, locate studs on the desired wall where you plan to mount your desk.
– Secure wall-mounting brackets to the top of the Ivar frame. Attach the brackets to the wall studs with an electric drill, ensuring the unit is level and securely fastened.
3.
Customize the Finish:
– If desired, apply wood stain or paint to the desk surface for a personalized touch. A warm walnut finish offers a classic look, whereas a crisp white or light grey can enhance a contemporary aesthetic.
4.
Add Storage Solutions:
– Attach a small drawer pull underneath the tabletop for additional storage space for writing materials or gadgets.
5.
Optimize the Workspace:
– Add a desk lamp, a few minimalistic accessories, or a potted plant to keep the area inviting while maintaining its sleek appearance.
Color Scheme Suggestions:
– Urban Chic: Dark charcoal stain with matte black hardware
– Scandinavian Minimalism: White paint with natural wood edges
– Soft Contemporary: Pale grey with pastel accent decor
By following these steps, you can transform a simple Ivar shelf into a space-saving, minimalist floating desk, creating a stylish and functional workspace that blends seamlessly into any modern interior.
Compact Kitchen Island
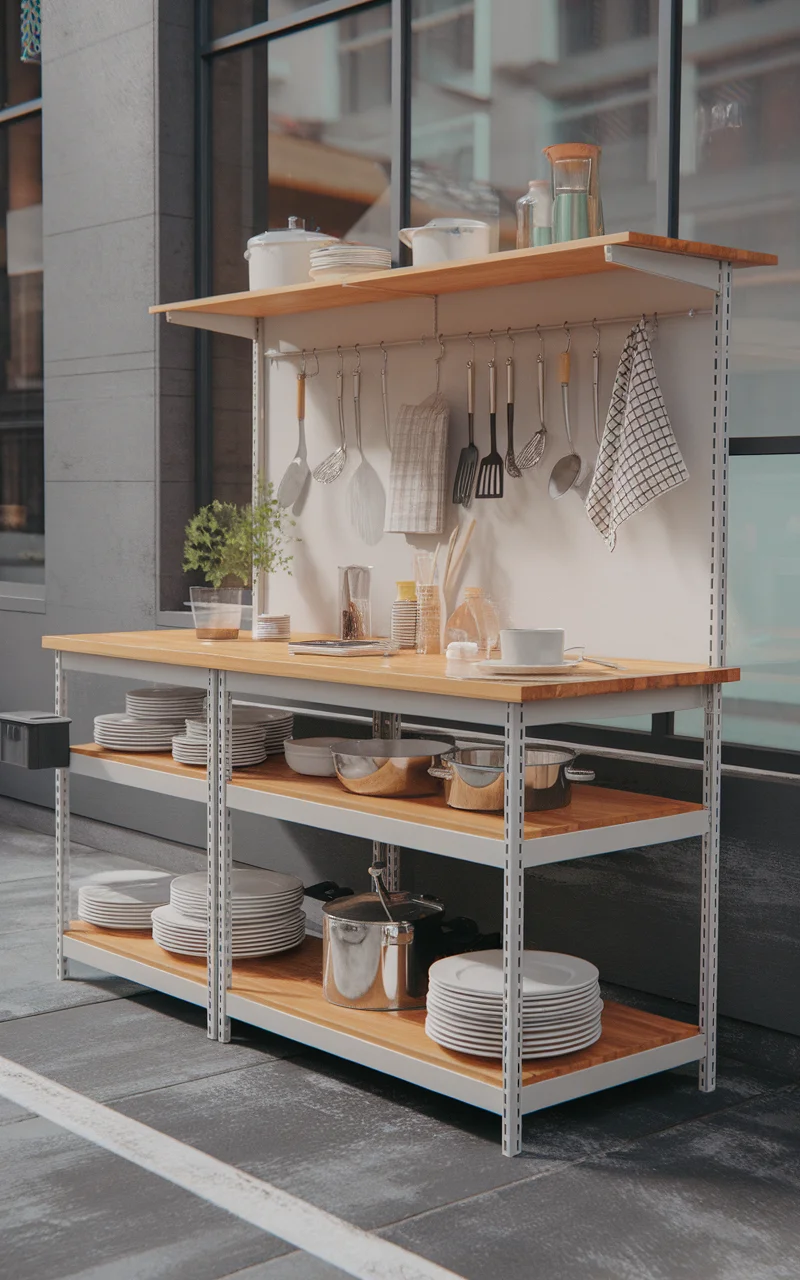
Revamp your kitchen space by converting Ikea Ivar shelves into a compact kitchen island that’s both functional and stylish. This hack is perfect for maximizing kitchen usability in smaller spaces, offering extra counter space, storage, and a chic centerpiece for culinary adventures. The versatility of the Ivar system allows you to customize your island with shelves and hooks, making it a practical and eye-catching addition to your kitchen.
How to Achieve It:
Materials Needed:
– Ikea Ivar shelf units (2 sections)
– Butcher block countertop or large wood panel
– Set of heavy-duty caster wheels
– Hooks for utensils and dish towels
– Wood stain or paint (optional, for customization)
Tools Required:
– Electric drill
– Screwdriver
– Paintbrush or roller (if staining or painting)
– Measuring tape
Instructions:
1.
Assemble the Ivar Shelves:
– Follow Ikea’s instructions to assemble two sections of the Ivar shelves. These will serve as the base structure of your kitchen island.
2.
Add Caster Wheels:
– Use an electric drill to securely attach heavy-duty caster wheels to the bottom of each shelf unit. This allows for mobility and the convenience of moving the island as needed.
3.
Attach the Countertop:
– Place the butcher block countertop or a large wood panel on top of the assembled shelves. Make sure it is evenly centered and securely fastened using screws or brackets for stability.
4.
Add Hooks and Organizers:
– Install hooks along the sides of the Ivar shelves for hanging utensils, dish towels, or even pots and pans. This maximizes the utility of the island by providing additional storage.
5.
Customize with Stain or Paint:
– If desired, apply wood stain or paint to the shelves for personalization. A dark walnut stain can match a rustic kitchen theme, while white paint can offer a modern clean look.
6.
Style and Organize:
– Arrange kitchen essentials on the shelves, such as bowls, jars, or small appliances. Consider adding decorative items like a small herb planter or a stylish fruit bowl to enhance the island’s aesthetic.
Color Scheme Suggestions:
– Rustic Charm: Dark walnut stain with black accents
– Modern Minimalism: Crisp white with stainless steel hooks
– Cozy Cottage: Soft blue with cream accents
By following these steps, you can transform the Ikea Ivar shelves into a compact kitchen island, offering a perfect blend of style and functionality while making efficient use of your kitchen space.
Creative Book Nook with Reading Light
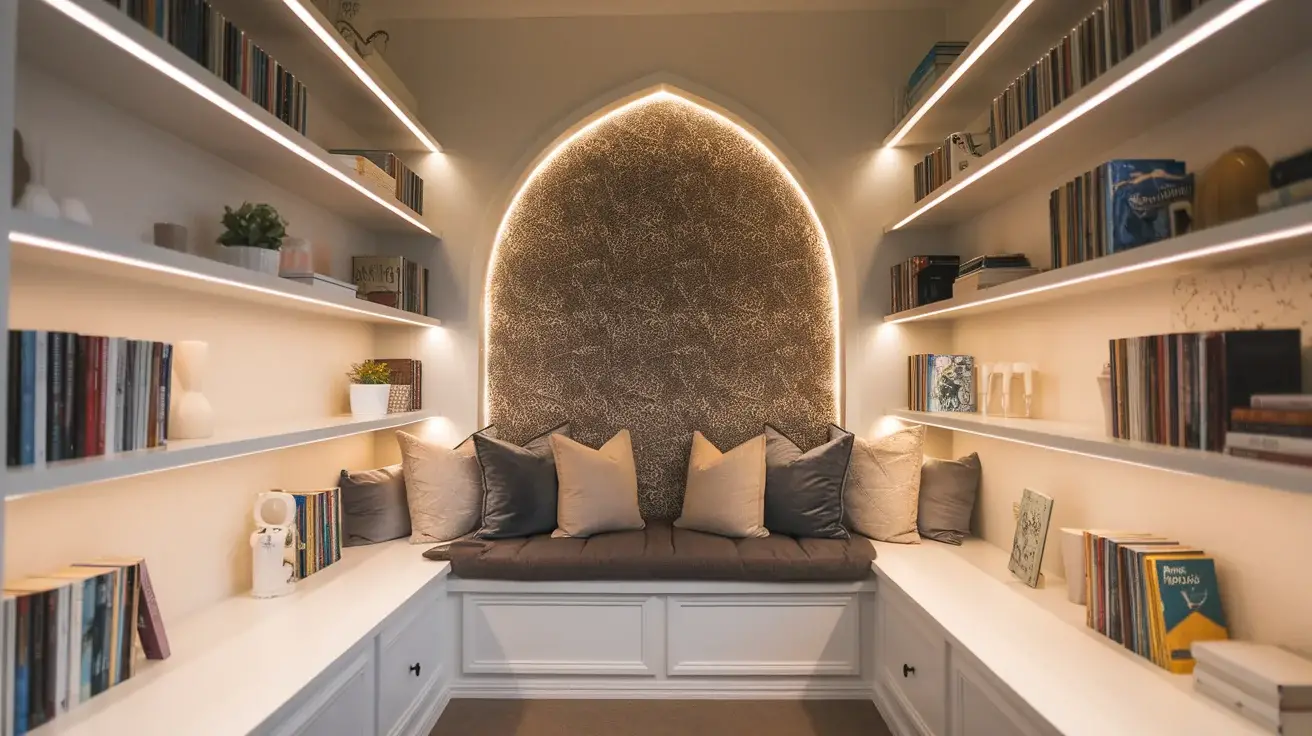
Transform your Ikea Ivar shelves into a cozy and inviting book nook, complete with integrated lighting for the ultimate reading experience. This hack is ideal for book lovers looking to carve out a serene corner in their home, providing both storage and comfort in a stylish setup. With a few additions, you can create a personalized retreat perfect for getting lost in your favorite tales.
How to Achieve It:
Materials Needed:
– Ikea Ivar shelf units (3 sections)
– Cushions or a padded seat
– LED strip lights or a small reading lamp
– Wood stain or paint (optional, for customization)
– Fabric panels (for a decorative backdrop)
Tools Required:
– Electric drill
– Screwdriver
– Paintbrush or roller (if staining or painting)
– Staple gun (for attaching fabric)
Instructions:
1.
Assemble the Ivar Shelves:
– Follow Ikea’s instructions to assemble three sections of the Ivar shelves. Arrange them in a U-shape to create a cozy nook with one section as a seating area and the others as shelving.
2.
Create the Seat:
– Place cushions or a padded seat on the bottom shelf of the center section. Ensure it is comfortable enough for sitting and reading.
3.
Install Lighting:
– Attach LED strip lights along the top of the shelf sections or install a small reading lamp above the seating area to provide ample lighting for reading.
4.
Add a Decorative Backdrop:
– Use a staple gun to attach a fabric panel to the back of the center section. This creates a decorative backdrop, adding warmth and personality to your book nook.
5.
Customize the Finish:
– If desired, apply a wood stain or paint to the shelves to complement your home decor. A rich mahogany finish can create a classic library feel, while a soft pastel might add a whimsical touch.
6.
Arrange Books and Accessories:
– Organize your favorite books on the side shelves, leaving space for personal touches like framed photos, a small plant, or a mug warmer for your coffee or tea.
Color Scheme Suggestions:
– Cozy Retreat: Warm caramel stain with cream cushions
– Vintage Charm: Deep green paint with floral fabric
– Minimalist Zen: Light grey with white cushions
By following these steps, you can transform Ikea Ivar shelves into a creative book nook complete with a reading light, offering a serene and personalized space where you can enjoy your literary escapes.
Transformative Toy Storage and Play Area
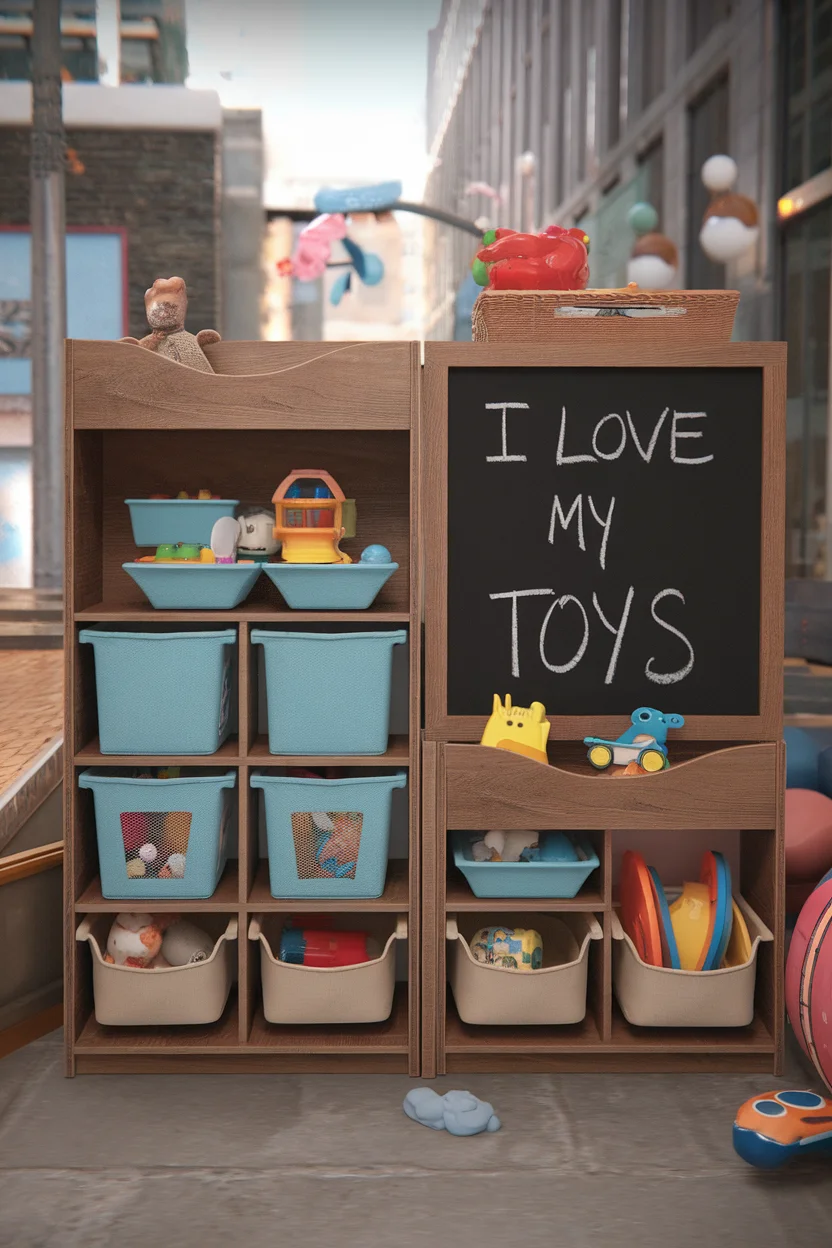
Turn Ikea Ivar shelves into a multifunctional toy storage and play area, perfect for organizing children’s toys while also providing an engaging space for play. This hack utilizes the versatility of the Ivar system to create a tidy, interactive environment where children can store and play with their favorite items. By combining storage with a playful design, you can enhance your child’s room or play area with a functional and delightful setup.
How to Achieve It:
Materials Needed:
– Ikea Ivar shelf units (2 sections)
– Chalkboard paint or whiteboard panels (for interactive elements)
– Storage bins or baskets
– Paint or varnish (optional, for customization)
Tools Required:
– Electric drill
– Screwdriver
– Paintbrush or roller (if applying paint or varnish)
Instructions:
1.
Assemble the Ivar Shelves:
– Follow Ikea’s instructions to assemble two sections of the Ivar shelves. These will serve as the main structure for toy storage and play areas.
2.
Add Interactive Panels:
– Paint one or more shelves with chalkboard paint to create a writable surface where children can draw or practice writing. Alternatively, attach whiteboard panels for easy drawing and erasing.
3.
Organize Storage:
– Place storage bins or baskets on the shelves to categorize toys, ensuring easy access and organization. This helps keep the area tidy and teaches children how to store their toys systematically.
4.
Create a Play Area:
– Dedicate a low shelf or an empty section for a play area, maybe including a small rug or mat. This nook can hold favorite toys and games, encouraging independent play and creativity.
5.
Customize with Paint or Varnish:
– Optionally, apply paint or varnish to personalize the shelves. A cheerful, bright color can make the play area more inviting, while a soft pastel might create a calming atmosphere.
6.
Incorporate Fun Elements:
– Add hooks or small shelves for other playful accessories like stuffed animals or action figures. You might also want to install small LED fairy lights to make the setup more enchanting.
Color Scheme Suggestions:
– Playful Fun: Bold primary colors with multi-color bins
– Soft Pastels: Light blue and pink with white accent shelves
– Nature Inspired: Earthy greens and browns with wooden finish accessories
By following these steps, you can transform Ikea Ivar shelves into an engaging toy storage and play area, providing a seamless blend of fun and organization tailored to your child’s needs and preferences.
Bohemian Open Wardrobe System
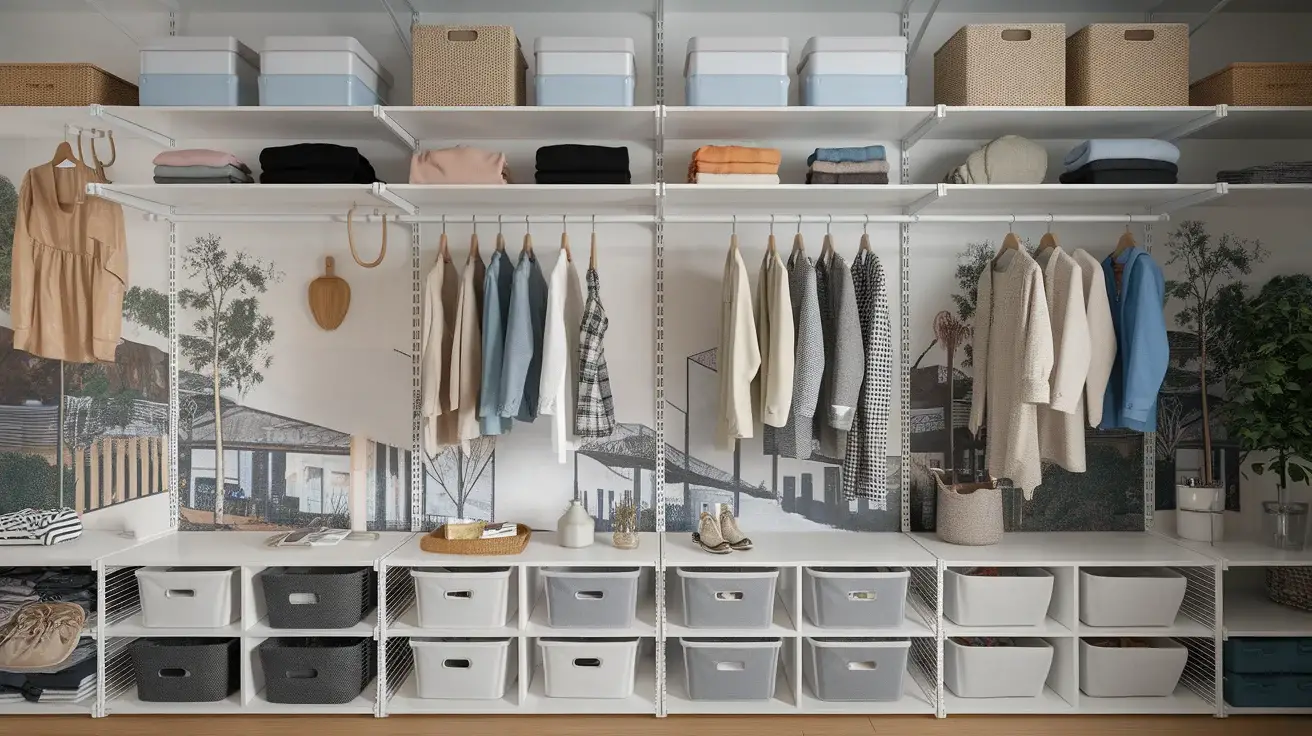
Turn your Ikea Ivar shelves into a chic bohemian open wardrobe system to showcase your clothing, accessories, and personal style. This hack embraces the open storage concept, perfect for fashion enthusiasts looking to display their wardrobe in a unique and eye-catching manner. The versatility of the Ivar system allows you to organize and personalize your clothing display, creating a functional yet stylish addition to your bedroom or dressing area.
How to Achieve It:
Materials Needed:
– Ikea Ivar shelf units (2 sections)
– Wooden dowel or curtain rod (for hanging clothes)
– Fabric storage bins or baskets
– Macramé hangers or decorative hooks
Tools Required:
– Electric drill
– Screwdriver
– Saw (to cut dowel if necessary)
– Paintbrush or roller (if staining or painting)
Instructions:
1.
Assemble the Ivar Shelves:
– Follow Ikea’s instructions to assemble two sections of the Ivar shelves. These will form the structure of your open wardrobe.
2.
Install Hanging Rod:
– Measure and cut the wooden dowel or curtain rod to fit between the two shelving units.
– Secure the rod between the units using brackets or hooks to hang your clothes.
3.
Organize with Shelves and Bins:
– Use the shelves to display neatly folded clothing, shoes, or accessories. Place fabric bins or baskets on the shelves for additional storage and to keep smaller items organized.
4.
Add Decorative Touches:
– Enhance the bohemian vibe by incorporating macramé hangers or decorative hooks to display hats, scarves, or jewelry. You can also hang plants to add a fresh and natural touch to the space.
5.
Customize with Color:
– If desired, paint or stain the shelves to match your desired aesthetic. A light oak stain can create a warm bohemian feel, while a bright white paint can make the wardrobe look crisp and modern.
6.
Style Your Wardrobe:
– Arrange your clothing by color or type to create a visually appealing display. Add personal touches like framed photos, a full-length mirror, or a vintage rug to enhance the area.
Color Scheme Suggestions:
– Boho Bliss: Natural wood with earthy accents
– Fresh and Clean: White paint with pastel accessories
– Rustic Charm: Deep brown stain with leather details
By following these steps, you can transform Ikea Ivar shelves into a bohemian open wardrobe system, blending functionality and style to beautifully display your clothing and accessories.
Vintage-Inspired Coffee Station
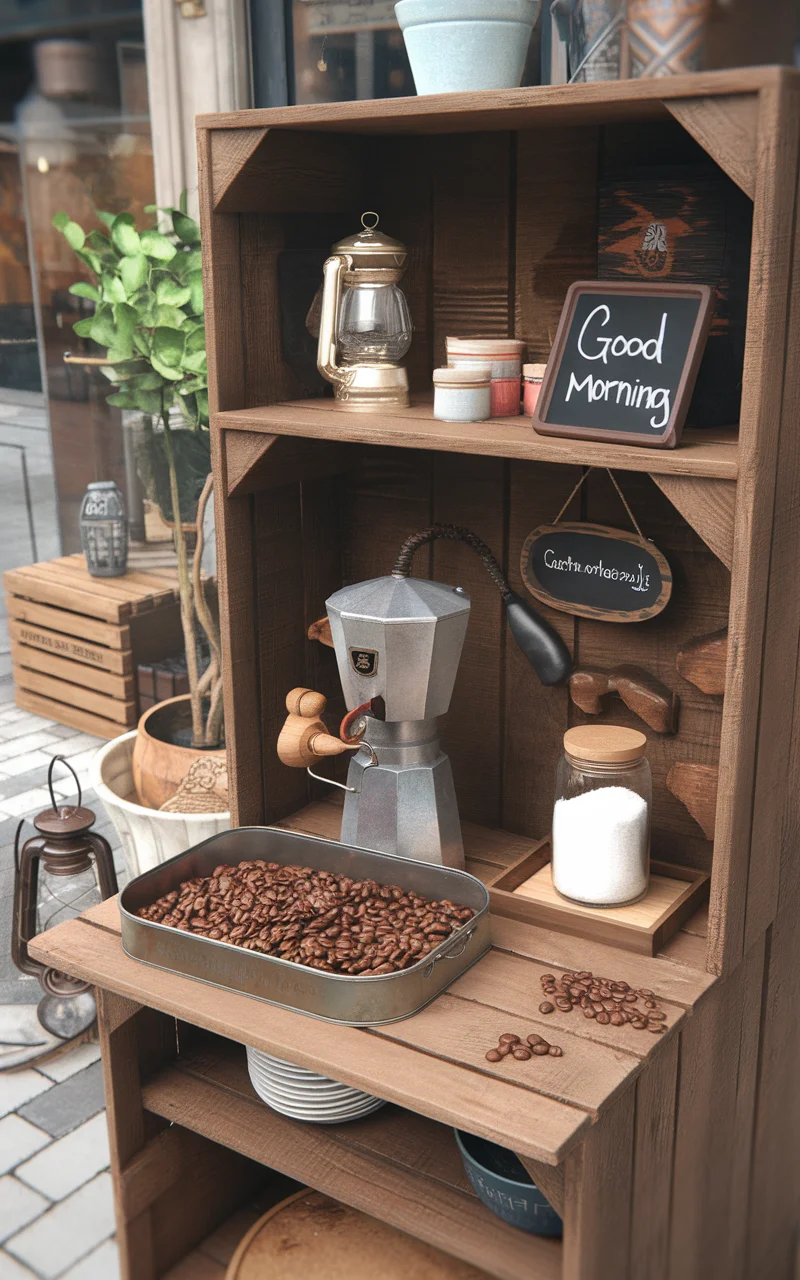
Transform your Ikea Ivar shelves into a vintage-inspired coffee station that elevates your morning routine and becomes a charming focal point in your kitchen or dining area. This hack blends functionality and aesthetics, allowing you to showcase your favorite mugs, coffee accessories, and unique decor elements. With a touch of vintage flair, you’ll be ready to brew the perfect cup in style.
How to Achieve It:
Materials Needed:
– Ikea Ivar shelf units (1 section)
– Vintage knobs or handles (for a decorative touch)
– Tin or metal trays (to hold coffee essentials)
– Decoupage paper or vintage wrapping paper
Tools Required:
– Electric drill
– Screwdriver
– Scissors (for cutting paper)
– Decoupage glue or mod podge
– Paintbrush (for applying glue or varnish)
Instructions:
1.
Assemble the Ivar Shelves:
– Follow Ikea’s instructions to build one section of the Ivar shelves, which will act as the main frame for your coffee station.
2.
Add Vintage Accents:
– Attach vintage knobs or handles to the front of each shelf for a retro look and easy access to coffee supplies like spoons or napkins.
3.
Customize with Decoupage:
– Cut the decoupage paper or vintage wrapping paper to fit each shelf surface.
– Use a paintbrush to apply decoupage glue or mod podge to the shelf surfaces and carefully attach the paper. Apply an additional layer of glue on top to seal and protect the paper.
4.
Organize Coffee Essentials:
– Place tin or metal trays on the shelves to organize coffee mugs, filters, and other essentials. This not only keeps items tidy but adds a charming, old-school vibe.
5.
Add Personal Touches:
– Enhance your coffee station with personal touches like a small chalkboard for daily coffee quotes, framed vintage art, or a potted plant for an added burst of freshness.
Color Scheme Suggestions:
– Retro Vibes: Bright red and yellow accents with floral decoupage
– Cozy Cottage: Soft cream paint with lace-style paper
– Rustic Chic: Distressed wood finish with sepia-toned paper
By following these steps, you can transform Ikea Ivar shelves into a vintage-inspired coffee station, adding both charm and practicality to your morning coffee rituals while enhancing the space with a touch of nostalgia.
Creative Jewelry Organizer
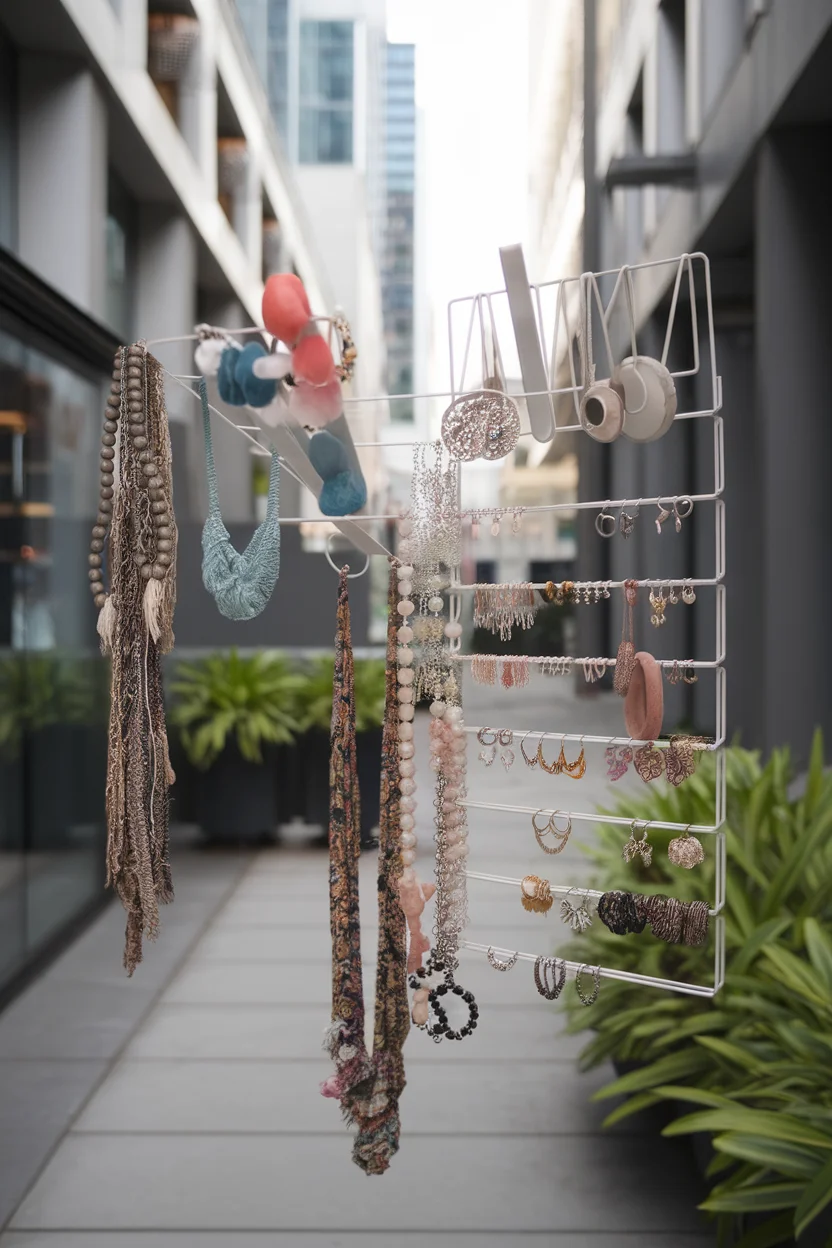
Elevate your accessory storage by turning Ikea Ivar shelves into a creative jewelry organizer. This hack offers an intricate display for your jewelry collection, ensuring easy access and aesthetic appeal. With designated spaces for necklaces, rings, earrings, and more, this innovative design not only organizes your jewelry but also transforms it into a stunning decorative piece within your room. By combining storage solutions with a stylish presentation, you’ll enjoy both practicality and a touch of elegance in your accessory storage.
How to Achieve It:
Materials Needed:
– Ikea Ivar shelf units (1 section with adjustable shelves)
– Velvet or felt lining for drawers
– Small hooks or rods (for hanging jewelry)
– Decorative knobs or pulls (optional, for added style)
Tools Required:
– Electric drill
– Screwdriver
– Scissors (for cutting felt)
– Glue or adhesive spray (for attaching lining)
Instructions:
1.
Assemble the Ivar Shelves:
– Follow Ikea’s instructions to build one section of the Ivar shelf, which will function as the main structure for your jewelry organizer.
2.
Add Hooks and Rods:
– Secure small hooks or rods along the shelves, creating designated areas to hang necklaces and bracelets, preventing tangling.
3.
Line the Drawers:
– Cut velvet or felt to fit the drawers or shelf surfaces and attach them using glue or adhesive spray. This adds a luxurious touch and protects your jewelry from scratches.
4.
Organize Jewelry:
– Use shelves to arrange rings, earrings, and smaller accessories. Consider using small trays or dishes for an organized display.
5.
Enhance with Decorative Elements:
– If desired, attach decorative knobs or pulls to add a personalized touch to your jewelry organizer, enhancing its visual appeal.
Color Scheme Suggestions:
– Elegant Minimalism: Crisp white with gold accents
– Vintage Charm: Soft lavender with antique brass pulls
– Modern Glam: Black velvet lining with silver hooks
By following these steps, you can transform Ikea Ivar shelves into a creative jewelry organizer, offering both functional storage and an elegant display for your cherished accessories. Embrace this chic solution to keep your jewelry beautifully arranged and easily accessible.
