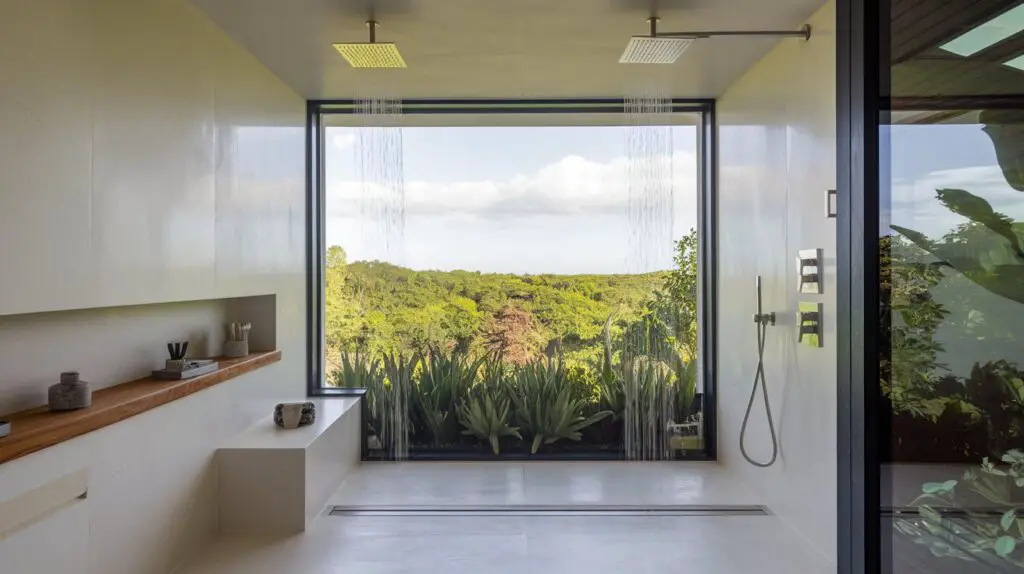
A walk-in pantry is more than just a storage solution; it’s a haven for organization and a key element in creating a functional and aesthetically pleasing kitchen. As an extension of your culinary space, a well-designed pantry can seamlessly blend practicality with style, catering to both the everyday home cook and the avid entertainer. Whether you’re working with a spacious layout or a more compact area, the possibilities for creating an efficient and visually appealing walk-in pantry are endless. In this article, we explore a variety of innovative and inspiring walk-in pantry ideas that can transform your kitchen into a clutter-free and enjoyable cooking space.
Maximize Vertical Space with Adjustable Shelving
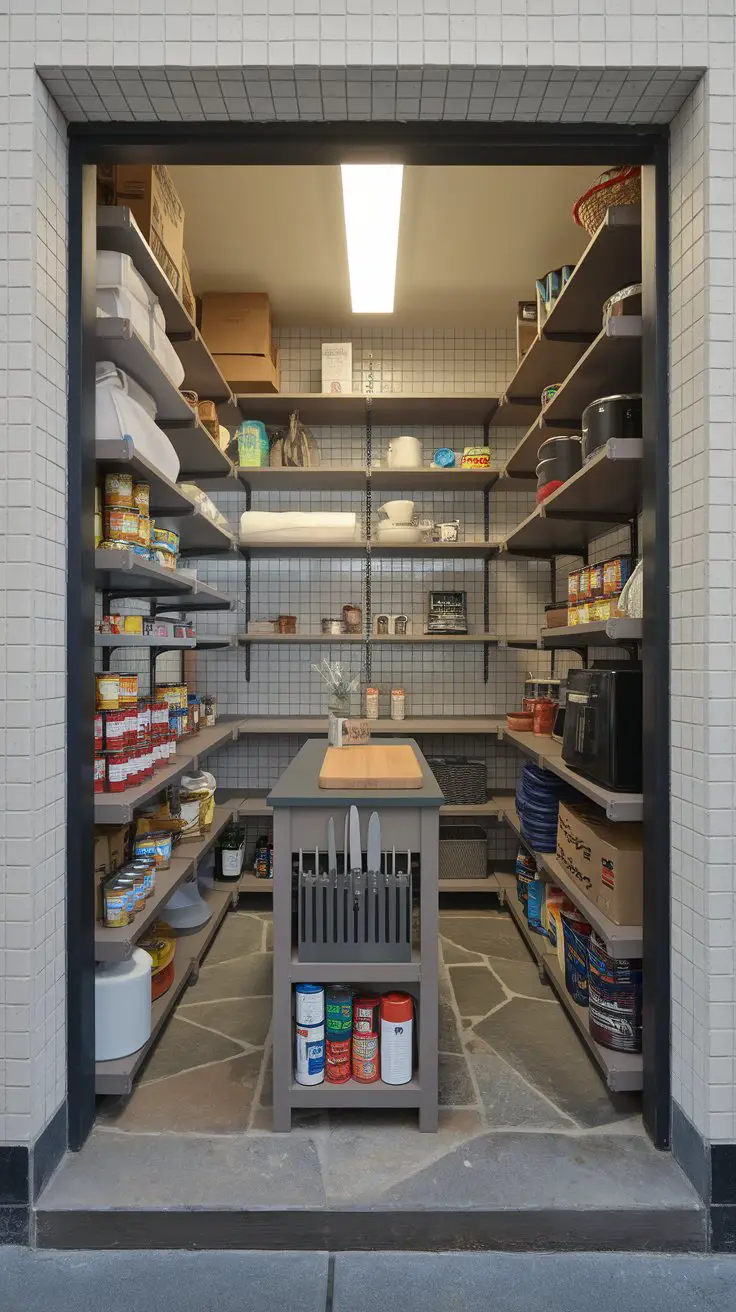
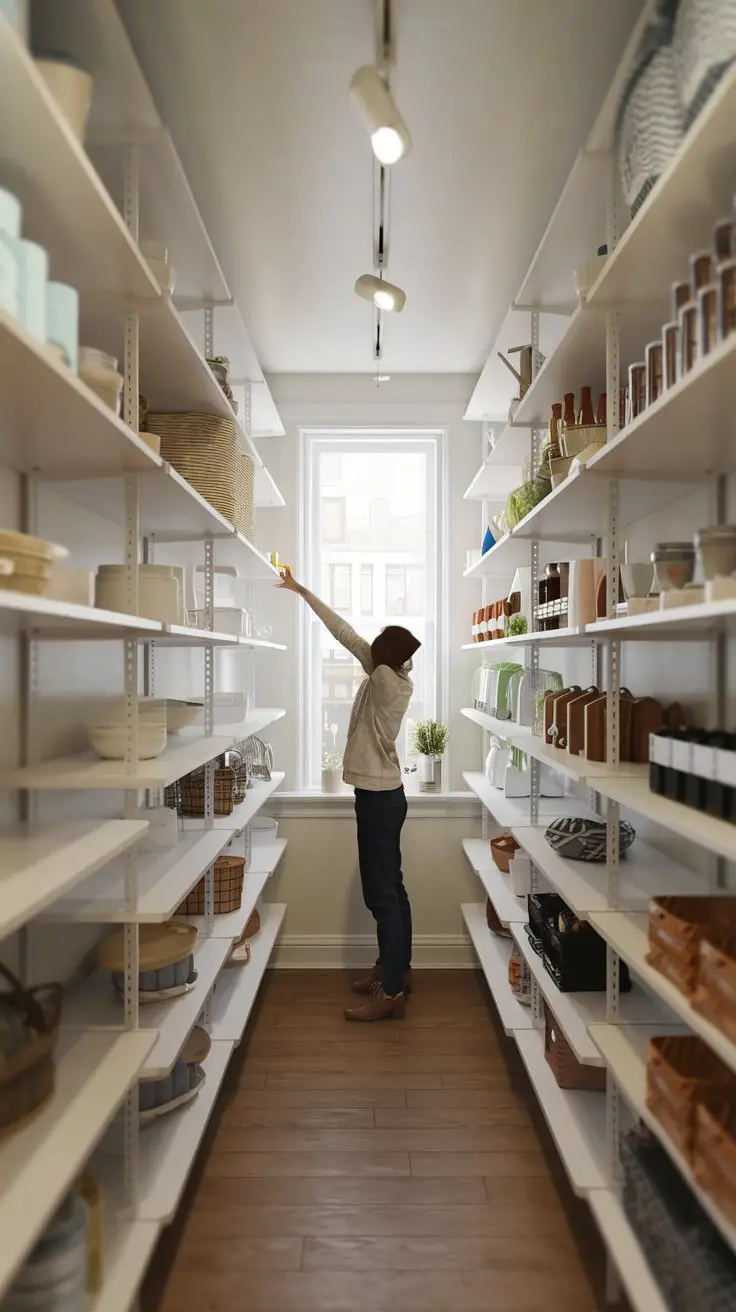
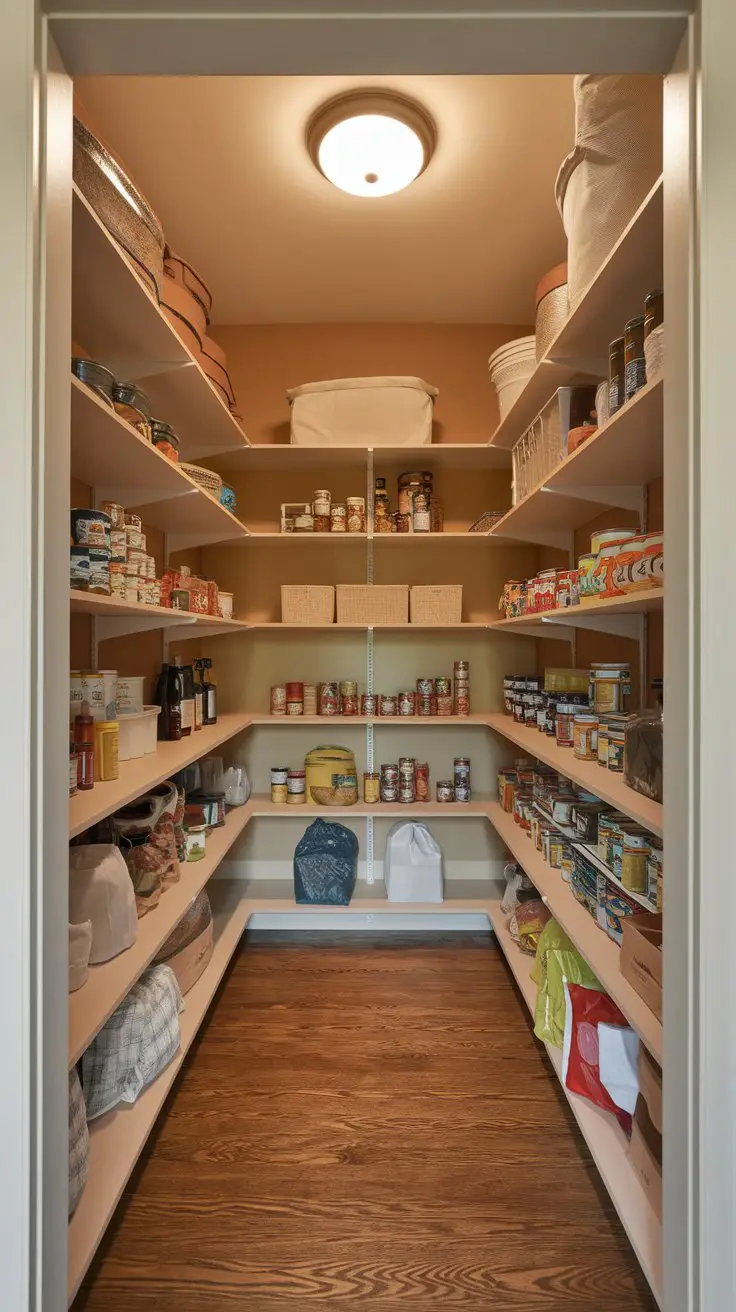
Incorporating adjustable shelving in your walk-in pantry is an excellent way to maximize vertical space while maintaining a clutter-free environment. This idea not only provides ample storage but also offers flexibility to accommodate items of varying sizes, ensuring efficient use of every inch of space. Adjustable shelving allows you to customize your pantry layout based on your evolving storage needs, making it a dynamic solution for organized storage.
How to Achieve Adjustable Shelving in Your Pantry
Measure the Space
: Start by measuring the available wall space in your pantry to determine the dimensions for your shelving system.
Select Materials
: Choose durable materials for your shelving such as solid wood or high-quality metal. Consider a finish that complements your pantry’s overall color scheme. Light wood with a clear lacquer finish could create a bright and inviting look, while dark metal frames could lend an industrial vibe.
Choose Adjustable Shelf Systems
: Look for shelf brackets and rails that allow for easy adjustments. Many systems are available that use a track-and-bracket mechanism, which makes it simple to reposition shelves at any height.
Install Wall-mounted Rails
: Secure wall-mounted rails at equal intervals vertically. Ensure they’re securely fastened into studs for stability and safety.
Add and Adjust Shelves
: Place shelves on the brackets at your desired height, ensuring enough space above and below for the items you plan to store. Adjust the height as needed for large or small items.
Organize Thoughtfully
: Store commonly used items at eye level, heavier items on lower shelves, and lighter or less frequently used items on the higher shelves. Use bins or baskets to group similar items together for better organization.
Incorporate Lighting
: Consider installing LED strip lights under each shelf to illuminate items and add a modern touch to the space.
Consistent Color Scheme
: Stick to a cohesive color palette for containers and bins to maintain a unified and visually pleasing appearance. For example, white shelves with pastel or gray bins can result in a crisp, clean look.
By installing adjustable shelving, you create a custom storage solution that’s both practical and versatile, which can easily be adapted to your needs over time.
Incorporate Pull-Out Drawers for Easy Access
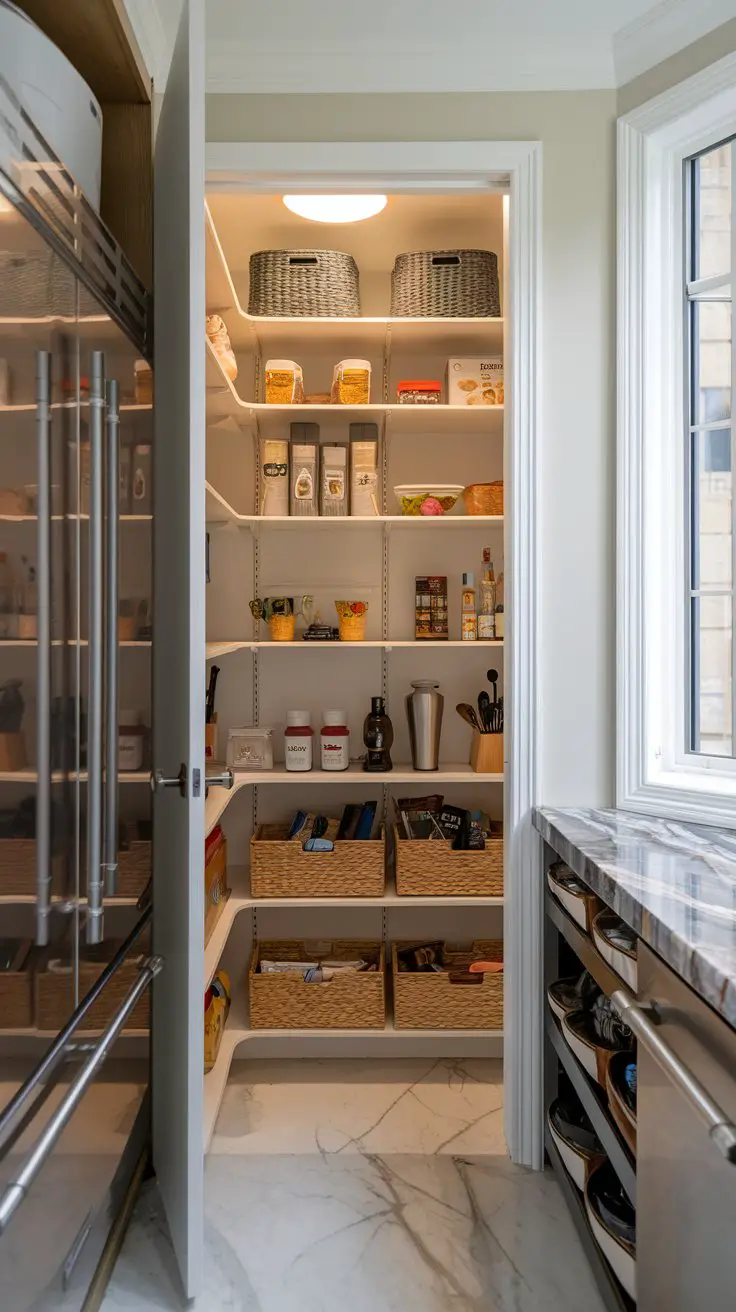
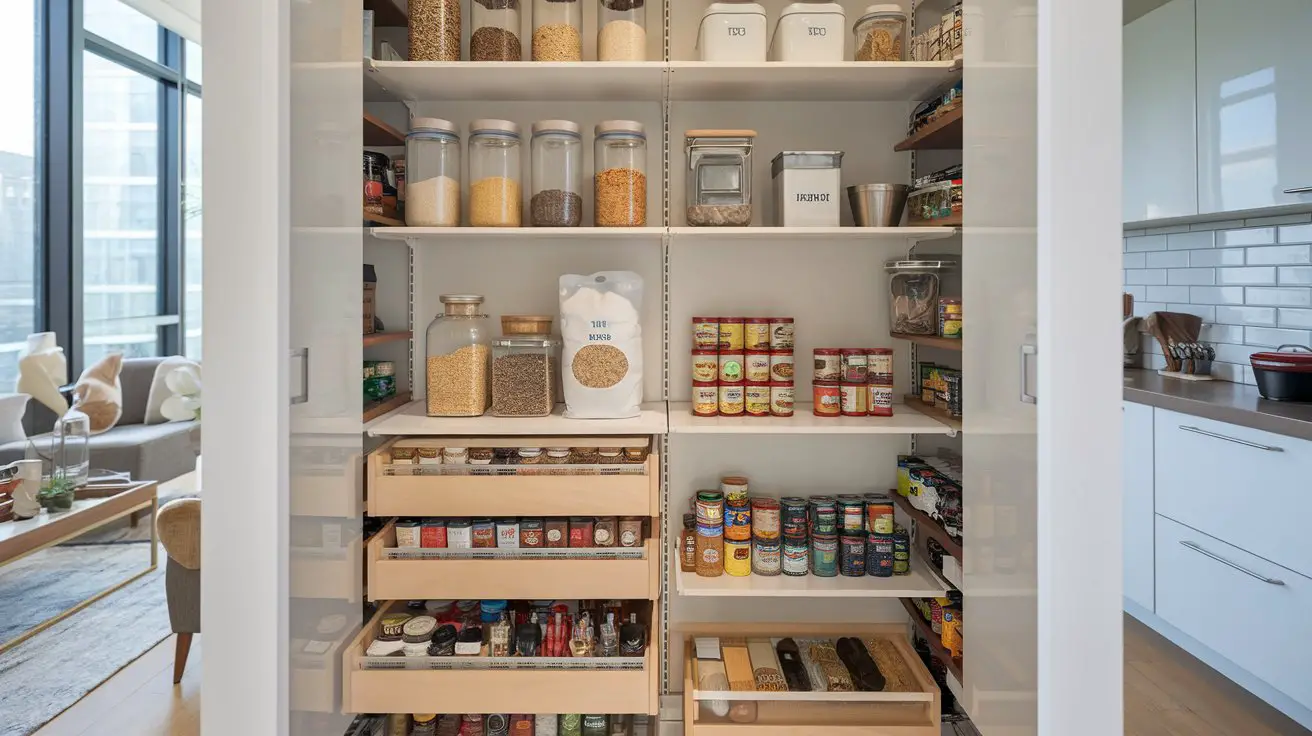
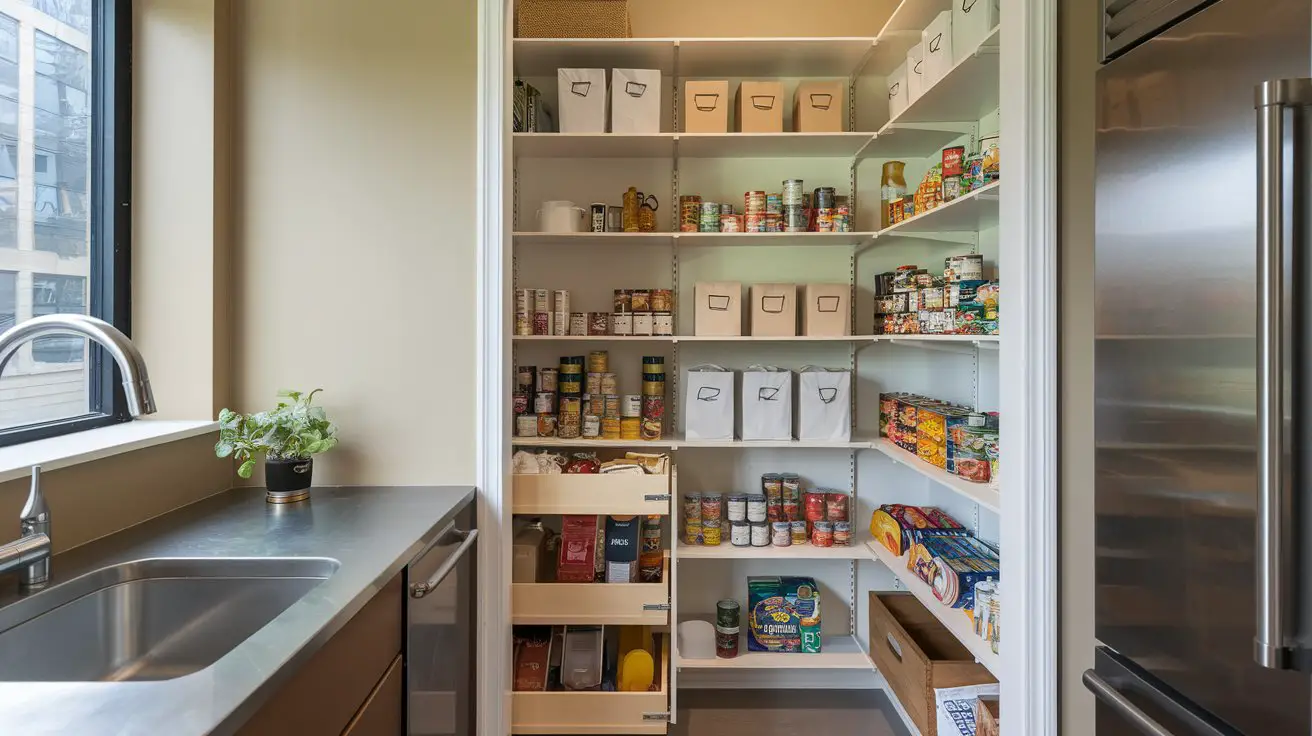
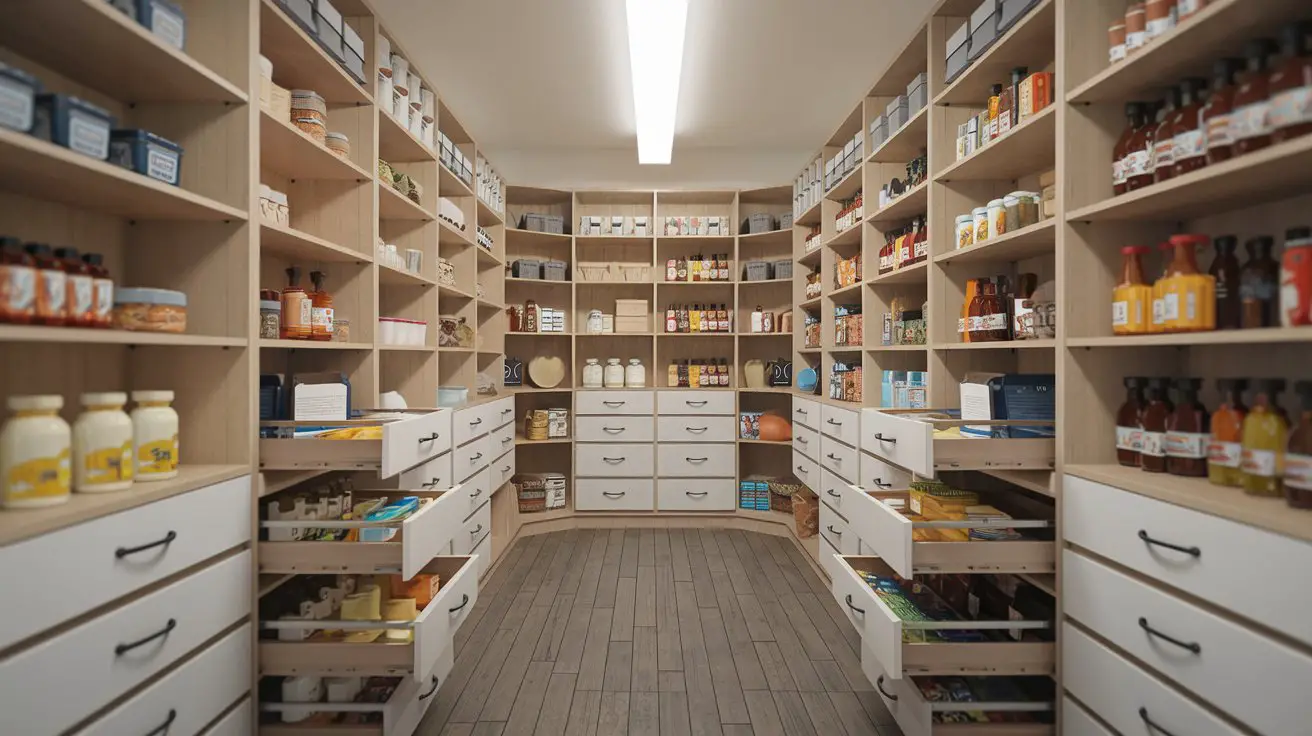
Organize your walk-in pantry by incorporating pull-out drawers. This innovative idea helps streamline your pantry by providing easy access to items typically hidden in the back, making it easier to keep track of what you have. Pull-out drawers maximize storage efficiency by utilizing deep spaces while reducing clutter. They also allow you to quickly retrieve items without the hassle of moving things around, offering a convenient solution for maintaining an organized pantry.
How to Achieve Pull-Out Drawers in Your Pantry
Assess Your Pantry Layout
: Take stock of your current pantry layout and identify the areas that would benefit from pull-out drawers. Consider spaces that are typically harder to access, such as lower cabinets or deeper shelves.
Measure Your Space
: Accurately measure the depth, width, and height of the designated areas for the pull-out drawers. These measurements will determine the size of the drawers you can install.
Select Drawer Kits
: Choose a high-quality pull-out drawer kit that matches your pantry’s style. Consider materials like metal frames with wooden or tinted glass fronts for a modern and chic look.
Install Drawer Guides
: Follow the drawer kit’s instructions to install the guides on the sides of the cabinet or shelves. Ensure they are level and securely fastened to support the weight of the drawer and its contents.
Assemble and Insert Drawers
: Assemble the pull-out drawers according to the manufacturer’s instructions. Once assembled, slide them onto the guides, ensuring a smooth and stable motion.
Organize Efficiently
: Arrange pantry items in the drawers based on category or frequency of use. Place heavier items in the bottom drawers and lighter or frequently used items in the upper drawers for easy access.
Label Each Drawer
: Label each drawer front to quickly identify contents, making it easier to locate items and maintain an organized system.
Cohesive Color Scheme
: Opt for a consistent color palette for drawer fronts and pantry items, such as muted blues or pastels, to achieve a harmonious appearance that complements your kitchen design.
Incorporating pull-out drawers into your pantry enhances functionality and organization, providing an efficient and stylish storage solution tailored to your space needs.
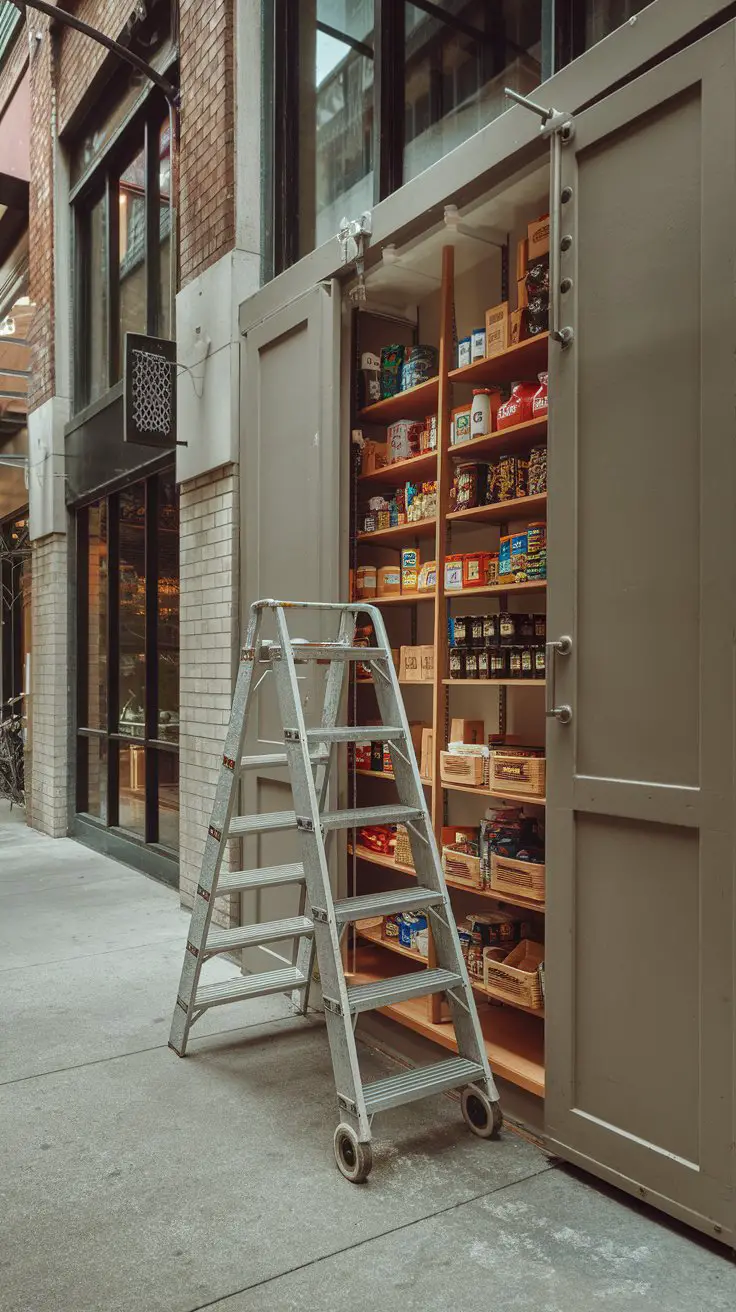
Add a Rolling Ladder for High Shelves
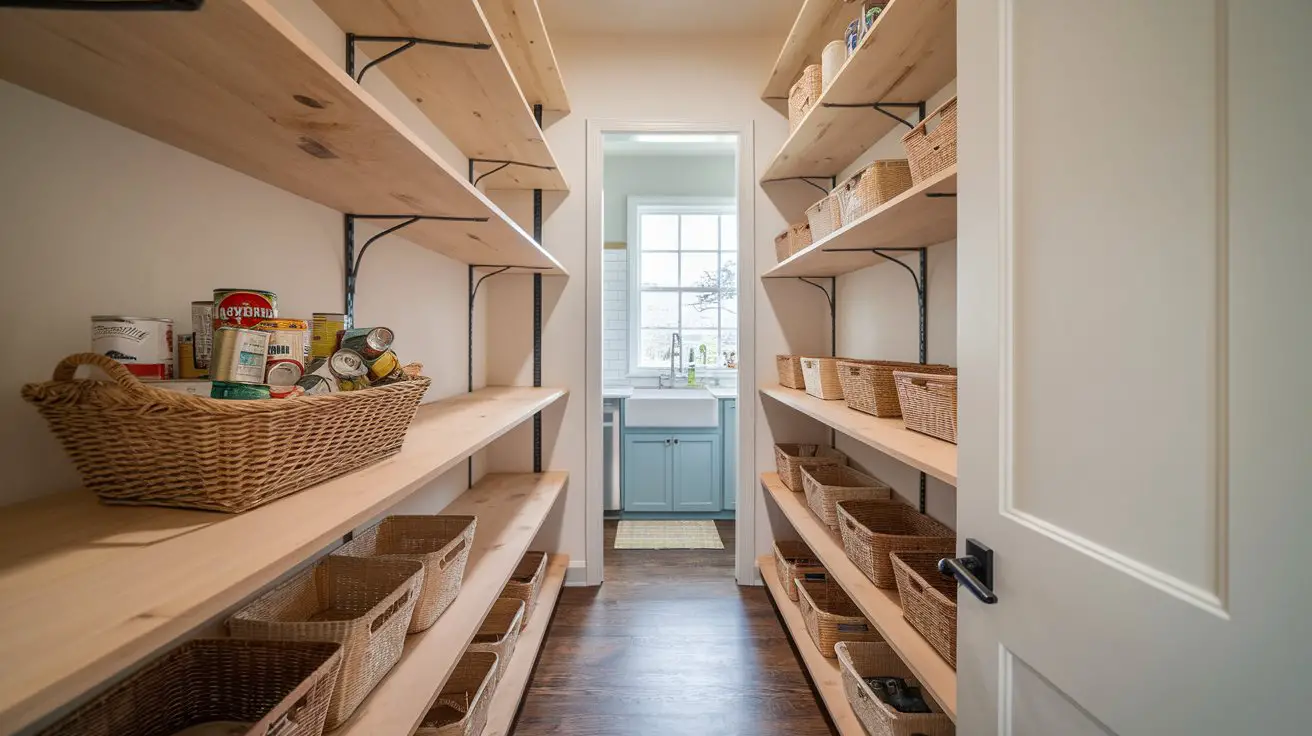
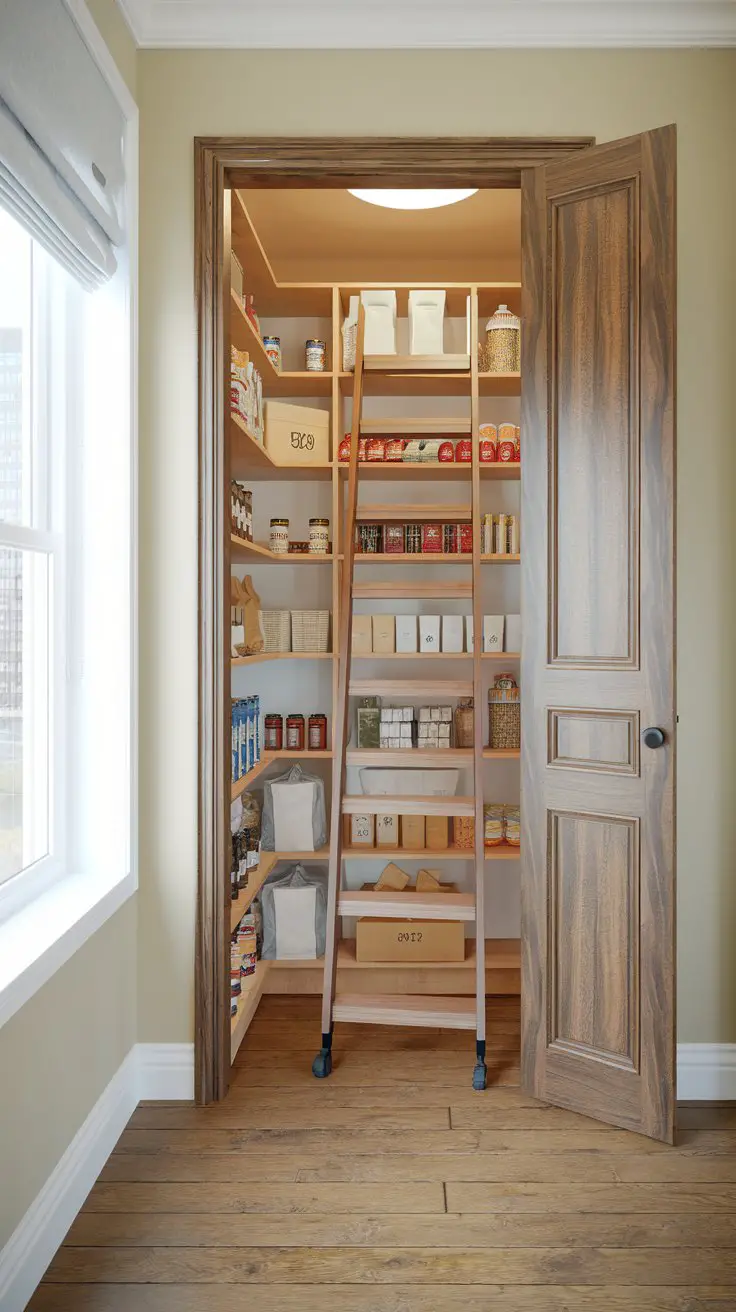
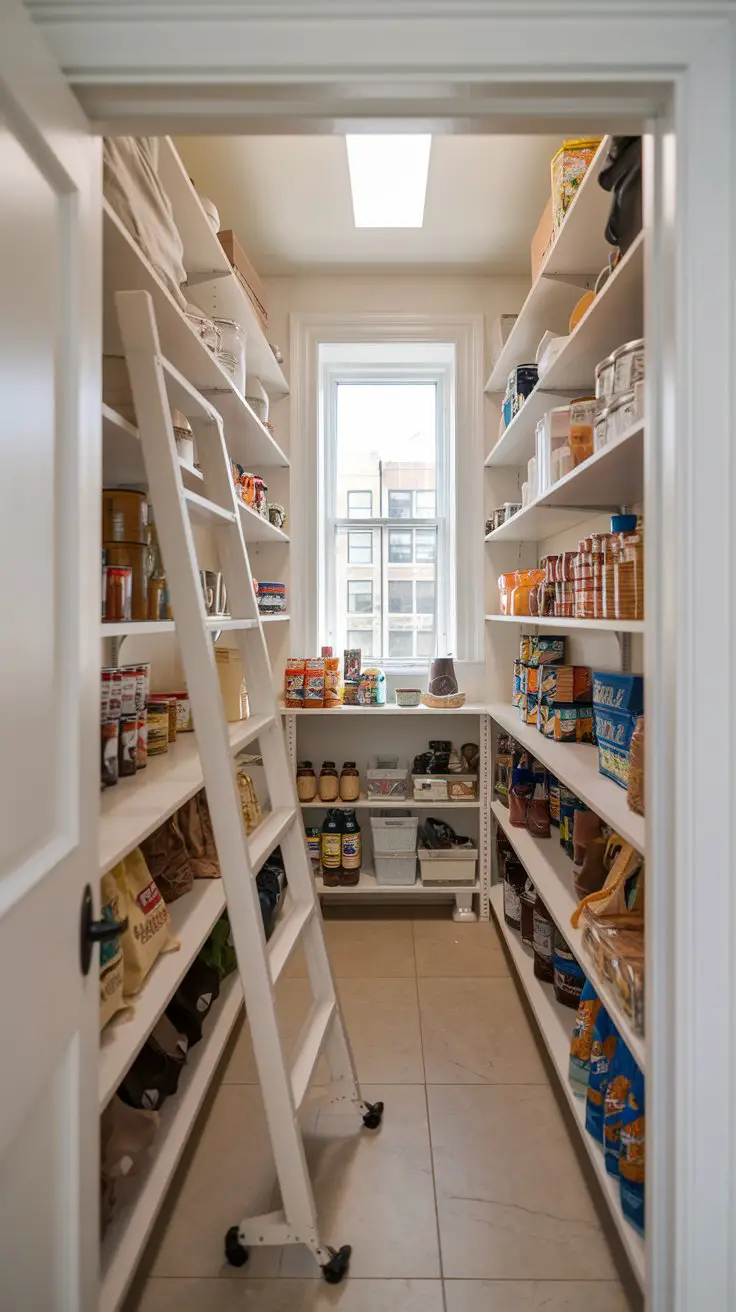
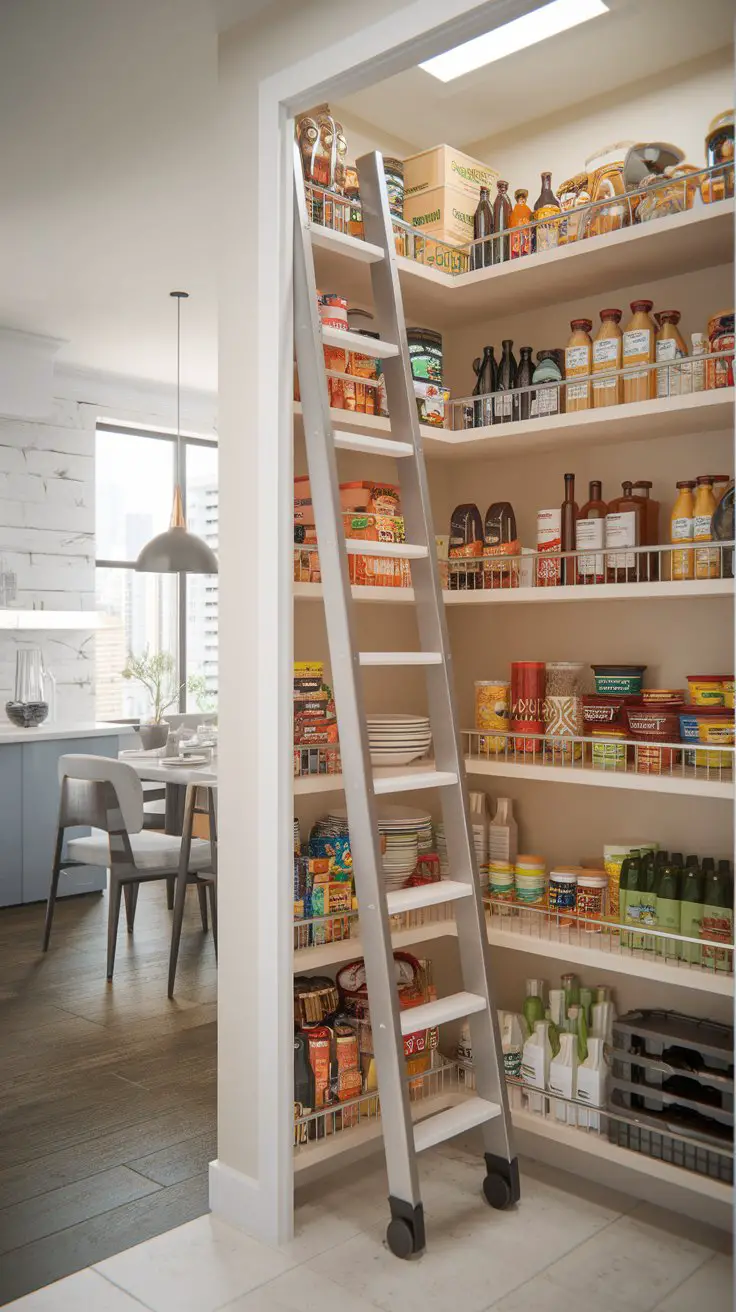
Integrate a rolling ladder into your walk-in pantry for a functional and visually appealing way to access high shelves. This addition not only enhances accessibility but also imparts a classic, library-like aesthetic to your pantry. Rolling ladders are perfect for pantries with tall ceilings, allowing you to efficiently utilize otherwise unreachable vertical space. They also bring a touch of elegance and sophistication, adding charm while optimizing functionality.
How to Achieve a Rolling Ladder in Your Pantry
Evaluate Ceiling Height
: Measure the height of your pantry to ensure it’s suitable for a rolling ladder. Typically, ceilings over nine feet work best for maximum efficiency.
Choose the Ladder Style
: Select a ladder style that complements your pantry’s design. Options range from traditional wood ladders for a warm, rustic feel, to sleek metal ladders for a modern, industrial look.
Install a Rail System
: Secure a horizontal rail system along the highest shelves. The rail must be installed securely into the wall studs to support the weight and movement of the ladder.
Attach the Ladder
: Affix the ladder’s top rollers to the rail so that it smoothly glides across. Ensure the bottom of the ladder has anti-slip features for safety and stability during use.
Optimize High Shelf Storage
: Use upper shelves for items you need less frequently. Store kitchen appliances or bulk items up high, keeping more commonly used items on lower shelves for easy access.
Incorporate Safety Features
: Ensure the ladder has sturdy handrails or a platform step to enhance stability and safety while in use.
Consider Lighting
: Install overhead or track lighting to brighten higher shelves and enhance visibility when using the ladder.
Consistent Color Scheme
: Match the ladder’s finish to the pantry interior. For instance, a white ladder against white shelving maintains a clean, cohesive look, while a dark wood or black metal finish adds dramatic contrast for a striking appearance.
Adding a rolling ladder not only makes your tall shelves more functional but also adds an elegant focal point to your walk-in pantry, melding style with practicality in a beautifully efficient design.
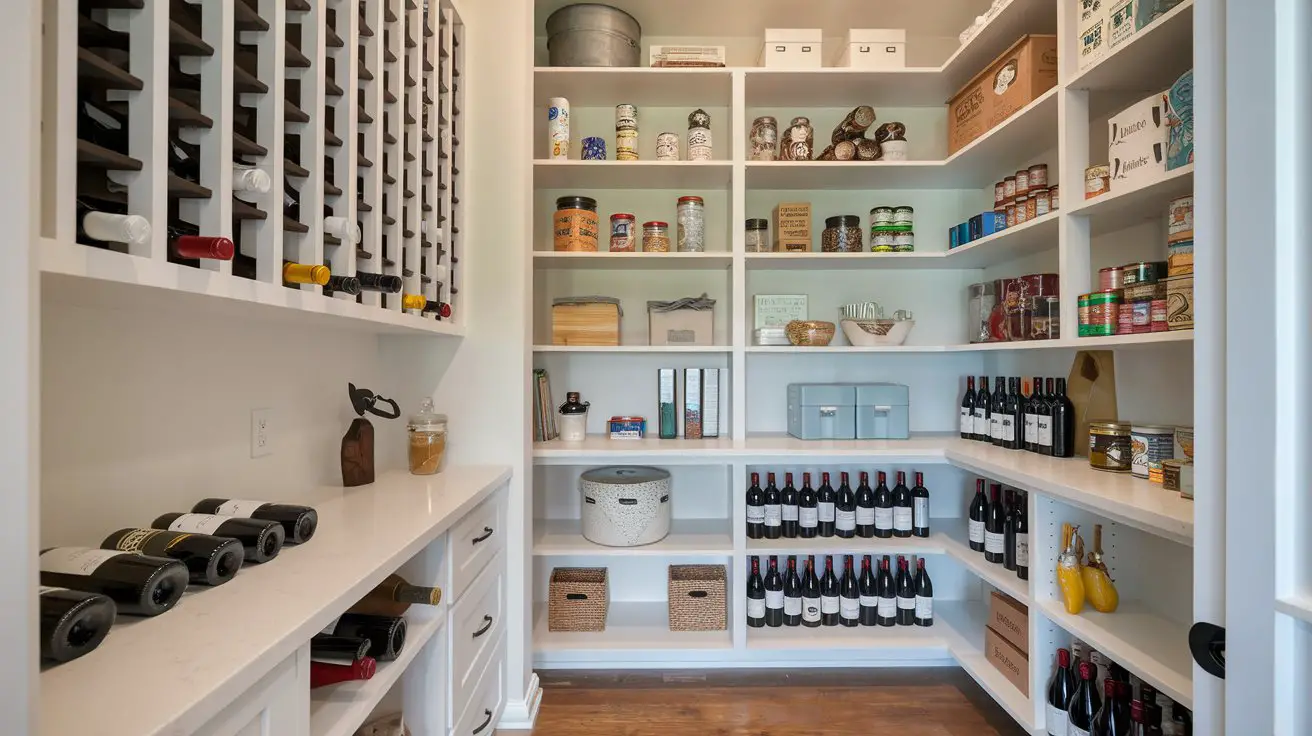
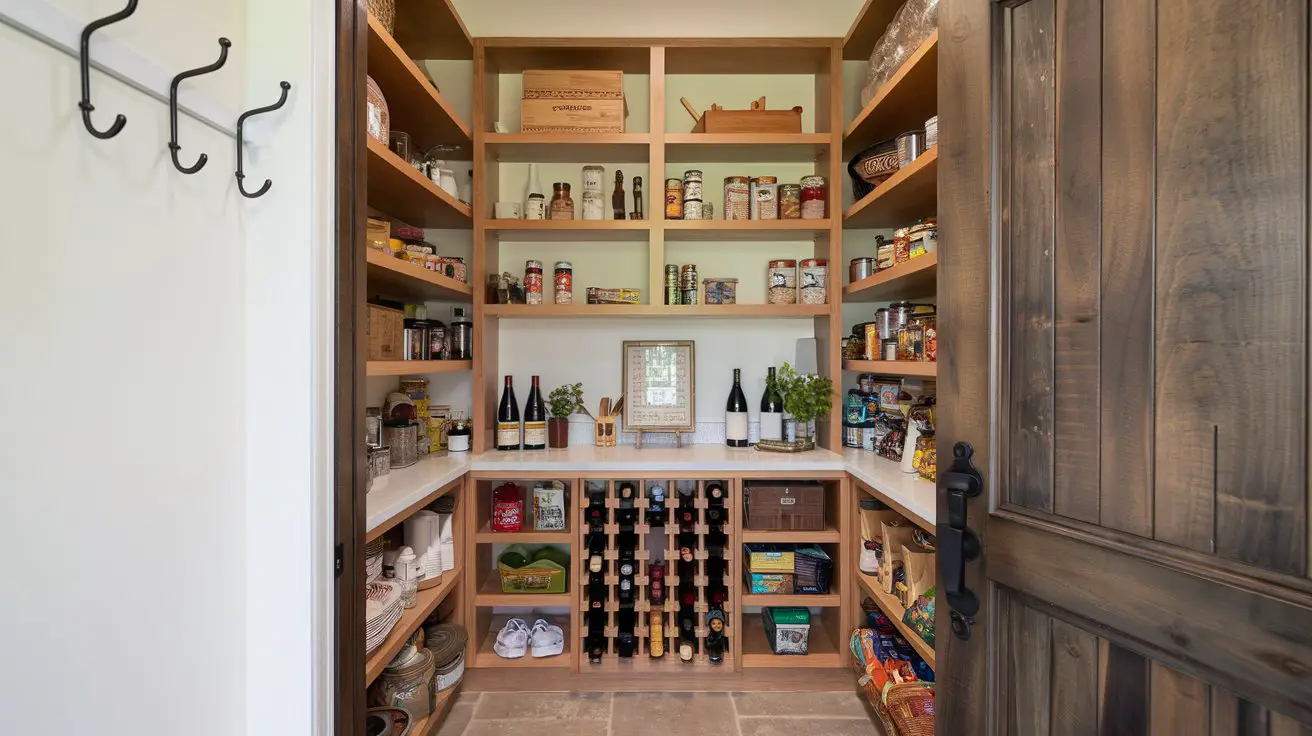
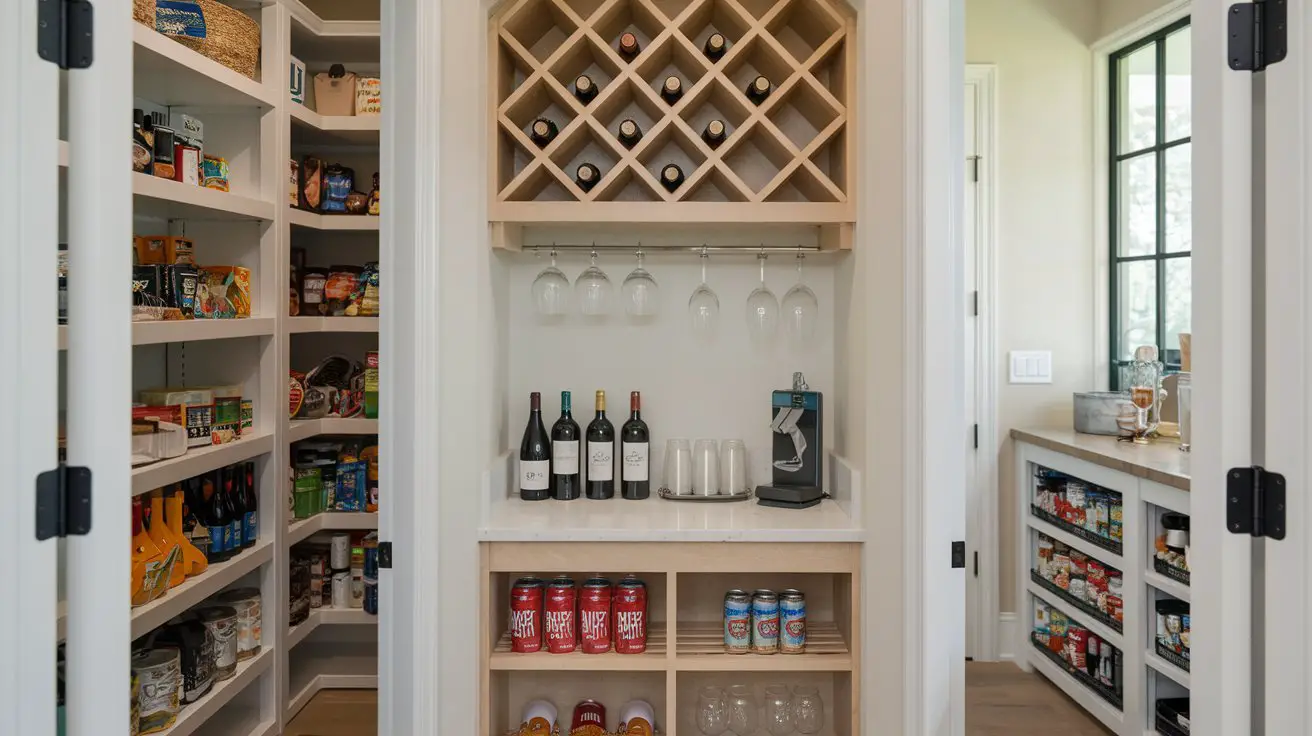
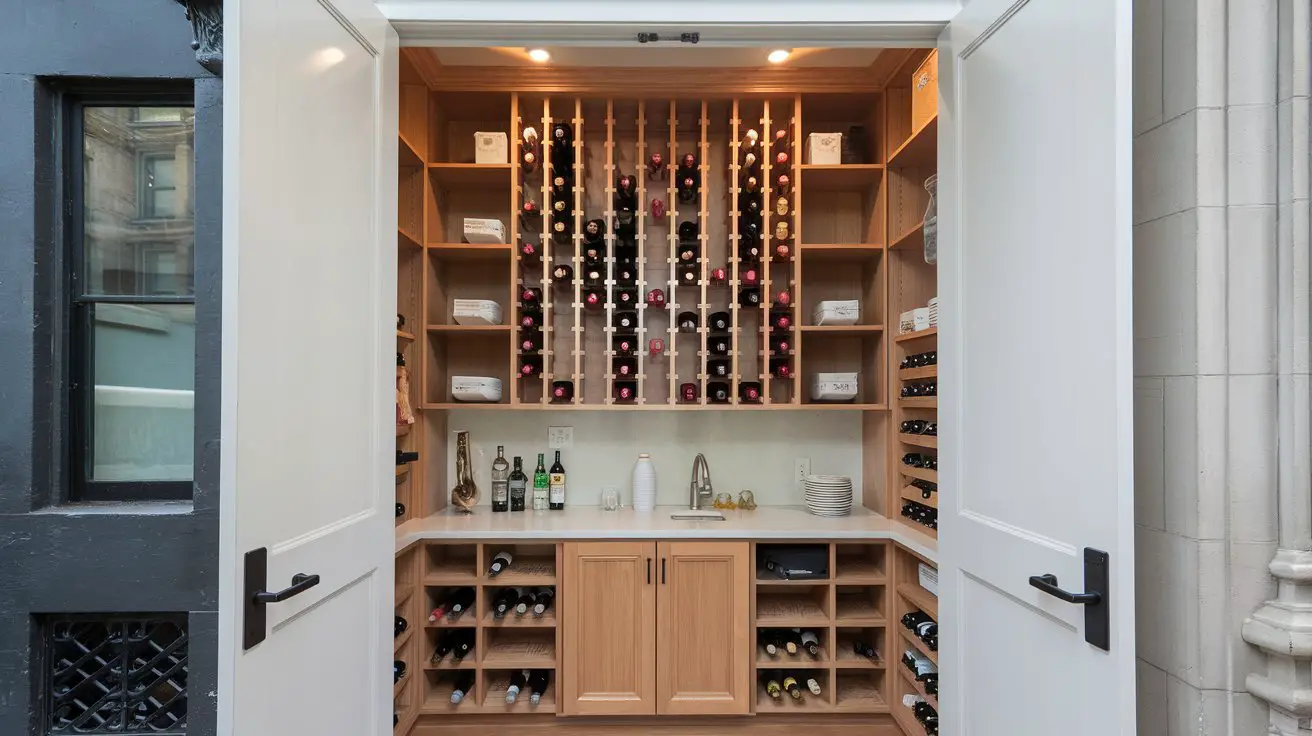
Introduce a Beverage Station with Built-in Wine Racks
Transform a section of your walk-in pantry into a dedicated beverage station, complete with built-in wine racks. This clever idea maximizes functionality by creating a designated area for storing and organizing beverages like wines, canned drinks, and refreshing mixers. Incorporating wine racks not only optimizes your vertical space but also adds an element of sophistication and convenience by housing your wine collection efficiently. A beverage station enhances your pantry’s utility by providing a centralized spot for all your entertaining needs.
How to Achieve a Beverage Station with Built-in Wine Racks
Identify the Location
: Choose an area within your walk-in pantry that is easily accessible but does not interfere with other storage areas. Ideally, a corner or one side of the pantry could work well for the beverage station.
Measure the Space
: Measure the height and width of the selected area to determine the suitable size for your wine racks and additional storage components.
Select Wine Rack Design
: Choose a wine rack design that complements your pantry’s style. Opt for wood racks for a classic look or metal racks for a modern, sleek appearance.
Install Wine Racks
: Secure the wine racks to the wall, ensuring they are level and stable. Position them at a comfortable height for easy access, and consider adjustable options for flexibility.
Incorporate Additional Storage
: Integrate shelving above or below the wine racks for storing glassware, bottle openers, and other beverage-related accessories. Consider adjustable shelving for added versatility.
Add a Countertop
: Install a small countertop below the wine racks to serve as a mixing or preparation area. Choose a durable material that complements your pantry’s aesthetic, such as butcher block or granite.
Enhance with Lighting
: Install under-cabinet or accent lighting to highlight your beverage station, making it easier to locate items and adding a touch of elegance to the space.
Consistent Color Scheme
: Coordinate colors between the wine racks, shelving, and containers for a harmonious appearance. For instance, pair dark wood wine racks with warm-toned shelves to create a cozy, inviting look, or opt for metallic finishes with cool-toned shelving for a contemporary vibe.
Creating a beverage station with built-in wine racks in your walk-in pantry not only elevates its functionality but also adds a stylish, organized area to cater to all your beverage needs, perfect for entertaining or everyday convenience.
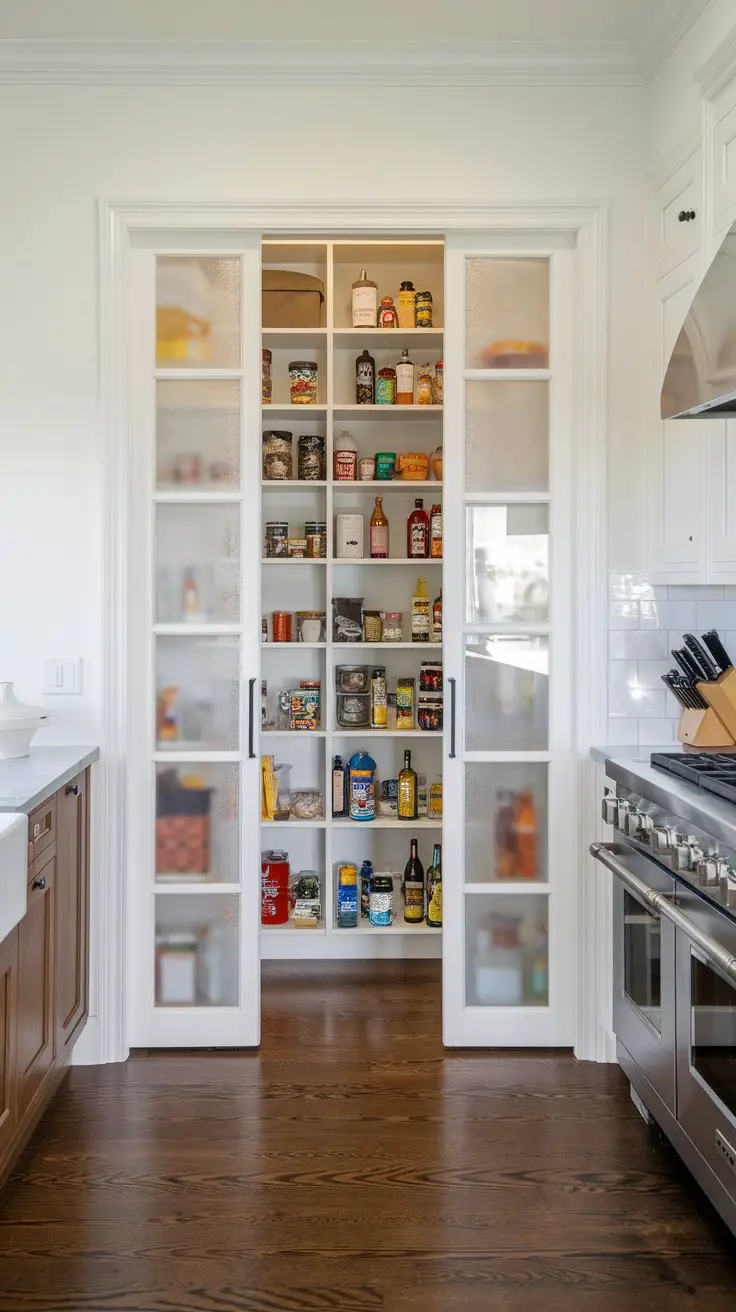
Utilize Frosted Glass Doors for a Chic Display
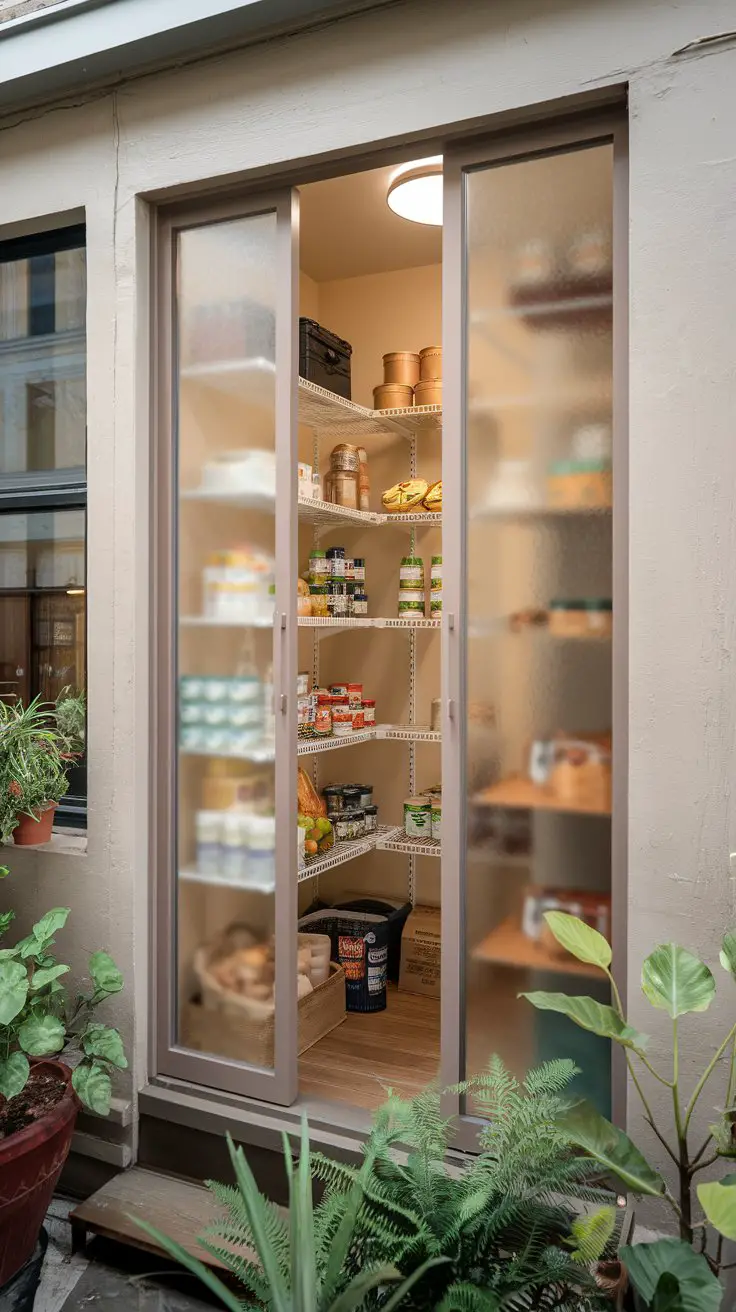
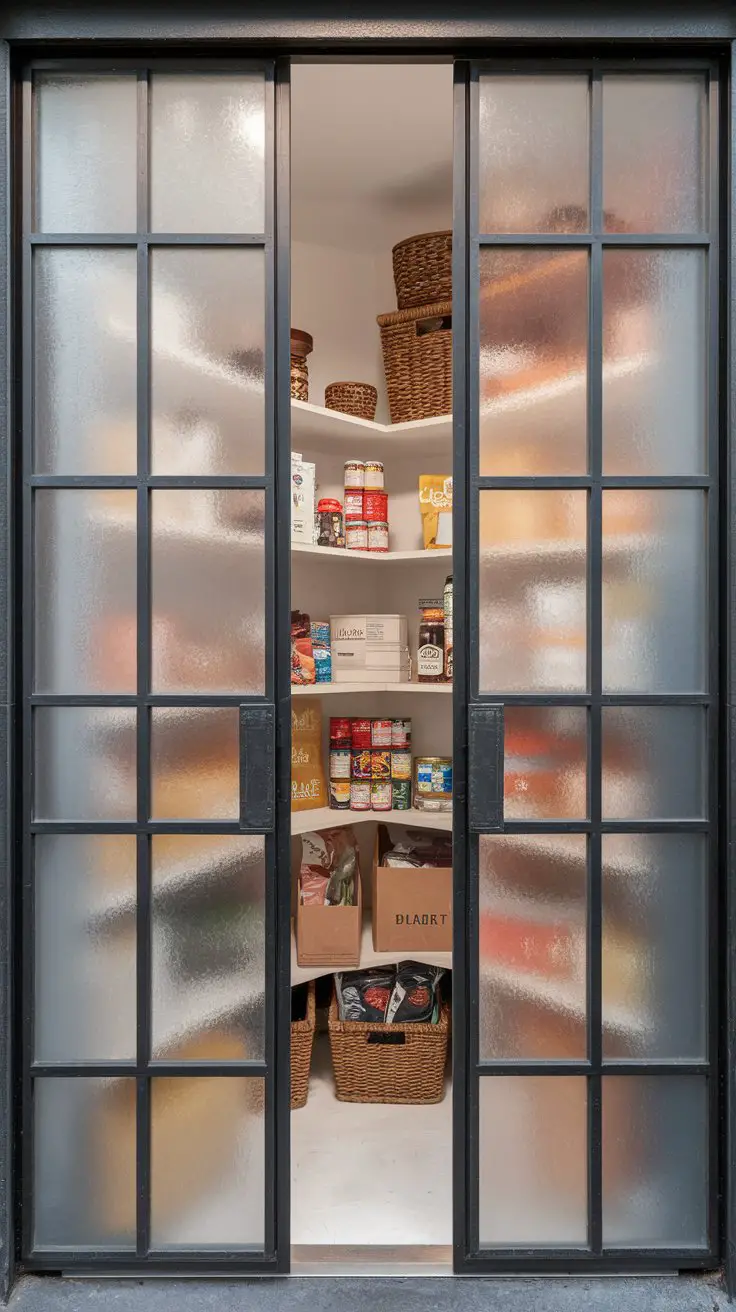
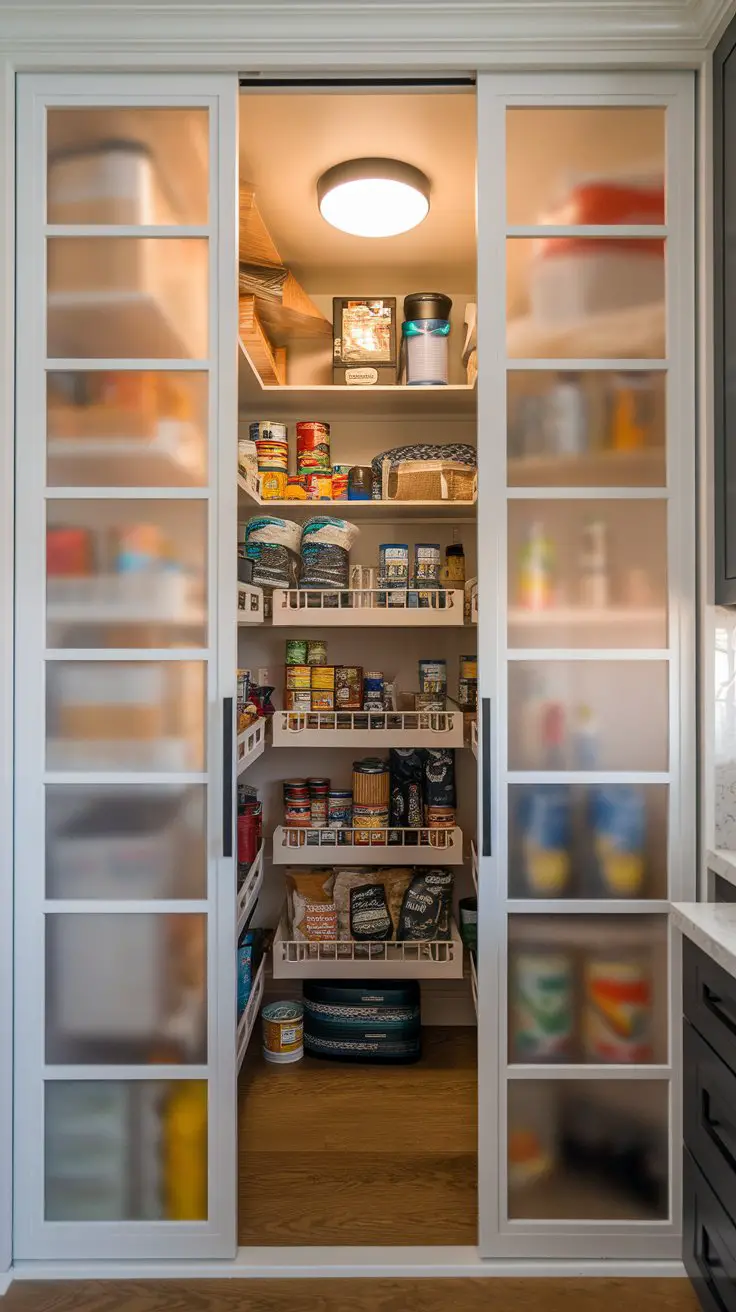
Incorporate frosted glass doors in your walk-in pantry to create a chic display that is both aesthetically pleasing and practical. Frosted glass doors provide a touch of elegance, allowing you to subtly showcase the organization of your pantry while maintaining privacy for stored items. This idea offers a stylish way to integrate your pantry with your kitchen decor, enhancing the overall design while keeping clutter hidden from view. The frosted glass also naturally diffuses light, which can make your pantry area appear brighter and more inviting.
How to Achieve Frosted Glass Doors in Your Pantry
Choose Door Style
: Select a style of frosted glass door that complements your kitchen’s design. Options range from sleek, modern frameless doors to more traditional framed ones. Consider the finish of the frame as well, such as brushed metal or wood, to match existing cabinetry.
Measure Door Openings
: Measure the dimensions of your pantry door openings to ensure the glass doors you choose will fit perfectly. Precise measurements will ensure functionality and a polished look.
Select Frosted Glass Design
: Choose the type of frosted glass that best suits your aesthetic. There are several options, including smooth matte frosted, patterned, or etched designs that can add a unique touch to your pantry doors.
Install Door Hardware
: Decide on the type of hardware that complements the style of your glass doors. Consider finishes like chrome, brass, or matte black for hinges and handles, ensuring they coordinate with other kitchen fixtures.
Professional Installation
: Given the fragility of glass, it’s advisable to hire a professional to install the doors. They will ensure a safe and precise fit, also facilitating any custom adjustments needed for a seamless integration with your space.
Enhance with Interior Lighting
: Install interior lighting within your pantry to illuminate through the frosted glass, adding a soft glow and highlighting the organized space behind the doors. LED strip lights or small spotlights can work effectively.
Organize with Style
: Keep the items behind the frosted glass organized in a visually appealing manner. Use uniform containers and baskets to create a cohesive look, keeping clutter to a minimum and maintaining an inviting display.
Consistent Color Scheme
: Coordinate the color palette of the items inside your pantry—such as using white, light grey, or clear containers—so that the semi-visible contents behind the frosted glass doors project a tidy and uniform look.
By utilizing frosted glass doors, you not only add a touch of sophistication to your walk-in pantry but also achieve an efficient blend of functionality and style, making it a centerpiece that complements your overall kitchen design.
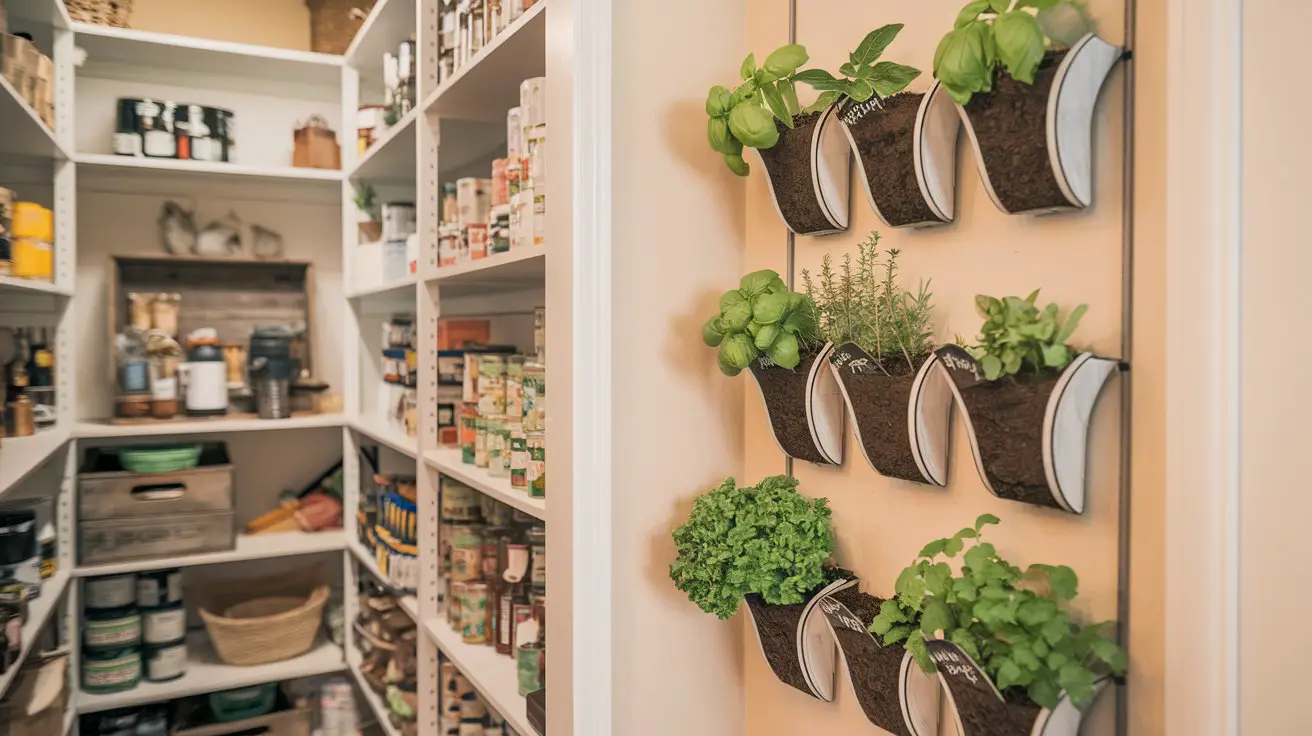
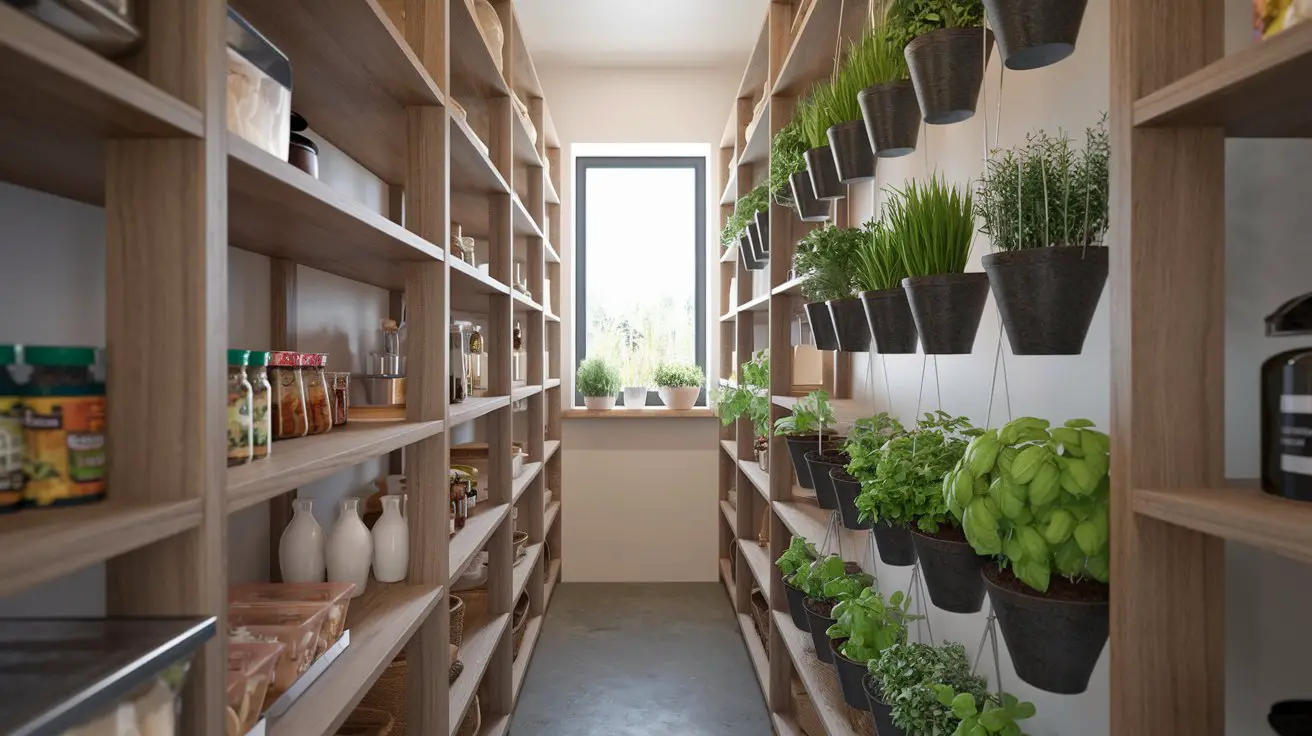
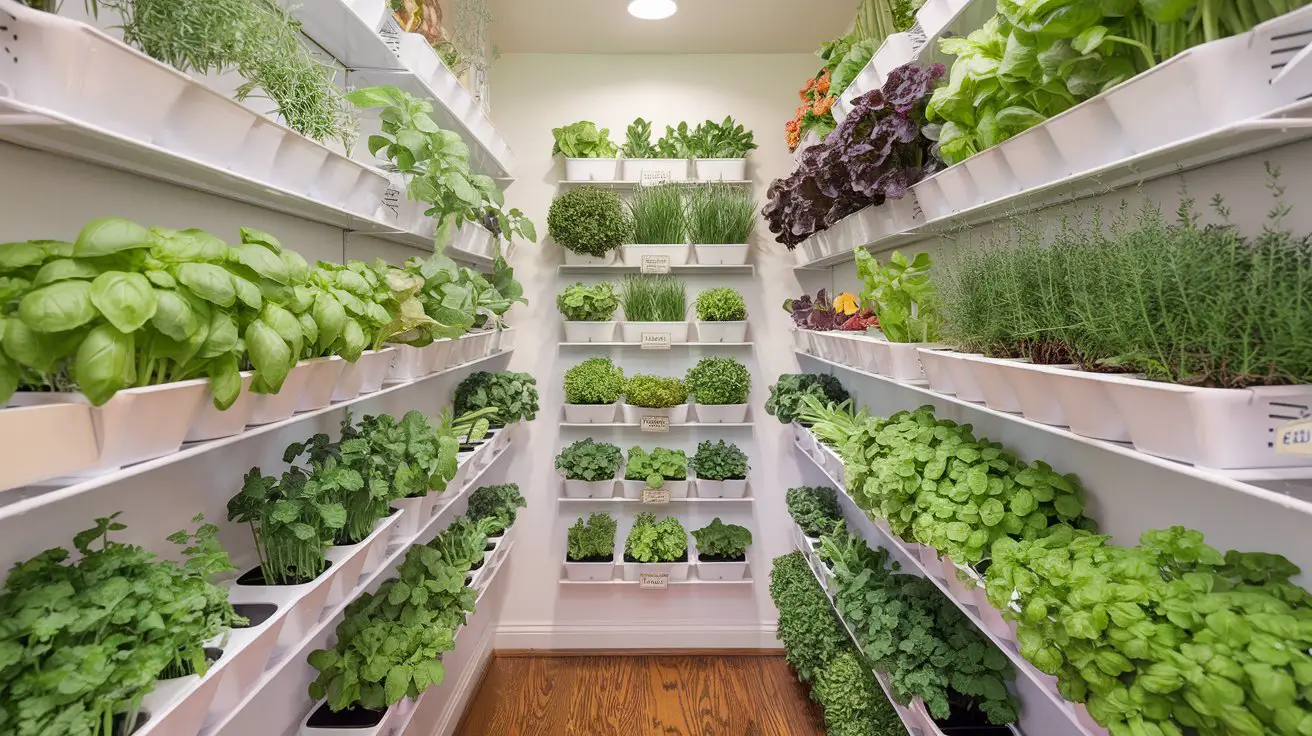
Create a Pantry Herb Garden for Fresh Ingredients
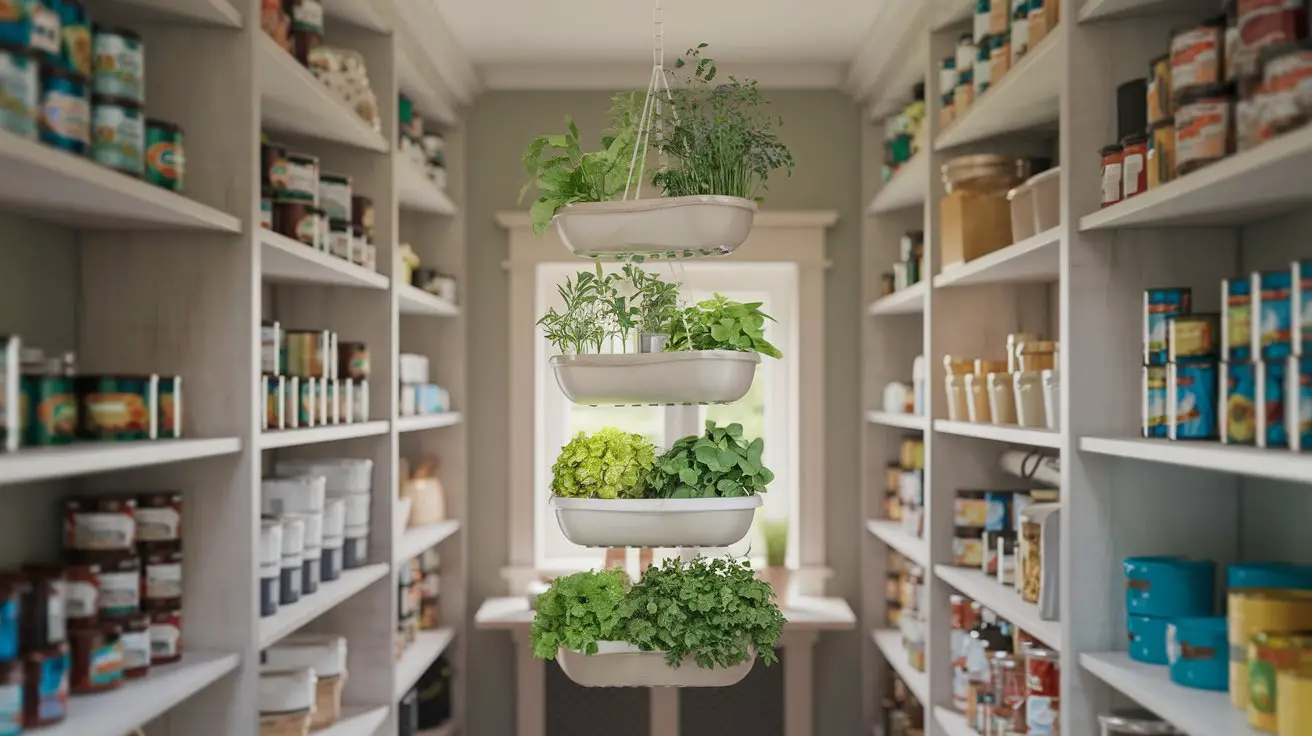
Introduce a touch of greenery into your walk-in pantry with a vertical herb garden. This idea not only adds a fresh and vibrant aesthetic to your pantry but also provides easy access to fresh herbs for your culinary creations. A pantry herb garden utilizes vertical space efficiently while keeping your herbs within reach and maintaining an organized storage space. This functional addition enhances both the visual appeal and utility of your pantry, encouraging a more sustainable and healthy lifestyle by growing your own ingredients.
How to Achieve a Pantry Herb Garden
Select a Suitable Location
: Choose a section of your pantry that receives some natural light or consider installing grow lights if the area lacks adequate sunlight.
Measure the Space
: Determine the available vertical and horizontal space where you plan to install the herb garden. This will help in selecting the appropriate size for your garden setup.
Choose Herb Garden Kits
: Opt for wall-mounted or hanging herb garden kits that fit your space. There are various designs available, from simple shelves to multi-tiered planters that support a variety of herbs.
Install Grow Lights
: If your pantry doesn’t get sufficient natural light, install LED grow lights to ensure your herbs receive the light they need to thrive.
Plant a Variety of Herbs
: Select herbs that are suited for indoor growth, such as basil, mint, thyme, and parsley. Plant them in your garden kit using quality potting soil and follow care instructions for each herb.
Organize and Label
: Arrange your herbs based on their size and light requirements. Label each plant for easy identification and to track their growth and care needs.
Consistent Watering System
: Implement a regular watering schedule and consider using self-watering planters to maintain optimal moisture levels for the herbs.
Maintain a Fresh Look
: Keep the area neat by trimming herbs regularly to promote growth and avoiding overgrown appearances. Use matching pots or planters in a cohesive color palette such as white, terracotta, or soft greens to create a visually unified look.
Creating a pantry herb garden not only adds an element of freshness and sustainability to your space but also enriches your kitchen experience by providing delicious, home-grown herbs at your fingertips.
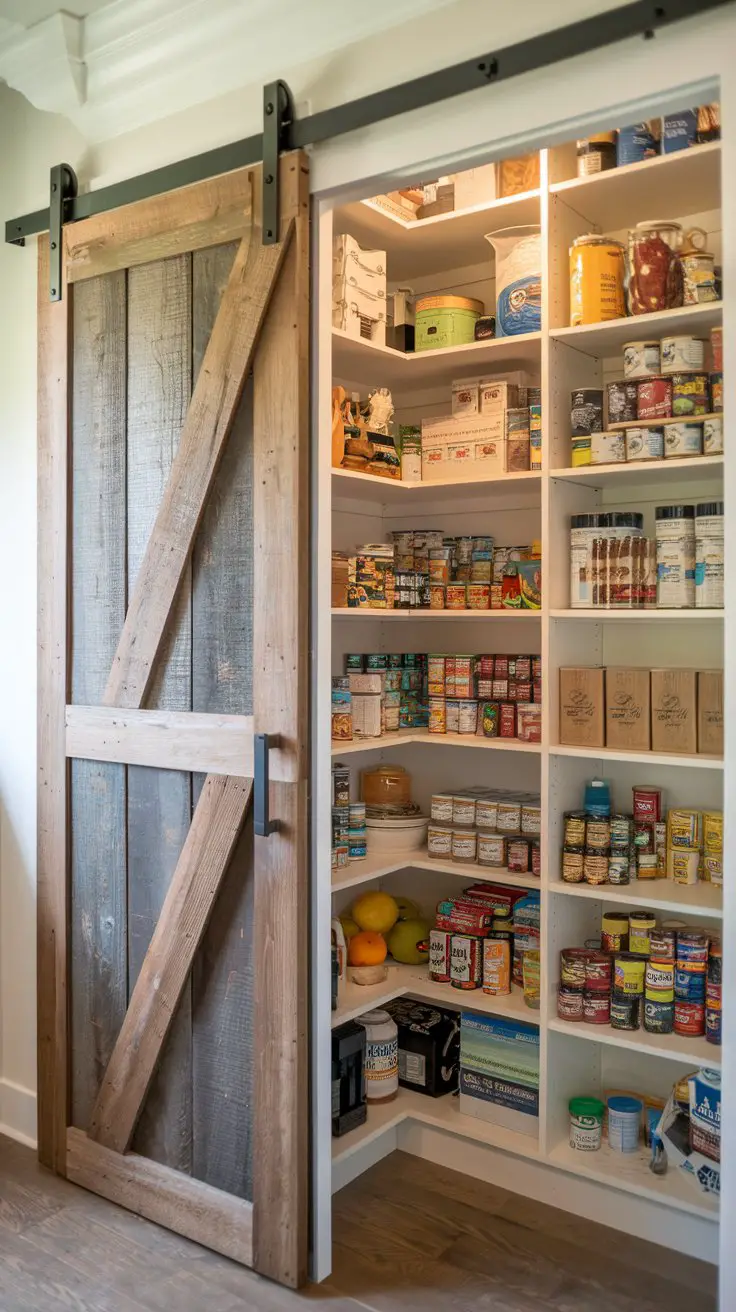
Integrate a Sliding Barn Door for a Rustic Touch
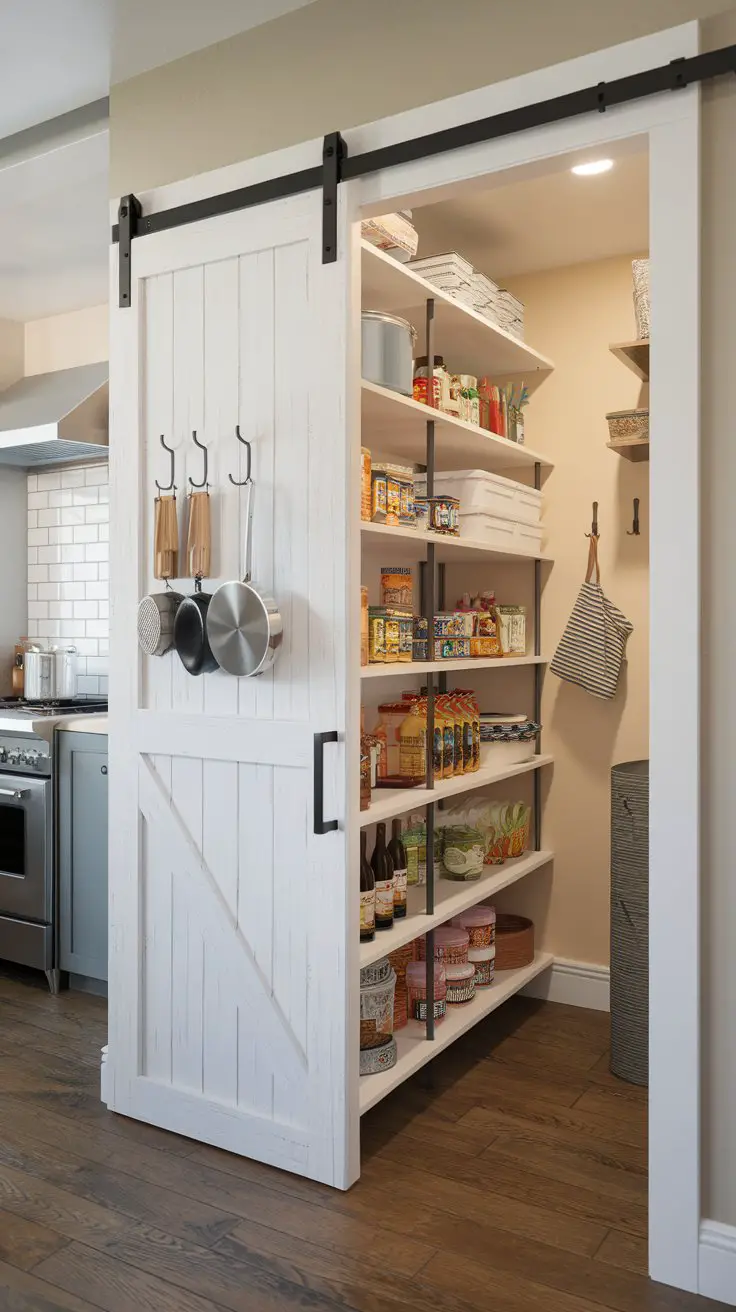
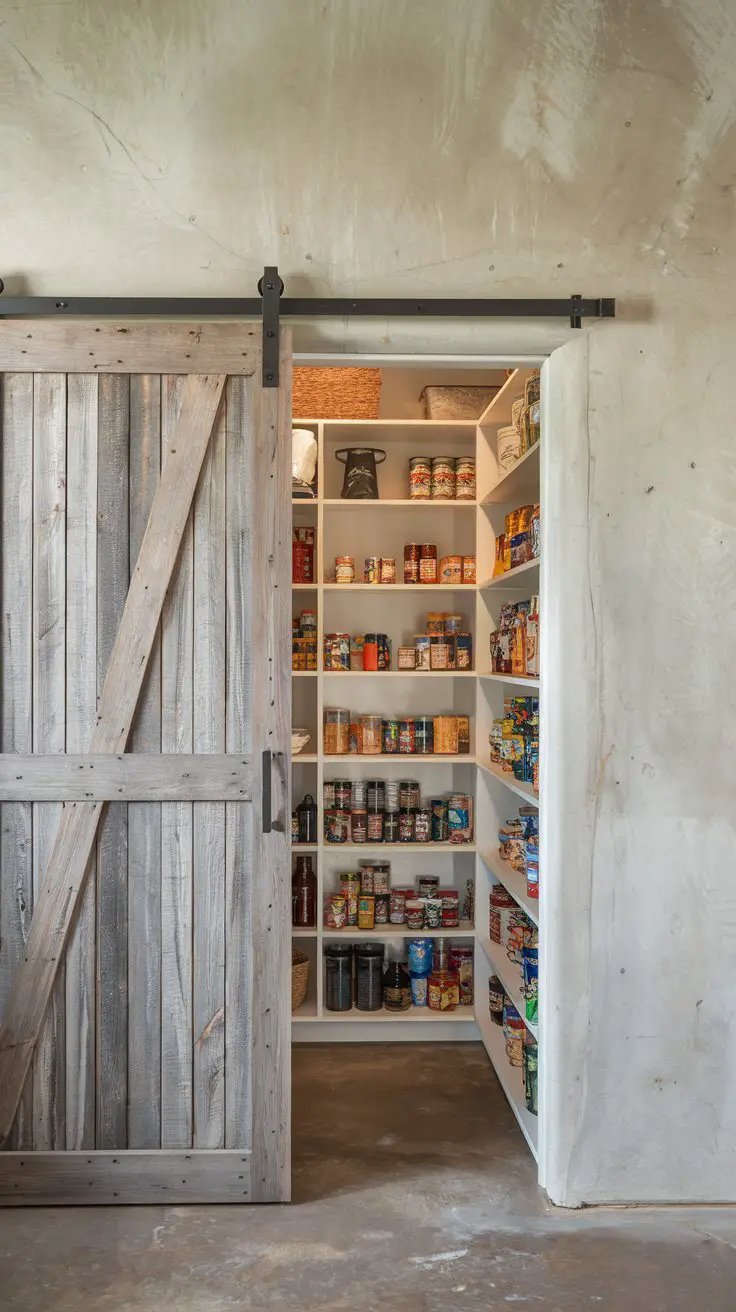
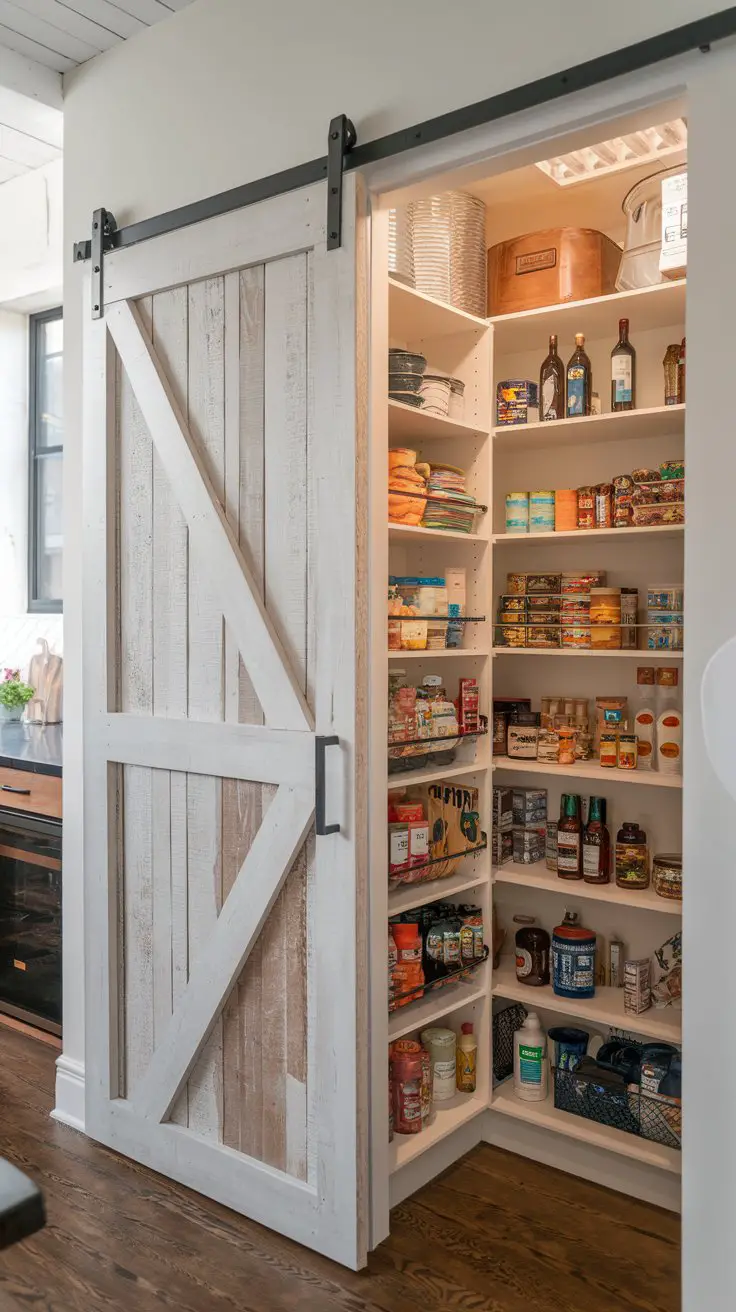
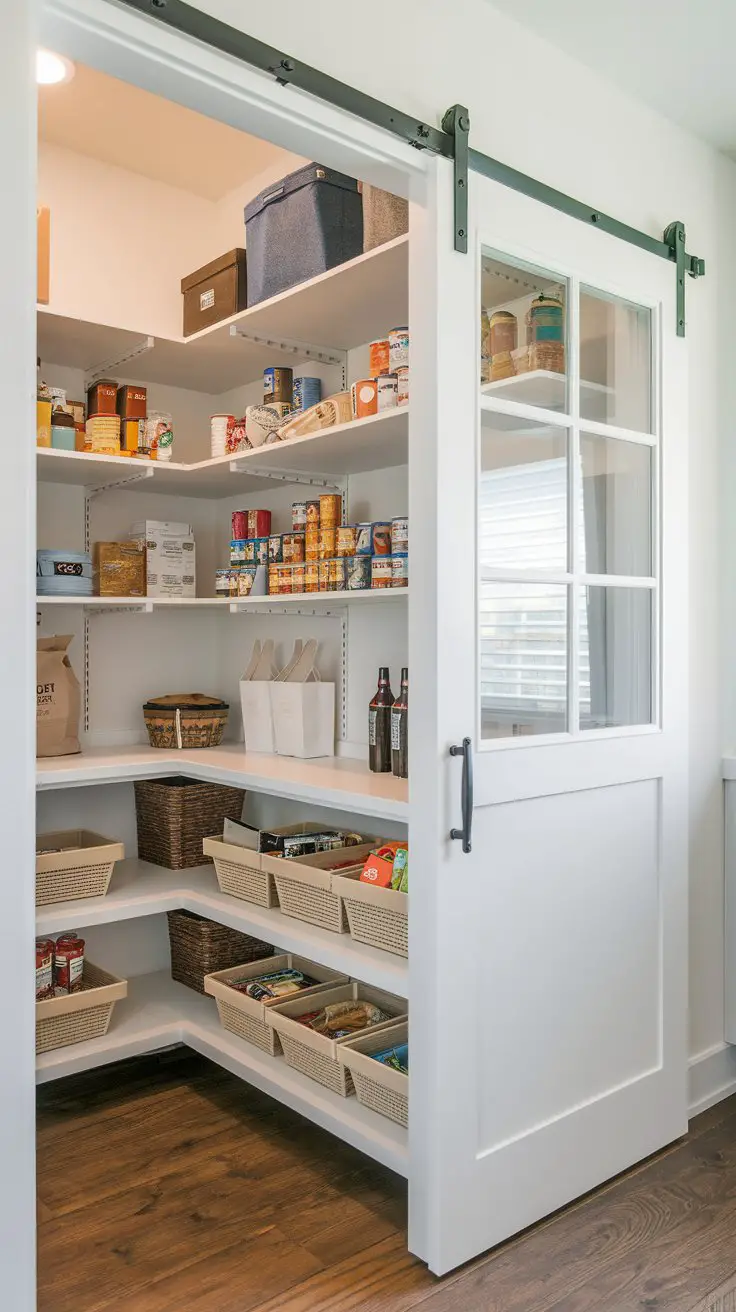
Add a touch of rustic charm to your walk-in pantry by integrating a sliding barn door. This idea not only provides a unique visual element but also maximizes space by eliminating the need for a swinging door. Sliding barn doors are perfect for adding a sense of warmth and character to your pantry area while maintaining easy access. It’s a versatile choice that complements various design styles, from farmhouse to contemporary, making it a stylish yet functional addition to your kitchen space.
How to Achieve a Sliding Barn Door in Your Pantry
Choose the Door Style
: Select a barn door style that matches your kitchen’s aesthetic. Consider options such as reclaimed wood for a more traditional look or smooth, painted finishes for a modern touch.
Measure the Door Opening
: Accurately measure the width and height of your pantry opening to ensure the sliding barn door will fit properly and operate smoothly.
Select the Door Hardware
: Choose high-quality sliding hardware, such as steel or wrought iron brackets and tracks. Ensure the hardware supports the weight of the door and complements the overall design.
Install the Track
: Secure the sliding track above the pantry door opening. It’s crucial to fasten the track into the wall studs for stability and smooth operation.
Attach the Door
: Install the door onto the track using the prepared hardware. Test the door to ensure it slides easily and aligns correctly with the doorway.
Enhance with Accessories
: Consider adding handles or pulls that complement the door’s style. Options include rustic metal handles or sleek modern pulls, depending on your desired look.
Incorporate Safety Features
: Install stoppers at each end of the track to prevent the door from sliding off. Consider additional safety locks if needed, especially in homes with small children.
Consistent Color Scheme
: For a cohesive look, choose a color or finish for your barn door that complements the existing palette in your kitchen. Neutral tones such as white, black, or natural wood often blend seamlessly with most decor styles.
Integrating a sliding barn door into your pantry design not only enhances its accessibility and functionality but also adds a distinctive architectural feature that can transform the overall aesthetic of your kitchen space.
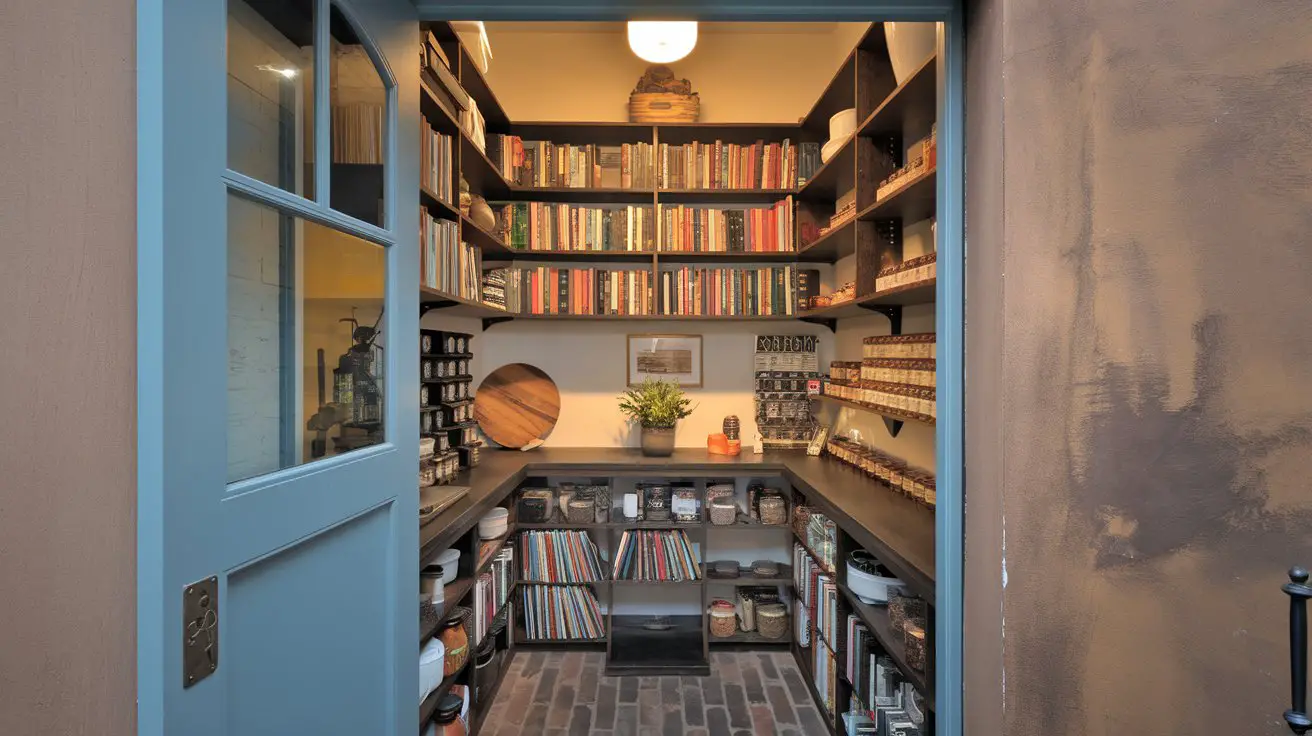
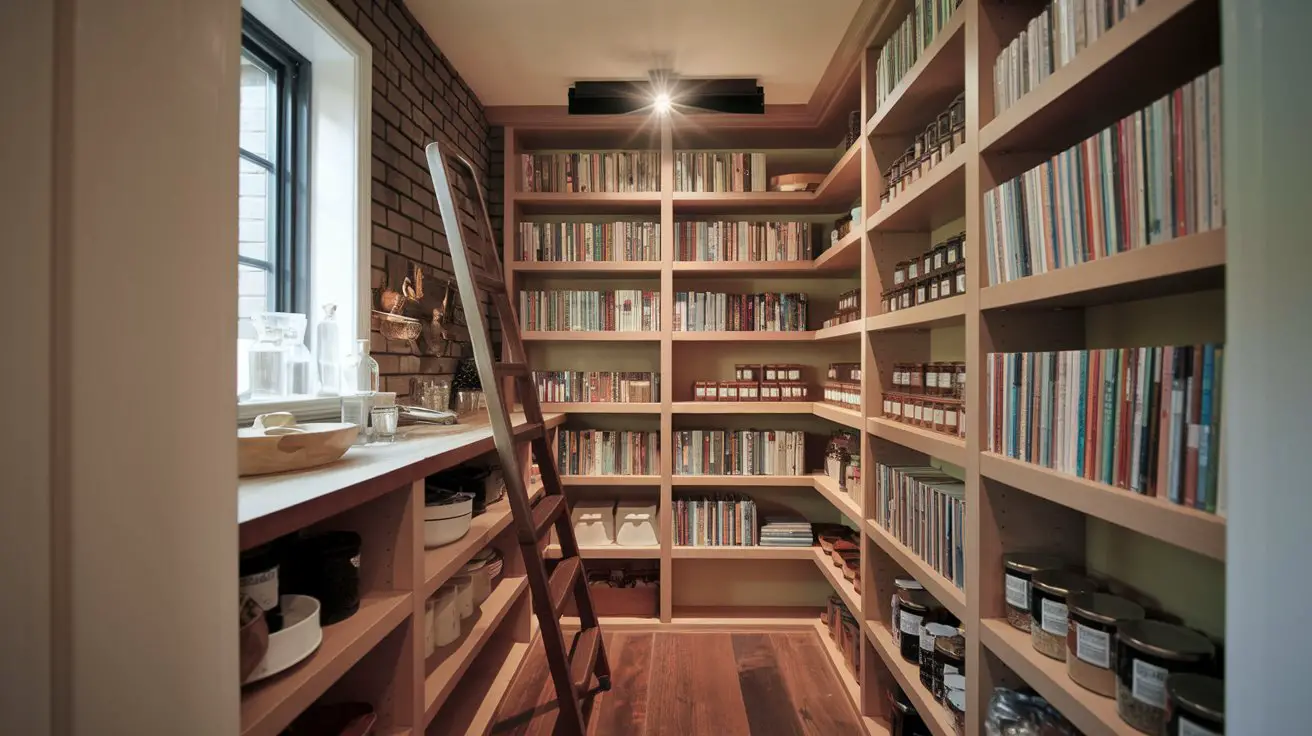
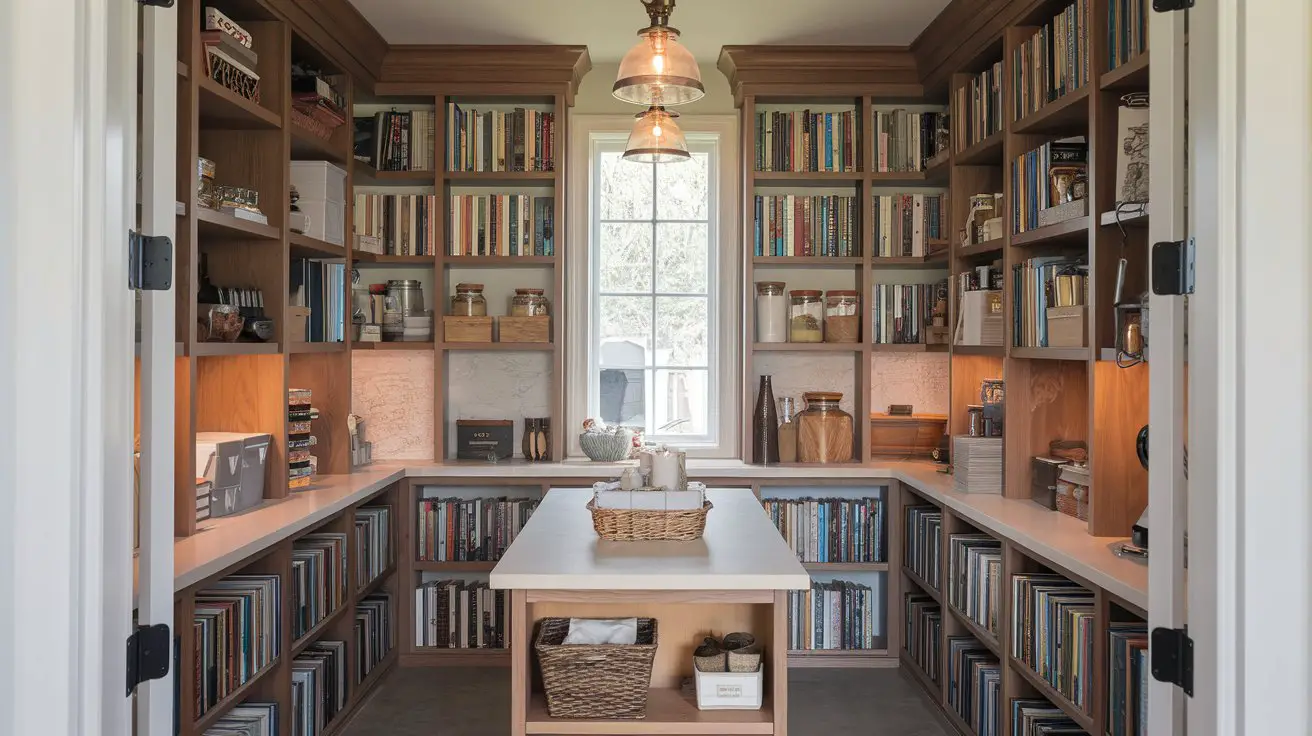
Incorporate a Walk-In Pantry Library
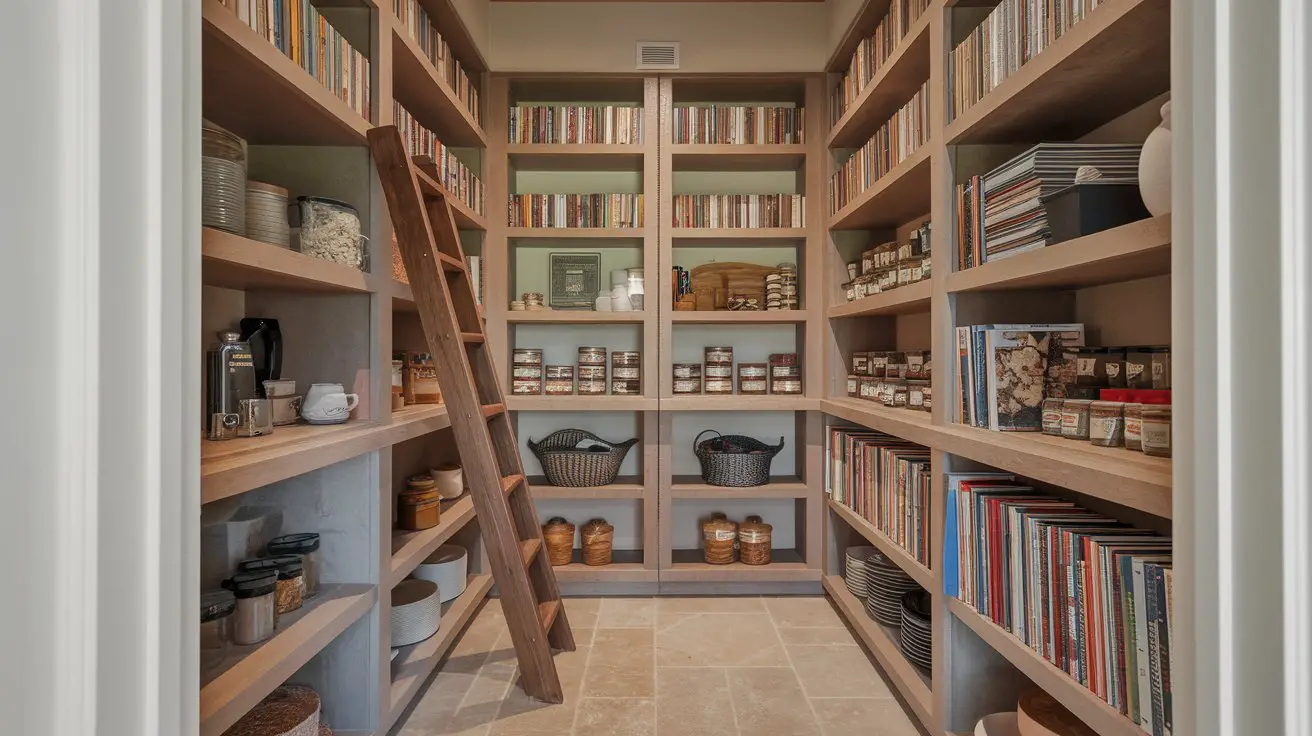
Transform your walk-in pantry into a culinary library by incorporating book-style shelving to store and display cookbooks, spice jars, and culinary essentials. This unique idea combines the functionality of a traditional pantry with the organization of a library, creating an inviting space that showcases your favorite recipes and kitchen inspirations. This setup not only facilitates easy access to your cookbooks but also adds a personal touch to your kitchen, making it a delightful space to explore your culinary interests.
How to Achieve a Walk-In Pantry Library
Determine the Layout
: Decide on the best location within your pantry to install book-style shelving. Consider using one wall or a central island to maximize accessibility and display potential.
Measure Your Space
: Measure the height, width, and depth of the area to ensure your shelving units fit without crowding the space. Remember to allow for sufficient aisle space for easy movement.
Select Bookshelves
: Purchase sturdy bookshelves that can accommodate weighty cookbooks and jars. Choose materials like solid wood or metal for durability, and select finishes that complement your kitchen decor.
Install Proper Lighting
: Position adjustable LED lights or under-shelf lighting to enhance visibility. Adequate lighting will ensure you can easily read book titles and labels, even in the dimmer corners of your pantry.
Organize Cookbooks
: Arrange cookbooks by category, size, or color for both functionality and visual appeal. Consider placing frequently used cookbooks within arm’s reach and decorative items like bookends for an added personal touch.
Integrate Spice Storage
: Add small, clear jars or spice racks within the bookshelf area to neatly store spices. Label each jar clearly to maintain organization and easy access.
Consolidate Supplies
: Use decorative baskets or bins to store small kitchen tools or baking supplies alongside your cookbooks. Keep the bins consistent in design to maintain a tidy, cohesive look.
Consistent Color Scheme
: Establish a consistent color palette within your library section. Neutral tones like beige or grey for shelving, paired with colorful book spines or matching jar lids, create an aesthetically pleasing display that ties seamlessly into your kitchen decor.
Incorporating a walk-in pantry library not only optimizes your pantry space but also invites creativity and inspiration, encouraging you to explore new recipes and culinary techniques in a beautifully organized environment.
Install Under-Shelf Baskets for Extra Storage
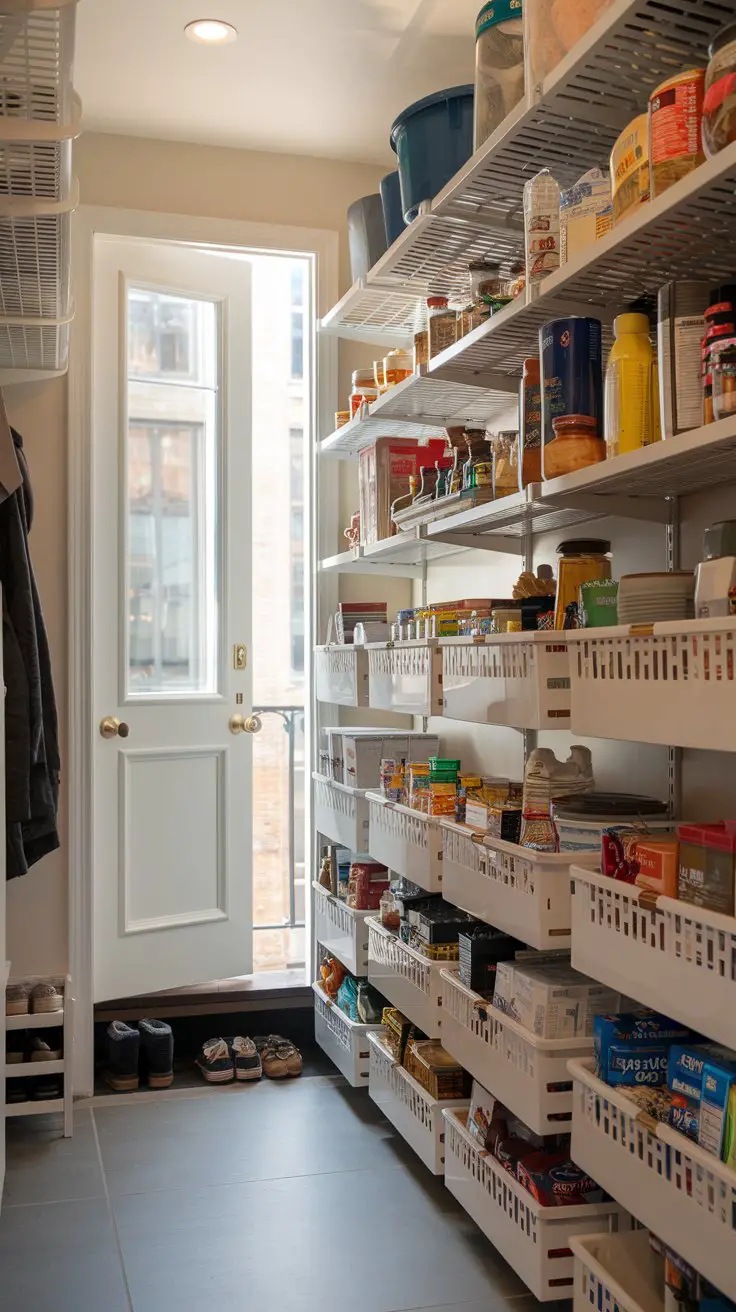
Maximize the efficiency of your walk-in pantry by installing under-shelf baskets. This innovative idea allows you to make use of often-overlooked space beneath your shelves, providing additional storage for smaller items like snacks, spices, or utensils. Under-shelf baskets are an excellent solution for tight spaces, as they help keep your pantry organized without the need for additional shelving units. They’re easy to install and versatile, making them an ideal addition for anyone looking to optimize their pantry’s storage capacity.
How to Achieve Under-Shelf Baskets in Your Pantry
Select the Baskets
: Choose wire or plastic under-shelf baskets that can easily clip onto existing shelves. Ensure the baskets are sturdy and the correct size to fit underneath your shelves without hindering access to items stored above.
Measure Shelf Space
: Measure the depth and width of your shelves to select appropriately sized baskets. The right fit ensures smooth installation and avoids overcrowding.
Clip-On Installation
: Most under-shelf baskets do not require tools or hardware for installation. Simply slide the lip of the basket over the shelf edge, allowing it to hang securely. Ensure they are stable and well-positioned for easy access.
Organize Contents
: Designate specific baskets for various items like snack packets, spice packets, or small kitchen tools. Use dividers if needed to separate different types of contents within a basket.
Label for Easy Identification
: Use small labels on the baskets to identify their contents. This helps maintain organization and allows for quick retrieval of items when needed.
Adjust as Needed
: If you find that certain baskets aren’t working for you, simply unclip them and reposition elsewhere. This flexibility allows for easy adjustments based on your changing pantry needs.
Maximize Vertical Space
: Stack lighter items above the baskets or use the space beneath them to store less frequently used items, ensuring no inch of your pantry goes unused.
Consistent Color Scheme
: Choose baskets in a consistent color that complements your pantry’s design, such as white, navy, or clear plastic, to ensure a neat and unified appearance.
By installing under-shelf baskets, you enhance your pantry’s storage capabilities and maintain an organized system, all while utilizing space that might otherwise be overlooked.
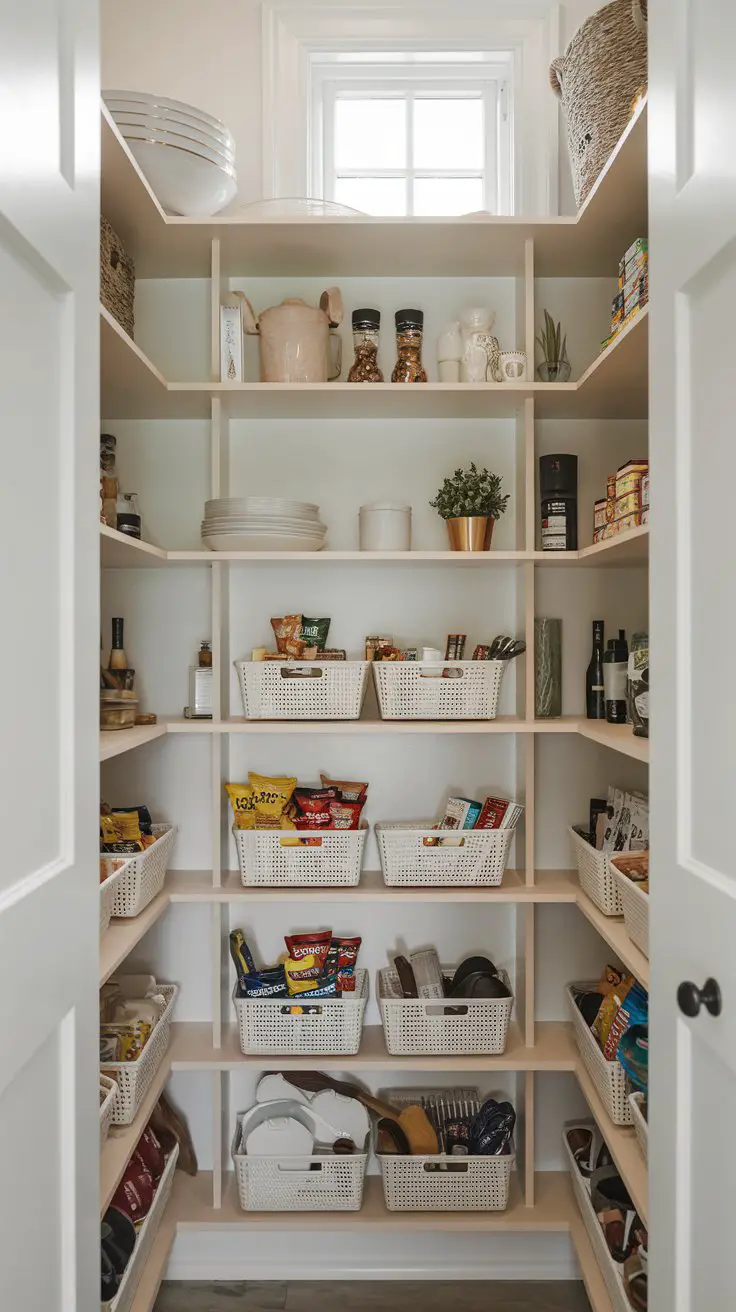
Create a Snack Station for Quick Grabs
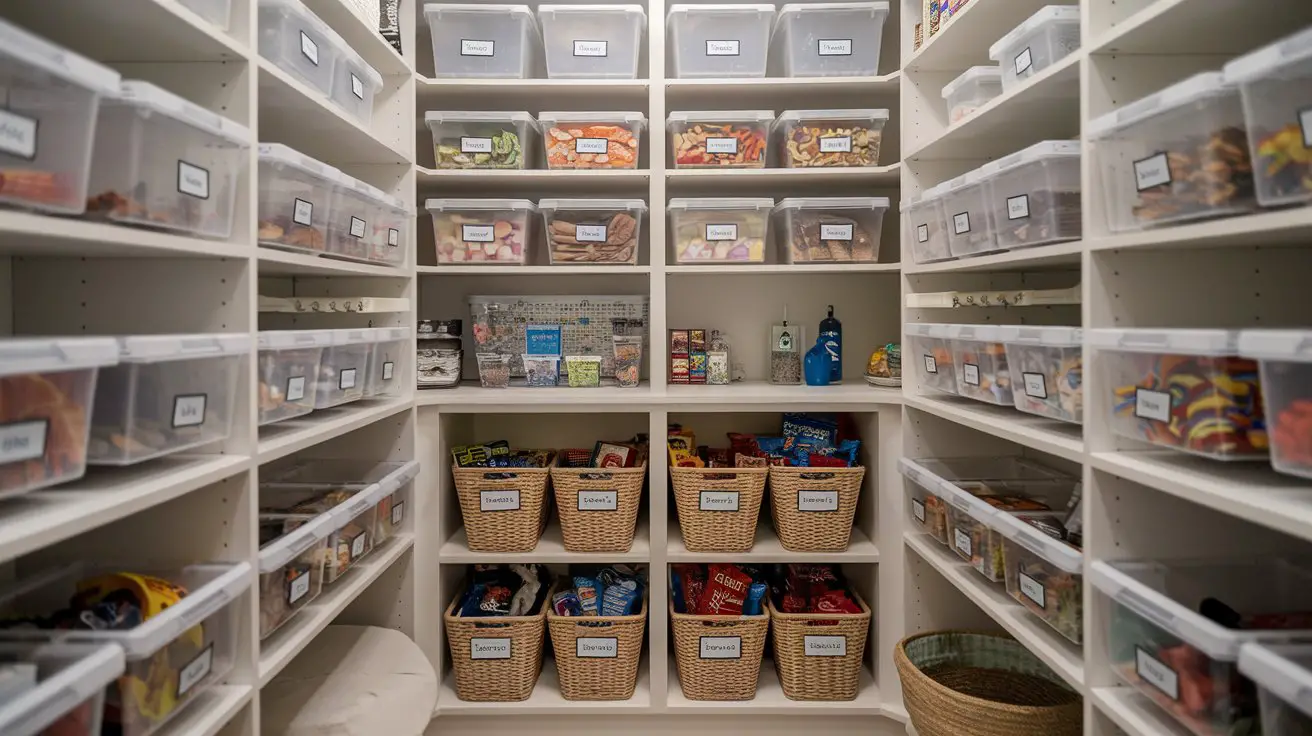
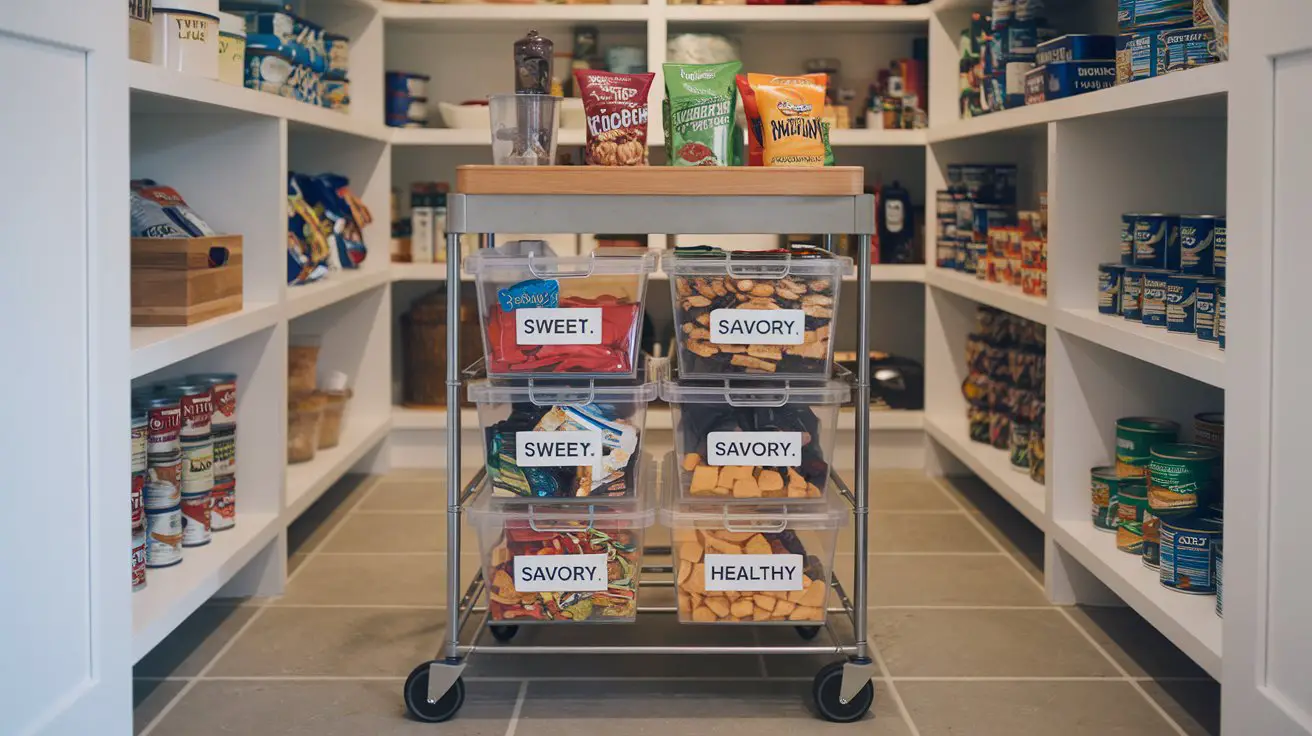
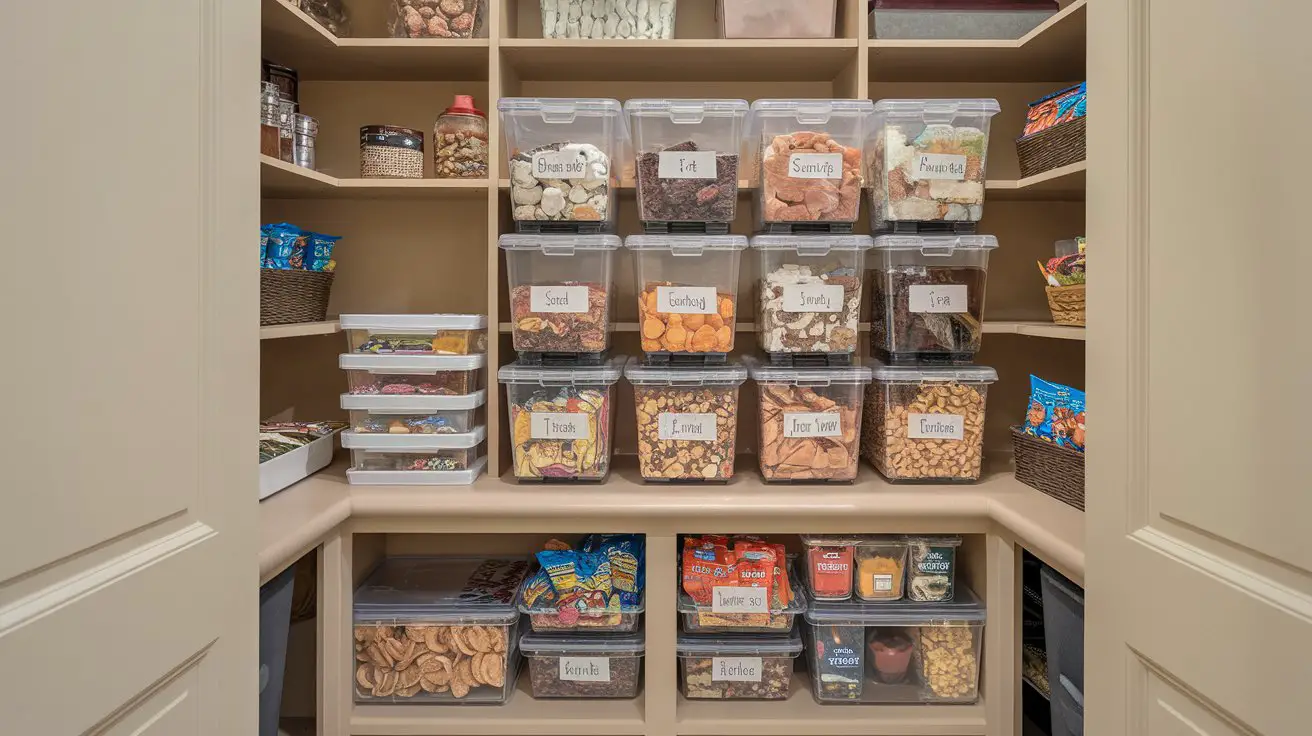
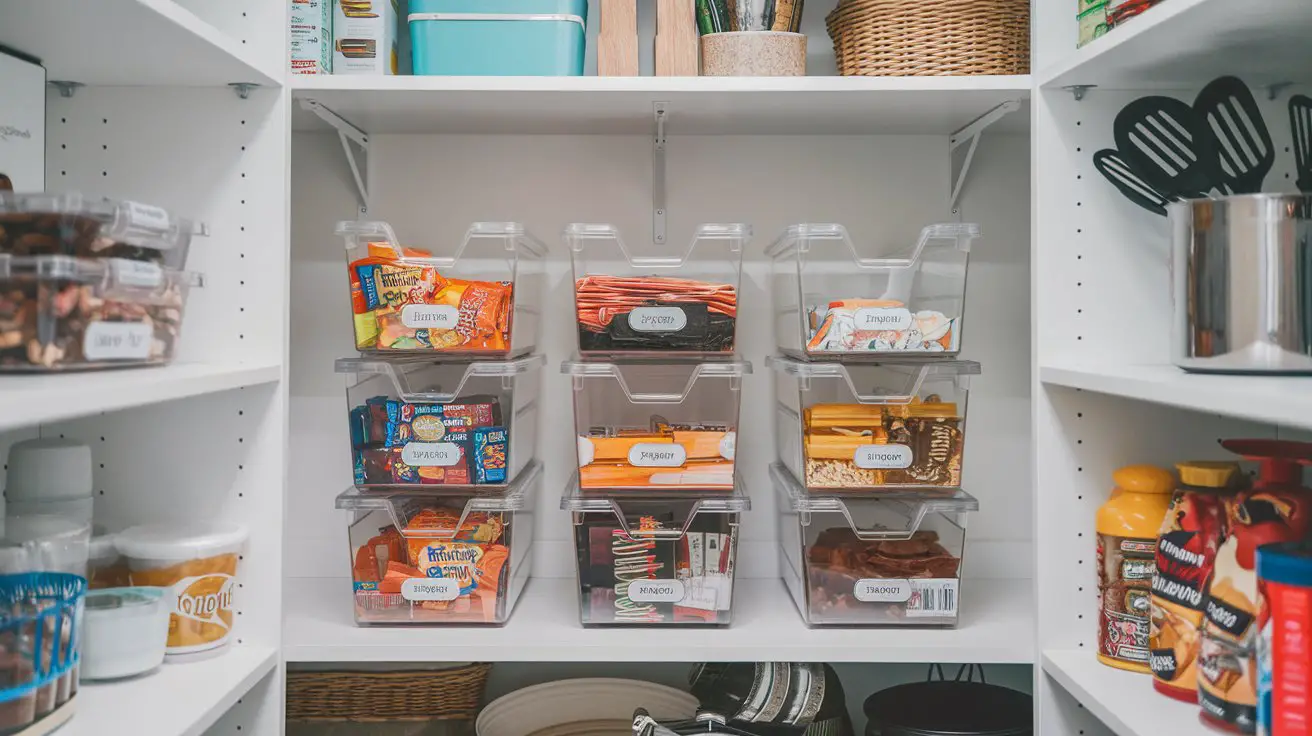
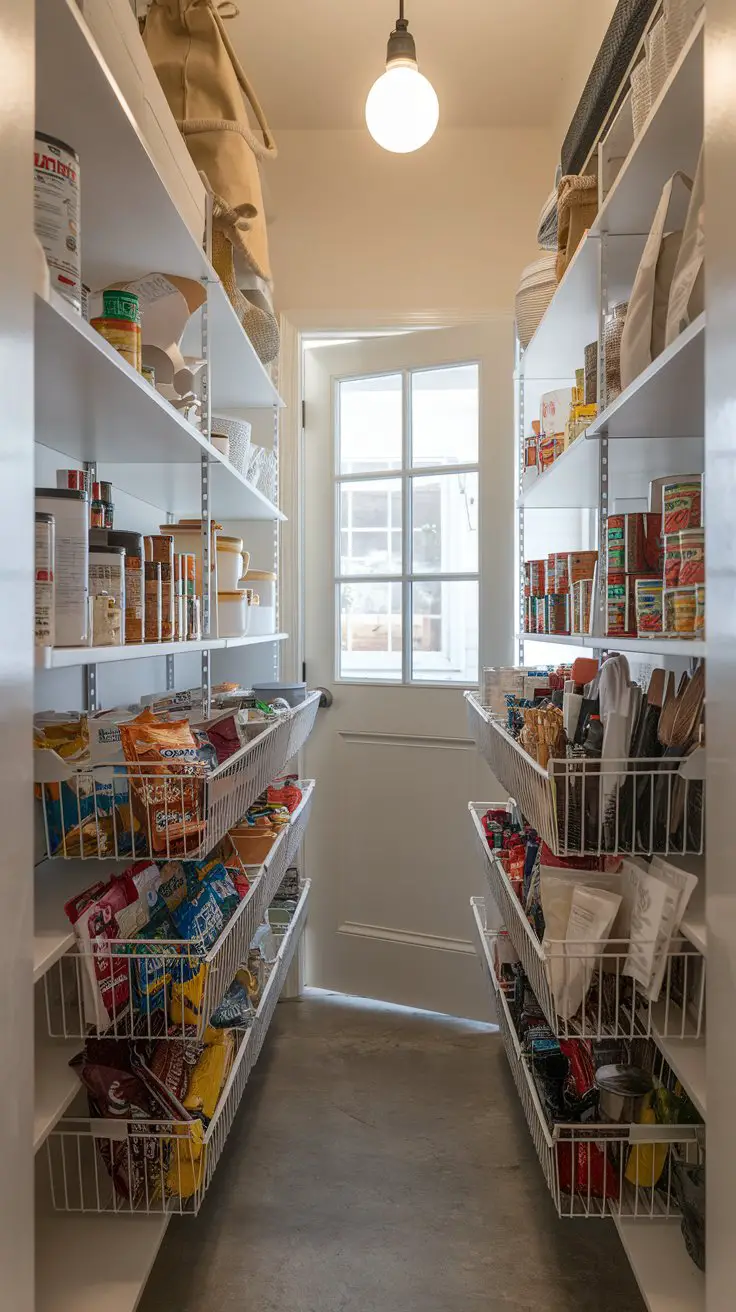
Introduce a designated snack station within your walk-in pantry to streamline snack storage and make treats easily accessible for family members of all ages. This idea encourages organized storage of snacks such as chips, bars, and dried fruits in one convenient location, minimizing clutter and promoting efficient use of space. By creating a specific area dedicated to snacks, you can keep these items in order and ensure that they’re within easy reach for quick grabs in a busy household.
How to Achieve a Snack Station in Your Pantry
Identify the Location
: Choose a low, accessible area within your pantry to create the snack station, making it easy for children and adults alike to reach.
Measure Available Space
: Determine the dimensions of the selected space to help in selecting storage solutions such as bins, baskets, or shelving units.
Select Storage Containers
: Opt for clear, stackable bins or open-top baskets to categorize different types of snacks. Clear containers allow for easy viewing of contents, while open-tops provide quick access.
Install Low Shelving
: Consider adding a dedicated low shelf or using a small cart to keep the snack station organized and off the floor, making it easier to keep the area tidy.
Organize by Category
: Separate snacks into categories like sweet, savory, or healthy. Use dividers within bins to maintain organization and prevent items from getting mixed together.
Label the Storage
: Clearly label each container or basket with the type of snack it holds to streamline snack retrieval and restocking.
Incorporate Portion Control
: Use portion-sized bags or containers to prevent excess snacking and make it easier to grab a single serving on the go.
Create Rotating Inventory
: Encourage rotation by placing newer snacks at the back and older ones at the front, ensuring nothing goes to waste.
Consistent Color Scheme
: Use color-coordinated bins or labels to match your pantry’s design, such as pastel tones for a cheerful look or monochrome shades for a sleek, modern vibe.
By establishing a snack station in your pantry, you organize snack storage efficiently, enhance the visual appeal of your space, and provide easy access for all family members, making snack time both convenient and enjoyable.
